|
|
|
#1
 12/20/2007, 11:45 AM
|
|||
|
|||
|
42G Hex tank build.
Well it has taken me 6 months to build this tank but it is finally complete.
It is a 42 Gallon Hex tank with a Black Galaxy Granite hood and stand. Teaser Picture of the tank during setup 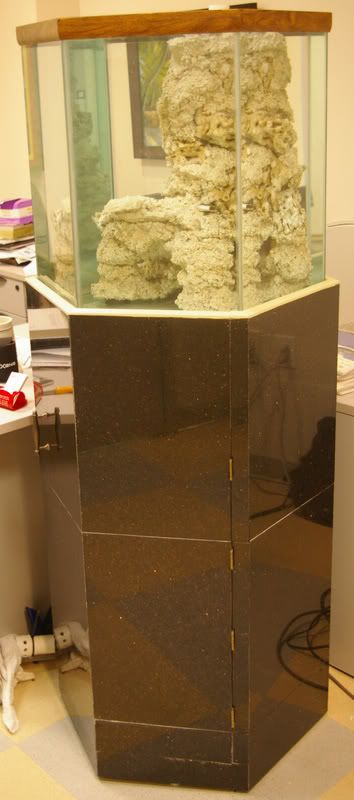 During this build I had several mishaps but and extremely pleased with the result. Here is the picture and story line for the tank. Enjoy! My idea for this tank started about 3 years ago (2004) when I setup my first 10G Hex in my office. I quickly decided that I would like to go bigger. 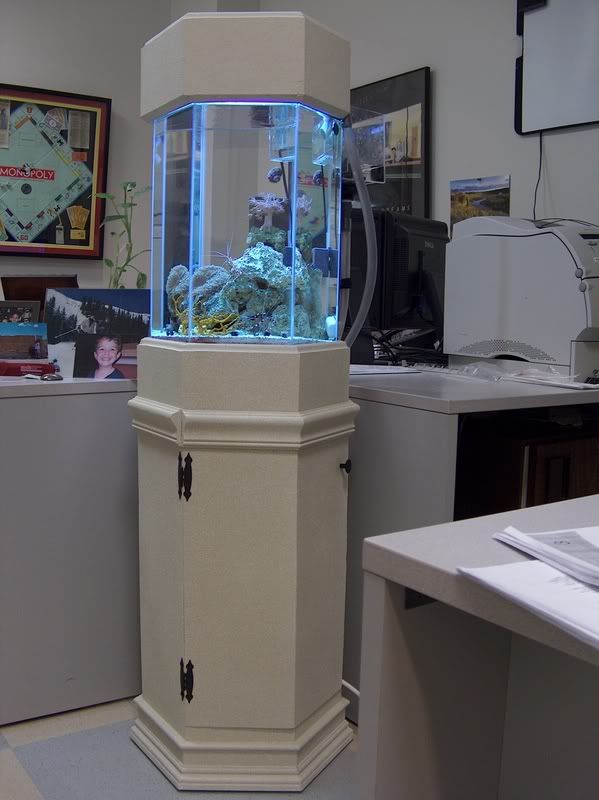  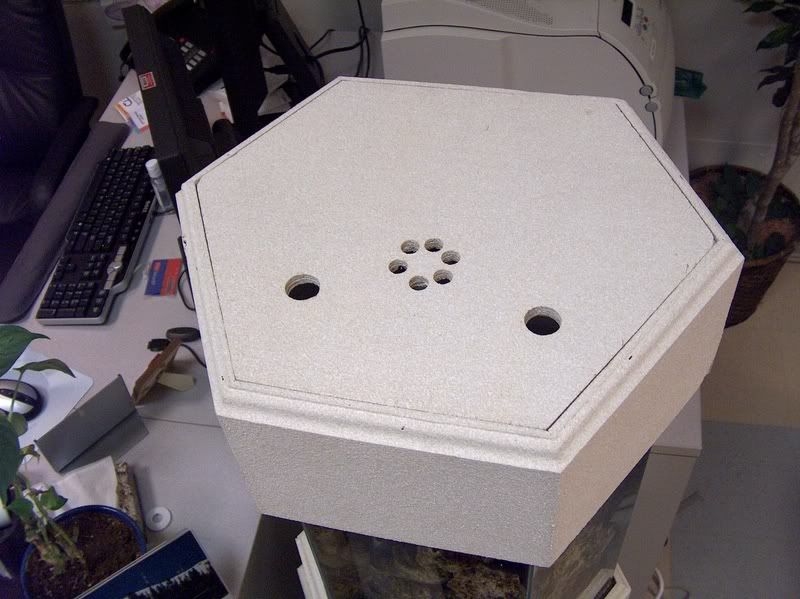  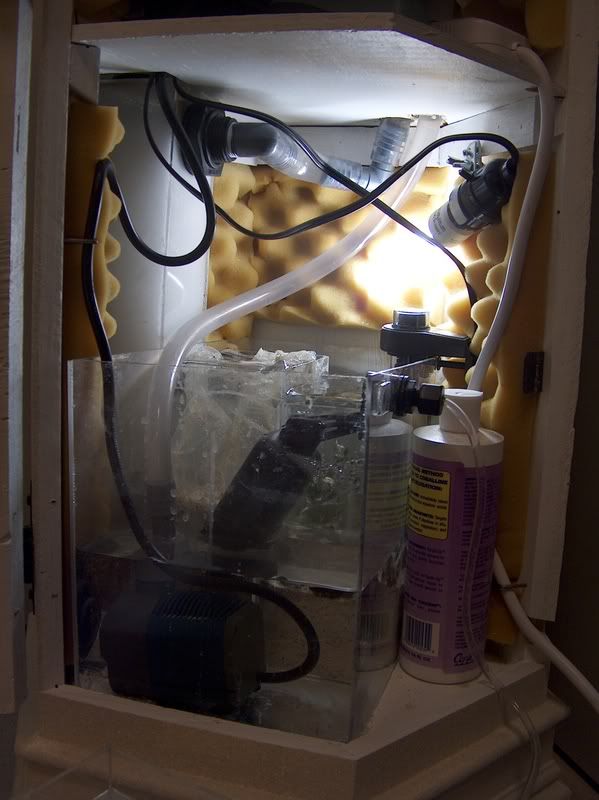  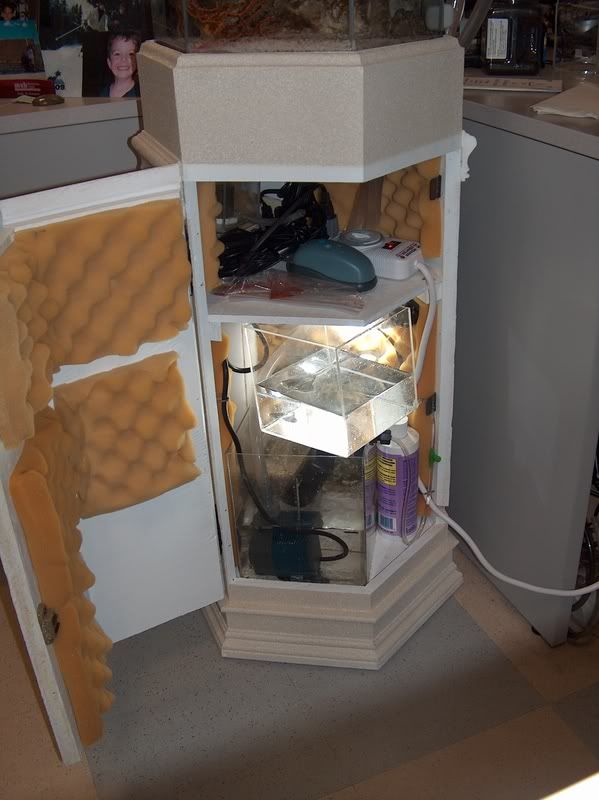
|
|
#2
12/20/2007, 11:46 AM
|
|||
|
|||
|
I ended up selling this hex for $1000, so I took that opportunity to build the one I really wanted. This setup ended up costing me about $2200. The Granite took the most time to cut and build and was the most expensive part of the project.
I found a used 42G Oceanic hex with the un-tempered bottom. I had to drill 5 holes to accommodate all the plumbing and wiring.  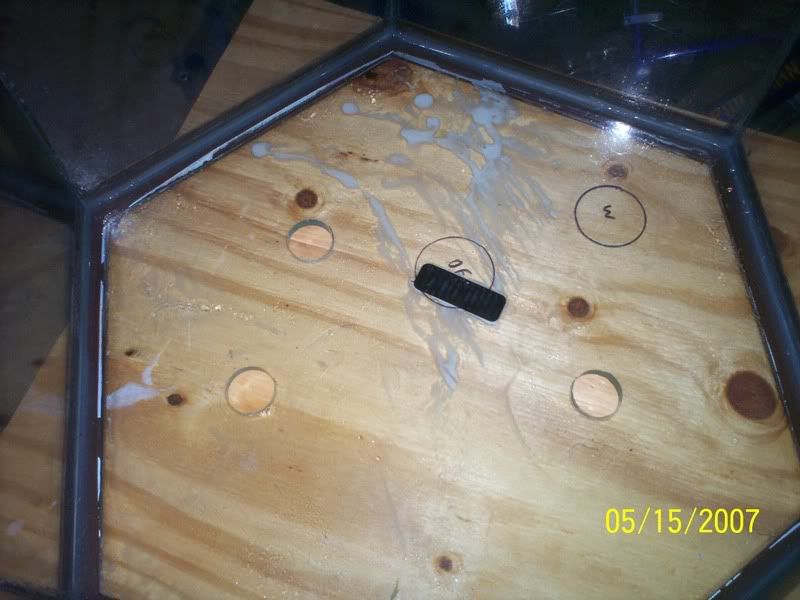 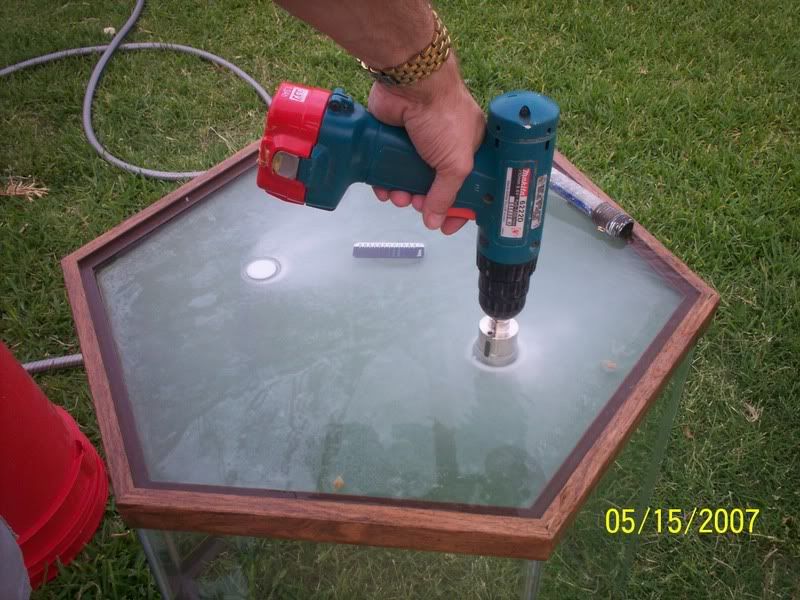 After I drilled the bottom I cut a plywood replica of the bottom with the holes. I plumbed the plumbing and transferred all the plumbing to the plywood cut out.   The structure has an overflow with the return coming back up through the middle of it, a pipe for the wiring and a closed loop with a SQUID alternating the return in the CL.   
|
|
#3
12/20/2007, 11:47 AM
|
|||
|
|||
|
With the plumbing in the tank I proceeded to make MMLR to cover all the plumbing.
    I cured the rock for about 8 weeks. I put a pump and 300 W heater in the water to help cure the rock good. 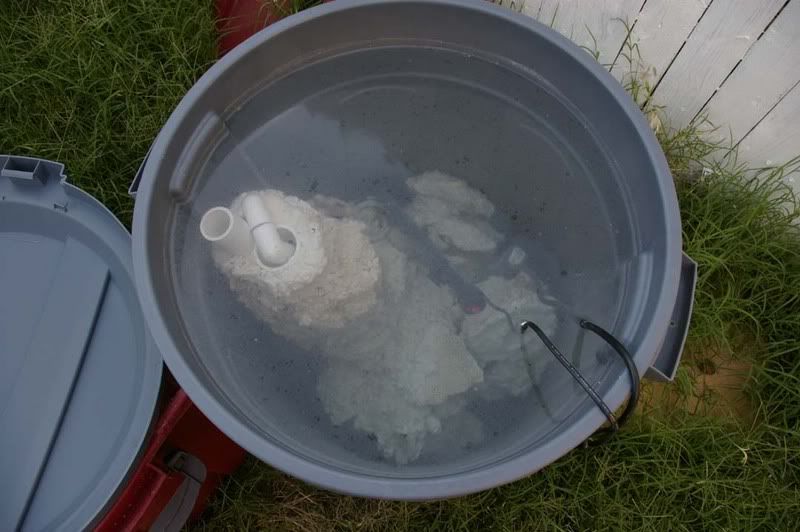 My mixture was 1 part crushed coral, 1 part salt, 1 part sand, 1 part cement. 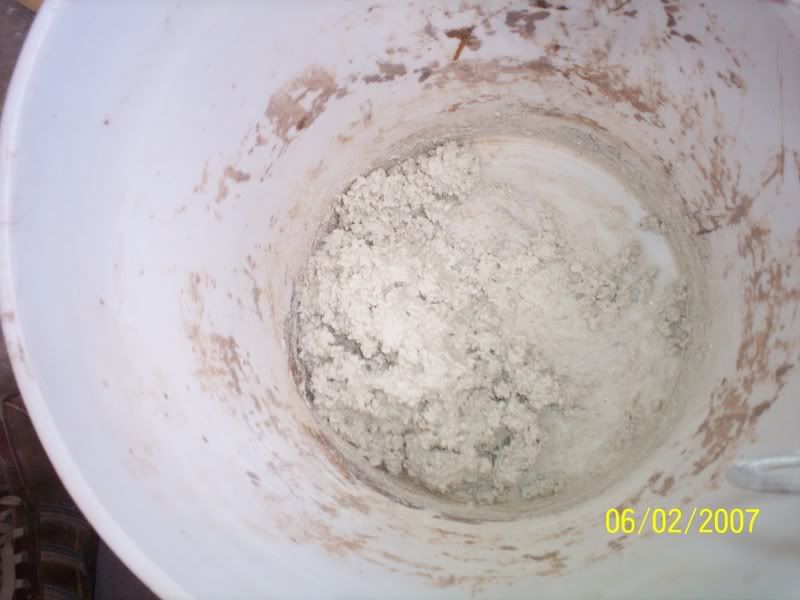 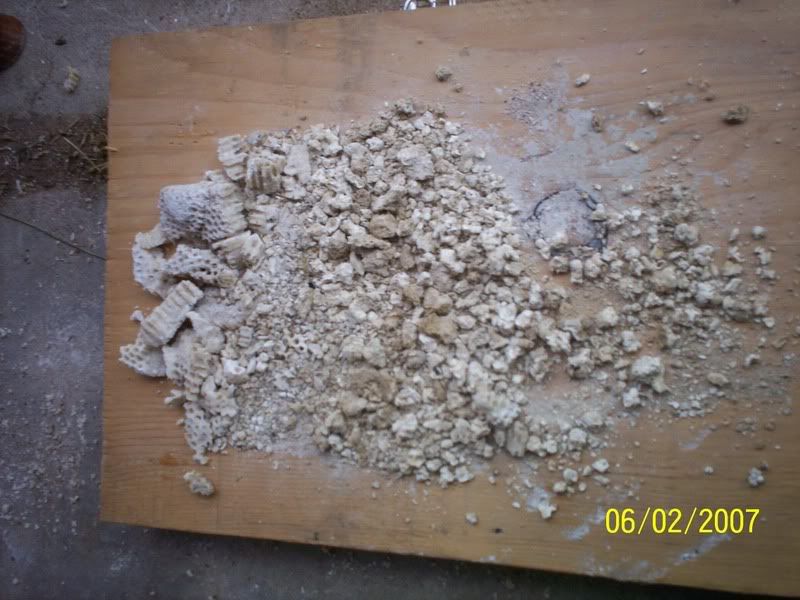 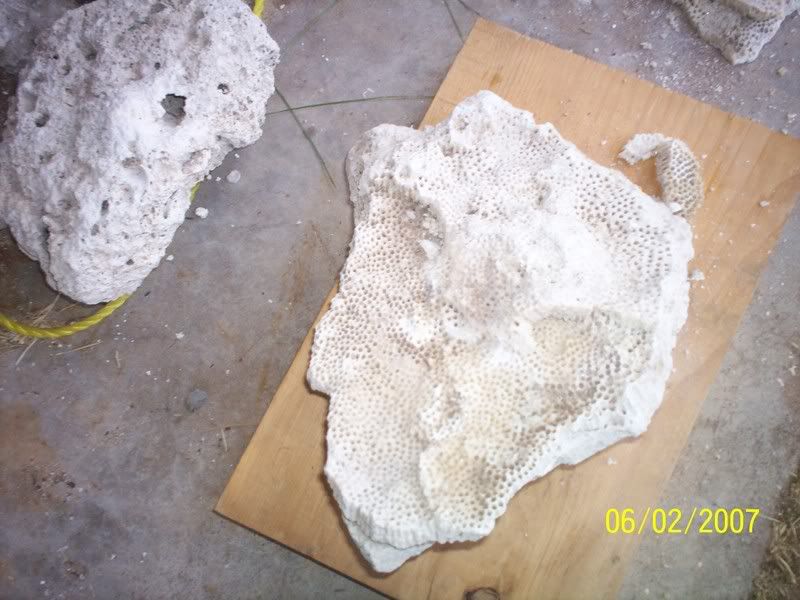  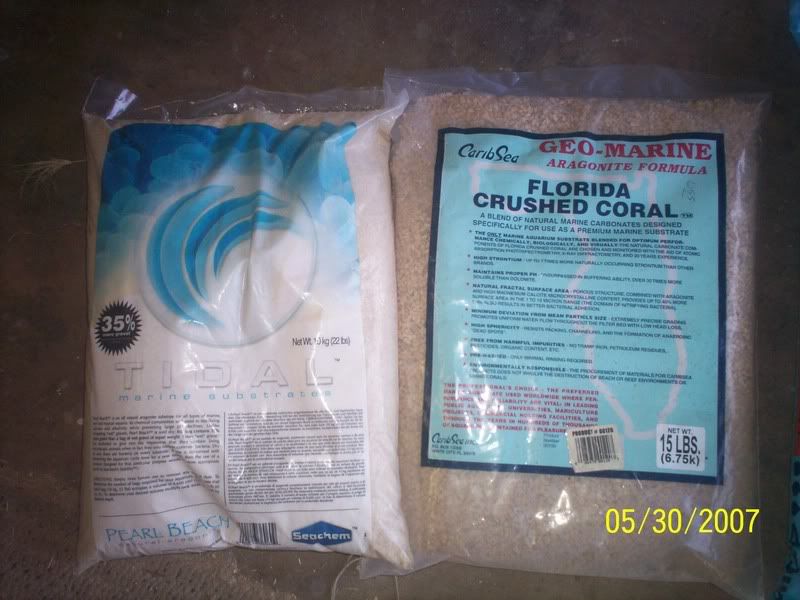
|
|
#4
12/20/2007, 03:09 PM
|
|||
|
|||
|
wow looks great. Have you added water to the tank yet? Is hhe tank is going to be in the middle of the room? I have always wanted to do that. I have two hex tanks 27 gal and 40 gal but they are against the wall do to all of the plugs. Good job.
__________________
josh |
|
#7
12/21/2007, 12:04 PM
|
|||
|
|||
|
On a side note all pictures will enlarge if you click on them. Don't forget to watch the video of the water flow in the previous thread.
I built the main base cabinet with ¾ plywood. I put heavy duty levelers on each side. All the wiring mounts at the bottom under the sump. I fixed the wiring so the first receptacle is a GFCI outlet (Just in case). All the wiring is off the bottom so any water leaks will end up on the floor not in the outlets. 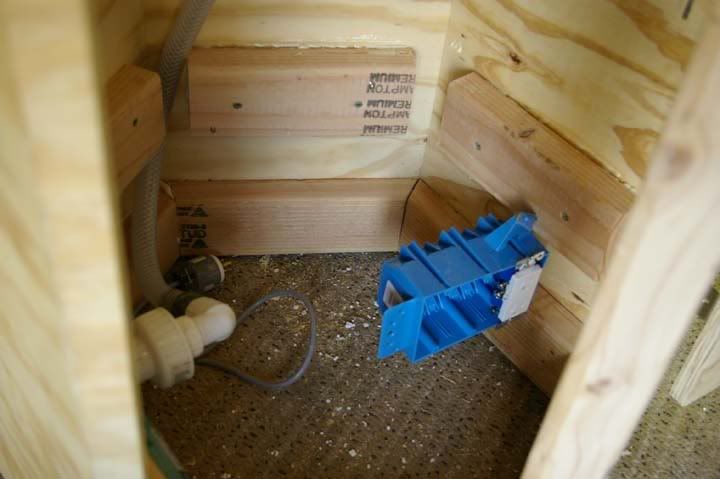   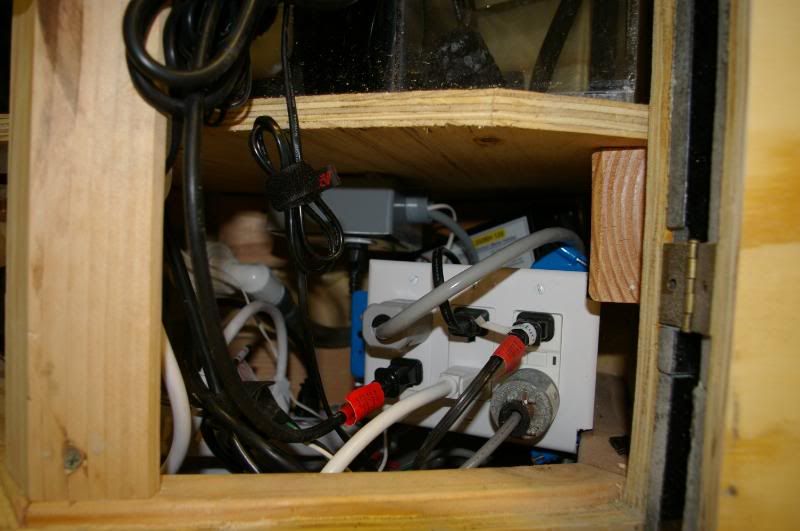 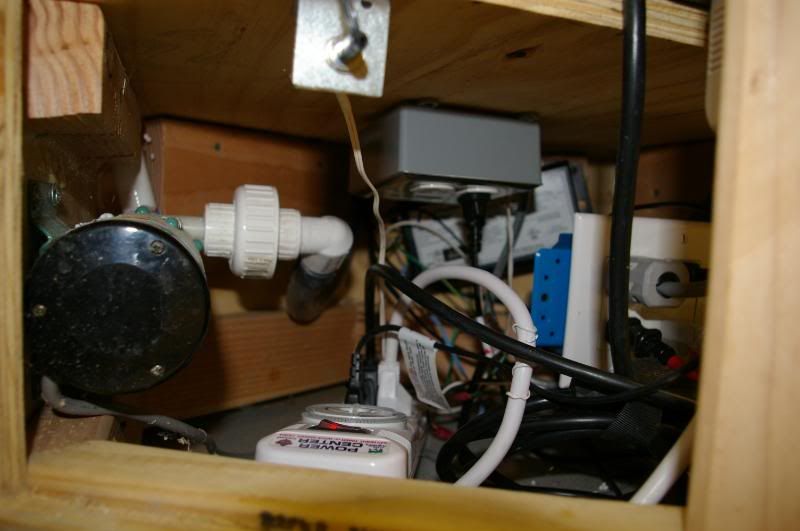 There are 6 outlets and two outlets on the ATO. The ATO is the gray box mounted on the bottom side of the Sump. I just used a relay and a 6v DC power supply to make the ATO. I will put some diagrams and parts list of the ATO later for those DIYers that need an ATO. It was very easy to build. You can see the Electronic 250W MH ballast mounted on the back wall behind the ATO outlet. The pump on the left side is the CL pump. It is an Iwaki MD20RLT Water Pump (Japanese Motor). It is extremely quiet and is probably the best pump I have ever had. I then built the sump. I designed this so the FW for the top off is included in the sump. With limited space and the worry about failed ATO systems this will eliminate any ATO situations. I will still have to keep the FW area full but it holds about 3 gallons which lasts about 5 days. 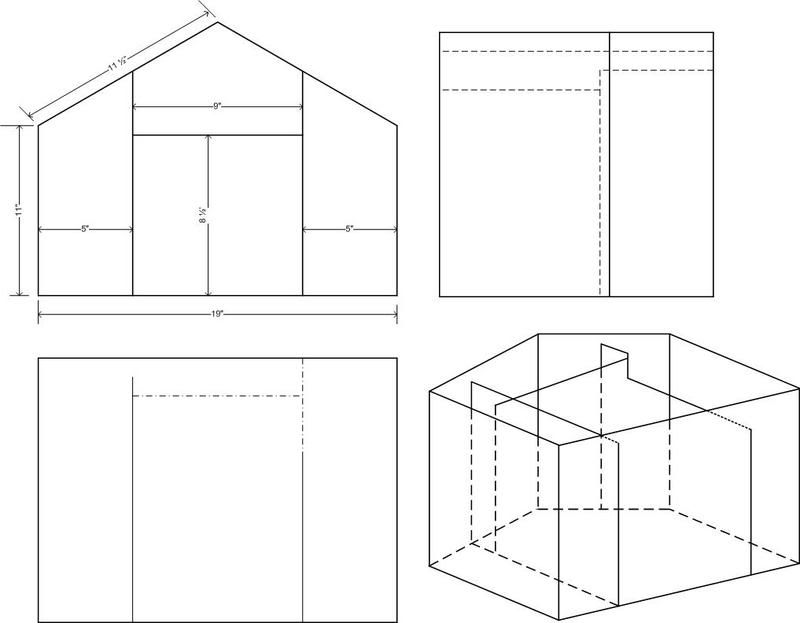 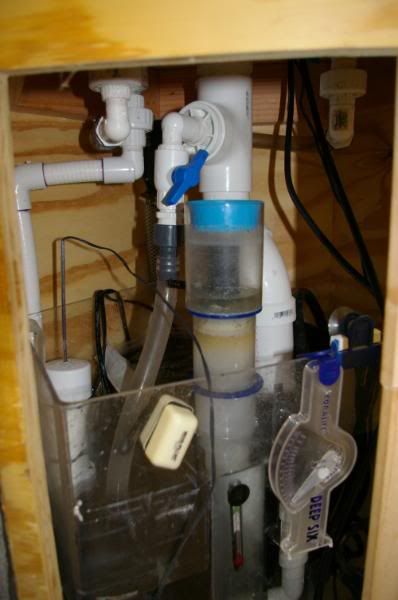 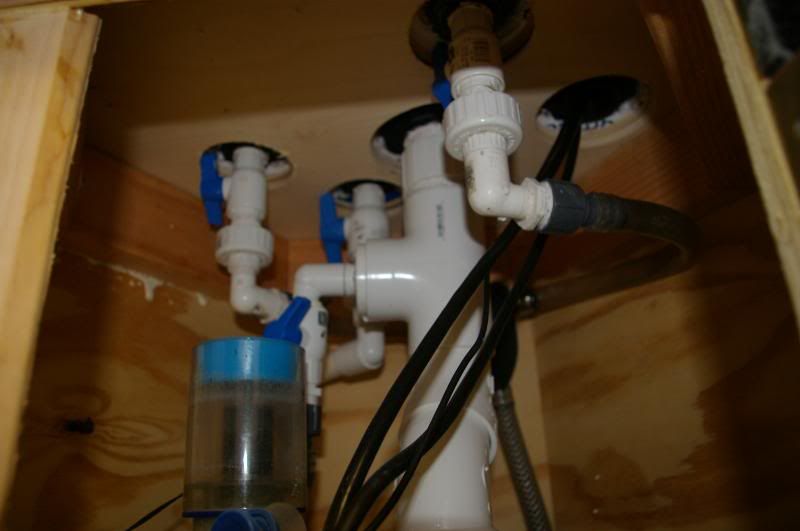 
|
|
|


 Linear Mode

