|
|
|
|||||||
|
|
Thread Tools | Search this Thread | Display Modes |
|
#52
 10/24/2006, 02:45 PM
|
|||
|
|||
|
Quote:
__________________
I reef, therefore I am. "Hancock. Sound like a bird, flying around" (Quote from Scarface) "Click on red house for my tank build thread" |
|
#53
10/24/2006, 10:15 PM
|
|||
|
|||
|
Well, the last couple of days I have been unable to do anything. I spent all day Sunday at church, then pressure cleaning my sidewalk and finaly picking up my tank.
Monday, I left to work at 6:00 a.m. and did not return until after 8:00 p.m. Finaly today with the help of my neighbor I was able to get the tank out of my wifes Durango and onto the stand. Here is the first picture of the tank on the stand....... 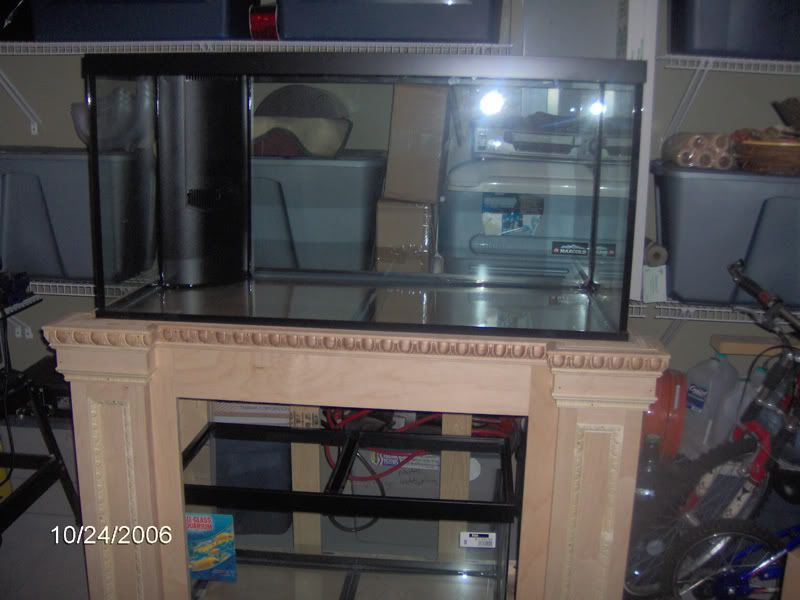 I was very excited to see the tank finaly atop the stand and I started imagining what it will look like when completed 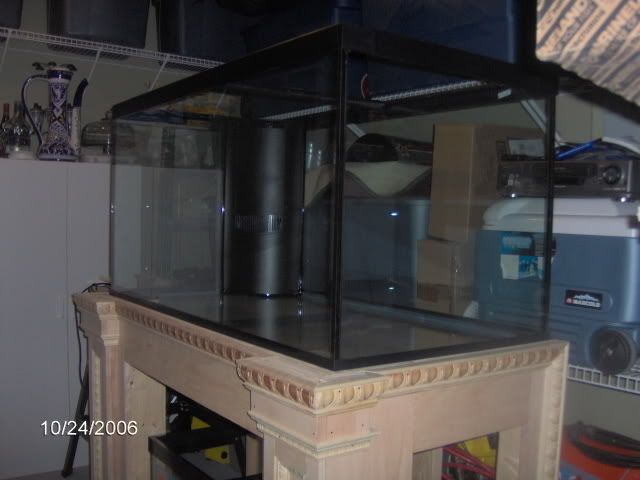 I did not think 6"s would be that much different from my current tank but it is. I will have alot of fun with the extra space and I'm sure my fish will love it. Next, I will be painting the back black to mach the overflow.....  
__________________
I reef, therefore I am. "Hancock. Sound like a bird, flying around" (Quote from Scarface) "Click on red house for my tank build thread" |
|
#54
10/24/2006, 10:32 PM
|
|||
|
|||
|
I chose to go with a single corner overflow so minimal space would be lost...
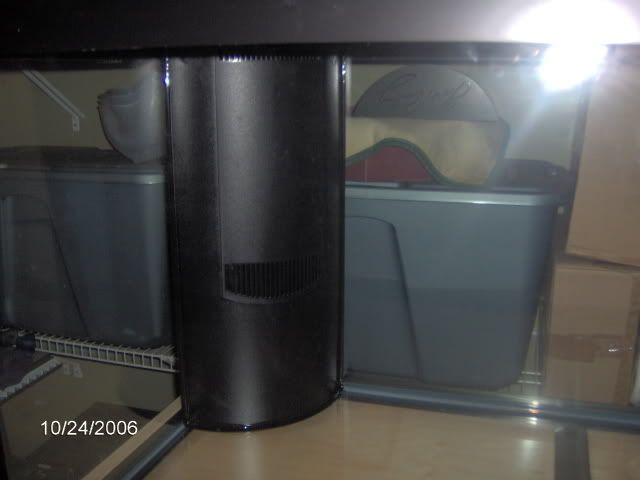 This is the first time I have gotten a ready reef glass tank, so far I think I will like it, I do however want to keep the overflow from gatting covered with coraline so I will probably have to clean it quite a bit... Also, I received my lighting for the fuge today...... 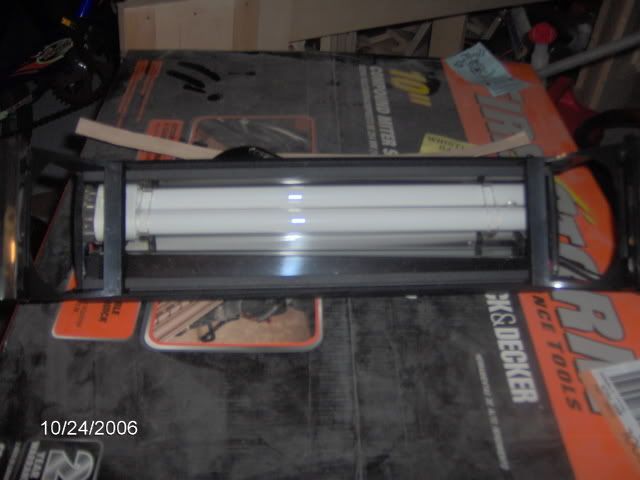 I got power compact lighting from a company called catfish, which I purchased on ebay. I dont know if they are any good for what I need them but for the price I figured they were worth a try. Here they are mounted on top of the sump... 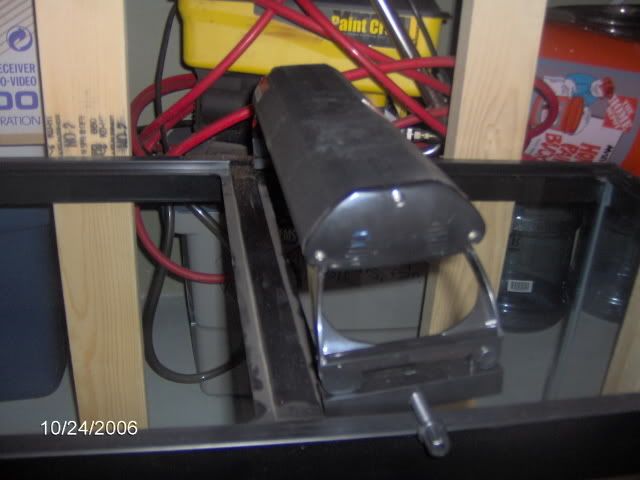 They dont quite fit right, so I will have to make a support for them. I believe they are 27watts ( I hope that will be sufficient) If not then I guess we will try something else. Last but not least I was able to cover practicaly all the end grains on the stand. here are a couple of pics so you can see the difference....... before........ 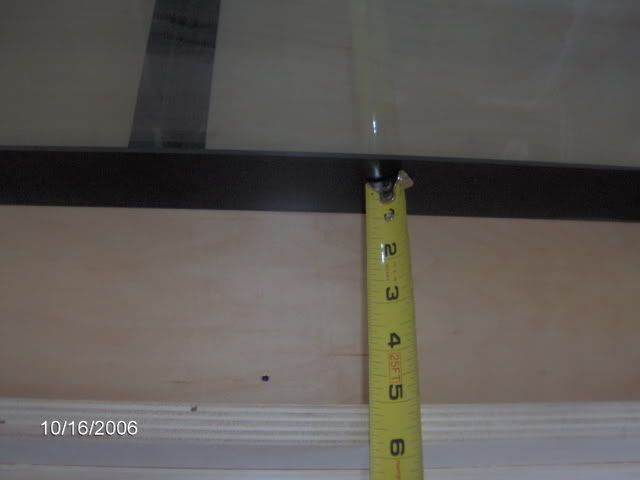 and after....... 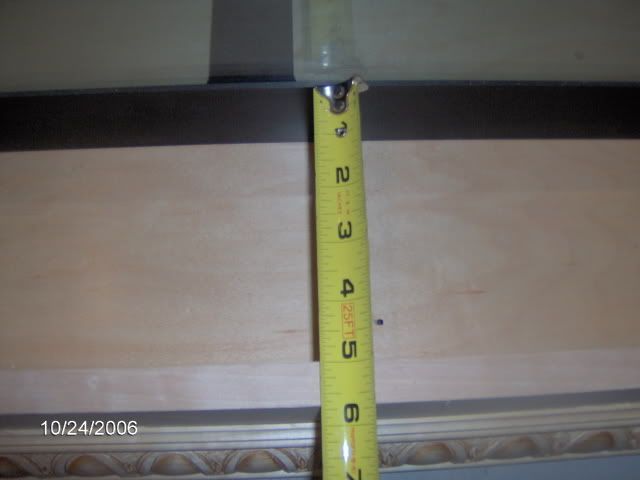 I really like the look of the veneer and think it will stain perfectly. Well, tomorrow I will be placing and order for the top filler that will go on top of the stand lip to cover the black tank brace so I will post pics when I have them.....
__________________
I reef, therefore I am. "Hancock. Sound like a bird, flying around" (Quote from Scarface) "Click on red house for my tank build thread" |
|
#57
10/25/2006, 06:13 AM
|
|||
|
|||
|
Quote:
By the way were do you get the vinyl backing? and is it self adhesive?
__________________
I reef, therefore I am. "Hancock. Sound like a bird, flying around" (Quote from Scarface) "Click on red house for my tank build thread" |
|
#58
10/25/2006, 06:17 AM
|
|||
|
|||
|
Quote:
__________________
I reef, therefore I am. "Hancock. Sound like a bird, flying around" (Quote from Scarface) "Click on red house for my tank build thread" |
|
#59
10/25/2006, 09:37 AM
|
|||
|
|||
|
yea find a guy who does lettering out of vinyl same stuff adhesive on back side. works great. I have noticed whe you use paint id dosent adhere as well since its glass.unless you find a self etching paint like the silicone we use on the tanks. (get the idea).
Let me know what ya find out ... get me some dementions ill get soem shipped to ya if ya cant find it.... |
|
#60
10/25/2006, 10:16 AM
|
|||
|
|||
|
Quote:
__________________
I reef, therefore I am. "Hancock. Sound like a bird, flying around" (Quote from Scarface) "Click on red house for my tank build thread" |
|
#61
10/25/2006, 10:29 AM
|
|||
|
|||
|
Quote:

|
|
#62
10/25/2006, 10:51 AM
|
|||
|
|||
|
I painted the back of my 120 a year ago. No probs so far...that is, what you can see of it. Most of it is coralline covered back there anyway. And yeah, my AGA has the twin overflow towers on the back wall and not the corners. My prob with this is that it causes dead spots in both of those corners next to the overflow unless you somehow specifically direct current back there. Sweet looking setup you have going.

__________________
Dave |
|
#63
10/25/2006, 12:02 PM
|
|||
|
|||
|
Quote:
__________________
I reef, therefore I am. "Hancock. Sound like a bird, flying around" (Quote from Scarface) "Click on red house for my tank build thread" |
|
#64
10/25/2006, 12:07 PM
|
|||
|
|||
|
Quote:
But just out of curiousity. They sell something at my lfs that comes in a roll (glossy, black paper) wouldnt that be the same as using the vinyl or is there an advantage to using vinyl?
__________________
I reef, therefore I am. "Hancock. Sound like a bird, flying around" (Quote from Scarface) "Click on red house for my tank build thread" |
|
#66
10/25/2006, 10:14 PM
|
|||
|
|||
|
I used the black, stick on backing from lfs on my 65 gallon tank. It goes on like window tinting. You wet the glass, peel the backing and apply the film. Use a credit card or squeegee to remove the bubbles. It actually works pretty good.
My 120 already had a painted back when I bought it used. They look about the same from the front. Just whatever you prefer. What is your projected date to get saltwater into this tank? |
|
#67
10/26/2006, 08:40 AM
|
|||
|
|||
|
Quote:
I am still waiting in the doors (which hopefuly should be in within the week) the top filler to cover the black bracing and I still need to get the sump drilled and install the baffles. All in all, I am shooting for 2 weeks, however worst possible case scenario I need to have it done by Thanksgiving or it will have to be put on hold until after new years. (I decorate my house with Christmas villages that I build, and that is quite time consuming)
__________________
I reef, therefore I am. "Hancock. Sound like a bird, flying around" (Quote from Scarface) "Click on red house for my tank build thread" |
|
#68
10/26/2006, 05:28 PM
|
|||
|
|||
|
Ok Well i went to buy hard wood maple and ok now im confused.. First. That decrative moulding that has the burned in design They dont make it in maple. It a diffrent wood. If you use maple for that special trim where in the workd did you find it. Also What sizes did you use for the true hard woods and did you just use a sheet of maple plywood and then cover it in real hardwood?? any info would be great... Thanks OOhhh What size is that decroative trim any way?????
|
|
#70
10/26/2006, 10:46 PM
|
|||
|
|||
|
Quote:
As for the wood, it is maple plywood. The end grains were covered with real wood veneer (also purchased at Lowes) The sizes for the trim I will check for you but I believe the smaller one is 1", the mid size one is 1 1/4 - 1 1/2 (not sure) and the larger is about 2 1/4 but I will let you know for sure. (you could also print a copy of the picture I posted and just match it up with the moldings at Lowes.
__________________
I reef, therefore I am. "Hancock. Sound like a bird, flying around" (Quote from Scarface) "Click on red house for my tank build thread" |
|
#71
10/26/2006, 10:53 PM
|
|||
|
|||
|
Quote:
All and all I have about 220-230 houses not to mention accesories and figuerines. Needless to say it is a huge display when all houses and stuff are used. If I am still posting on this forum by then, I will try and post a pic or two of the village.
__________________
I reef, therefore I am. "Hancock. Sound like a bird, flying around" (Quote from Scarface) "Click on red house for my tank build thread" |
|
#72
10/27/2006, 05:05 PM
|
|||
|
|||
|
Quote:
Hope that helps.
__________________
I reef, therefore I am. "Hancock. Sound like a bird, flying around" (Quote from Scarface) "Click on red house for my tank build thread" |
|
#74
10/29/2006, 10:03 PM
|
|||
|
|||
|
Ok, so after a few days off and the first chance I got, (honey do list came first) I started working on the canopy.
I decided the canopy would be a combination of maple and pine wood. ( not to cut costs, just to keep the weight down) First step was to get out my pocket hole jig and start drilling holes.. 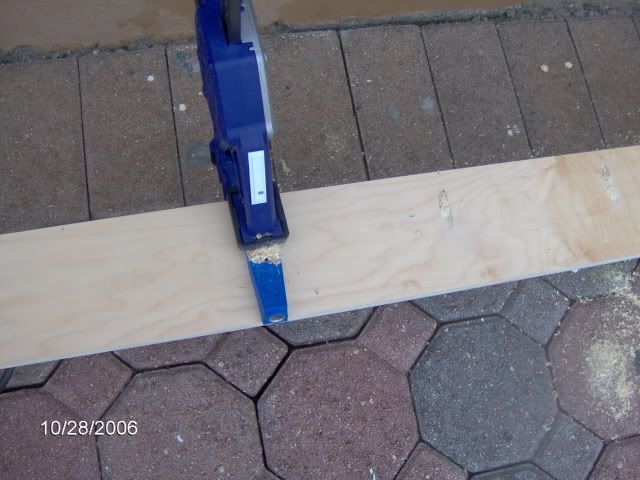 After about 30 minutes and many holes later, I was able to start piecing everything together. I decided the canopy would wrap around the tank instead of just ending at the back of the tank like the stand does. 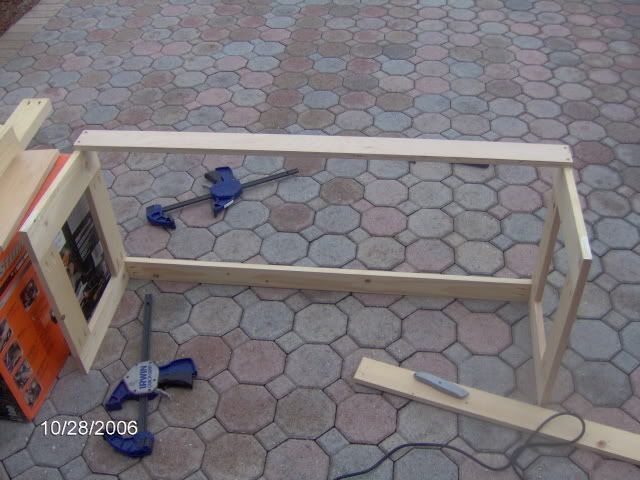 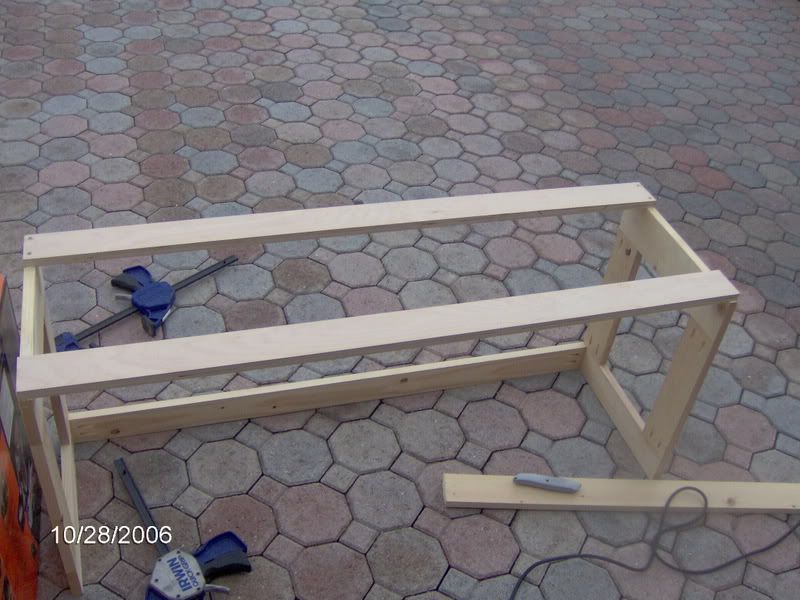 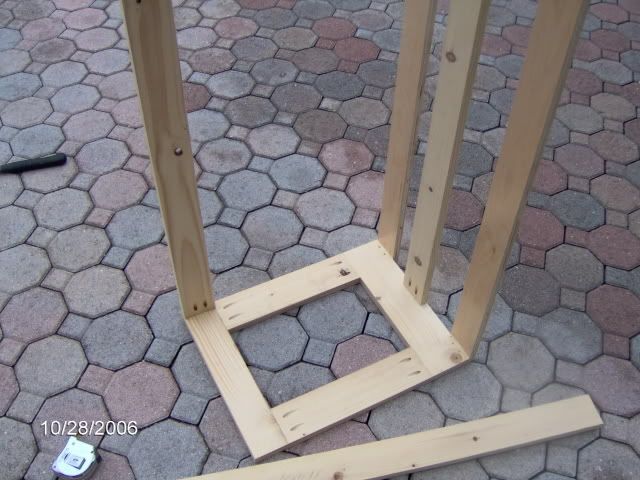 Now the original design I saw that inspired me to build this had the canopy sitting on top of the tanks black bracing and the molding was attached to cover it. While this design is flawless, I decided to make the canopy a little wider so it would actualy cover the sides itself and the molding would go attached at the same length as the canopy walls... Here is a picture of the inner wood rails I used to make this possible... 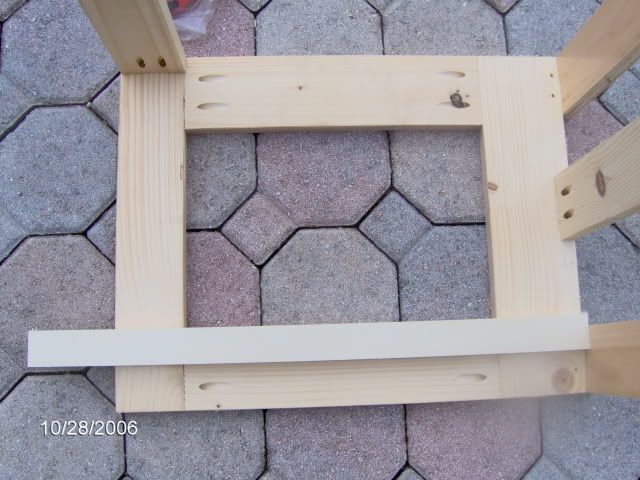 Here are a couple pics of the canopy with the previously made front face attached...... 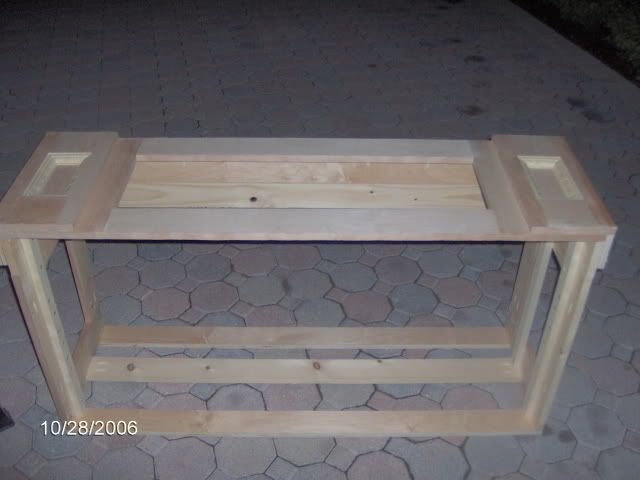 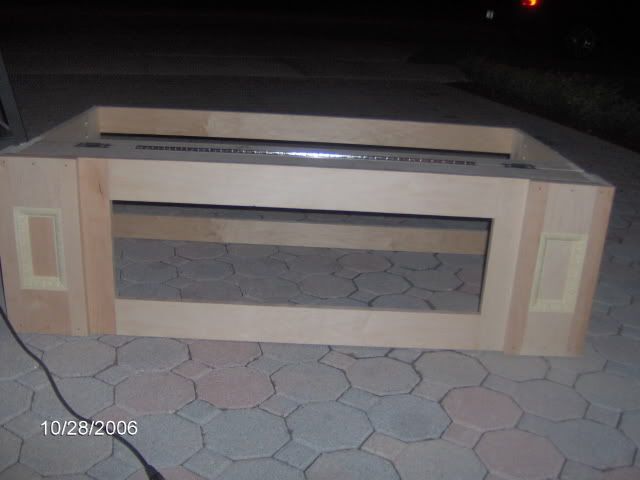 I used 2 different types of hinges to connect the canopy face. I am not overly fond of them but I figure at roughly 6' 2"- 6' 3" (that is the height from bottom of stand to canopy top) not to many people will see them. 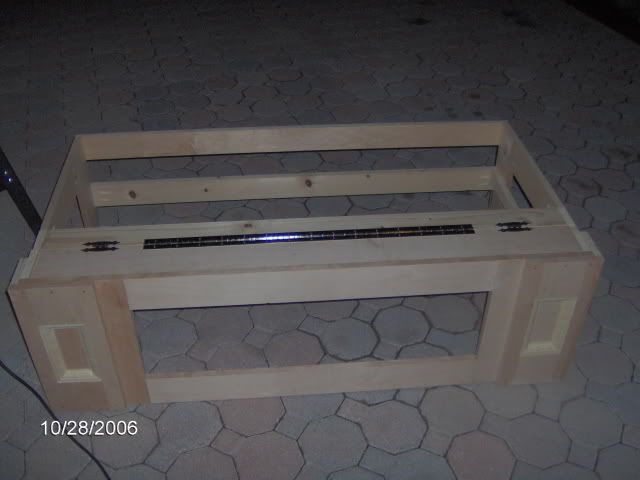 As you can tell, the canopy is pretty much open top and back. I hope this will really help keep the water cool.
__________________
I reef, therefore I am. "Hancock. Sound like a bird, flying around" (Quote from Scarface) "Click on red house for my tank build thread" |
|
#75
10/29/2006, 10:07 PM
|
|||
|
|||
|
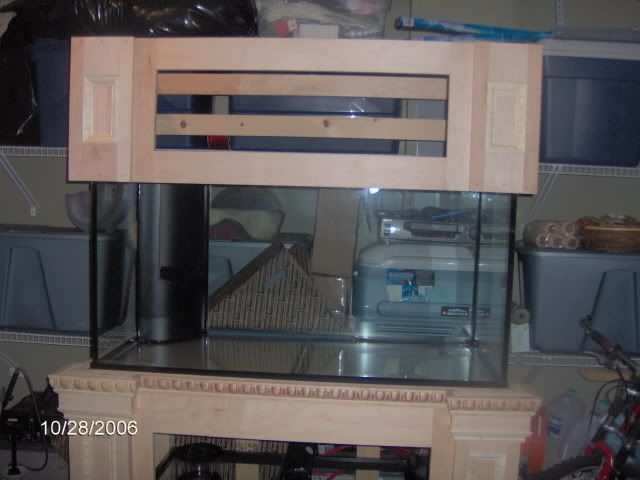
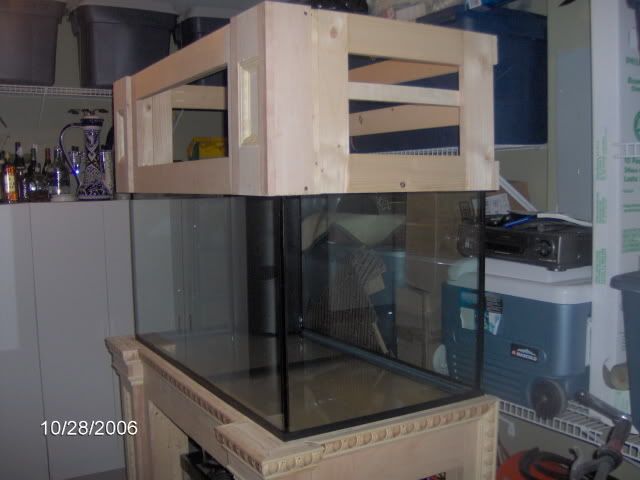
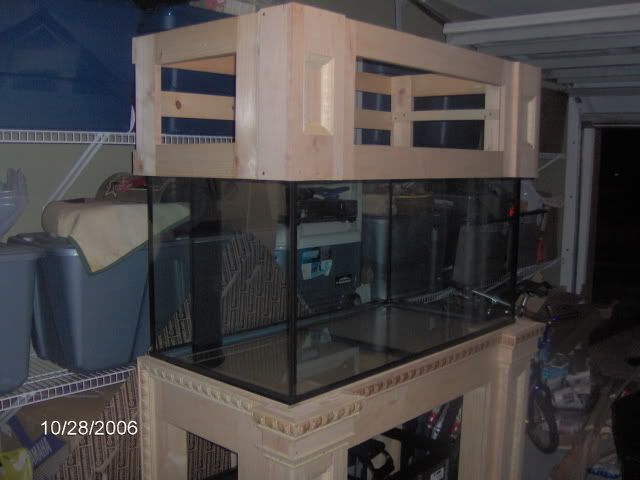
Here are a few pics of the canopy on the tank. It is not fineshed yet, but it gives us a slight idea....
__________________
I reef, therefore I am. "Hancock. Sound like a bird, flying around" (Quote from Scarface) "Click on red house for my tank build thread" |
|
|


 Linear Mode

