|
|
|
#26
 07/08/2007, 01:34 AM
|
|||
|
|||
|
Another thought, if you use a overflow return for a closed loop, your going to be fighting the water level if you use a Durso stand pipe.
I'd go over the top and use one hole for the intake and two for returns on some sort of wave maker. My 2 cents. Last edited by rkcca; 07/08/2007 at 02:07 AM. |
|
#27
07/10/2007, 05:31 PM
|
|||
|
|||
|
Yah, if I do get it. I will not use a closed loop anymore. =( I might just go with Vortech's.
__________________
...Treat Others The Way You Wish To Be Treated... 40 breeder, BM 150 Skimmer, 25 gallon sump/fuge, Aqualight Pro, Closed loop with Reeflo Sequence Snapper and Vortech. |
|
#29
07/24/2007, 07:44 PM
|
|||
|
|||
|
Awesome job! I am very impressed with the stand.
|
|
#30
07/28/2007, 03:28 PM
|
|||
|
|||
|
Do you have any more pics of the construction of the stand? What type of wood did you use?
|
|
#31
07/29/2007, 12:40 AM
|
|||
|
|||
|
The whole stand is 2X4's covered in 1/2 inch birch plywood from HD. The top is 3/4 inch birch ply, the edge trim is 1X2 inch premium grade pine, and all has three coats of oil based gloss black paint. The doors are also 3/4 inch birch ply with an iron on birch laminate on the edges. The stain is something called Sedona red.
Here's some build pics V 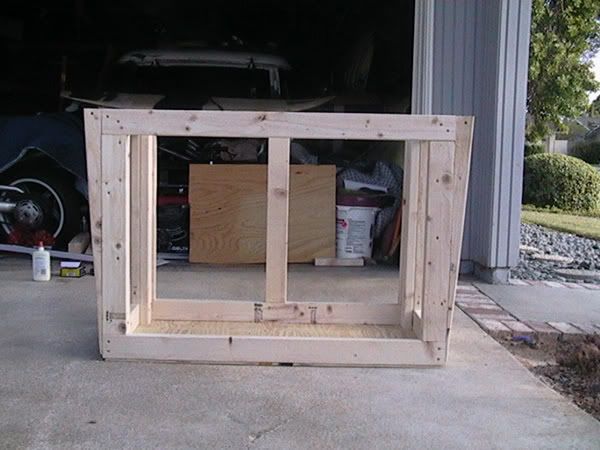 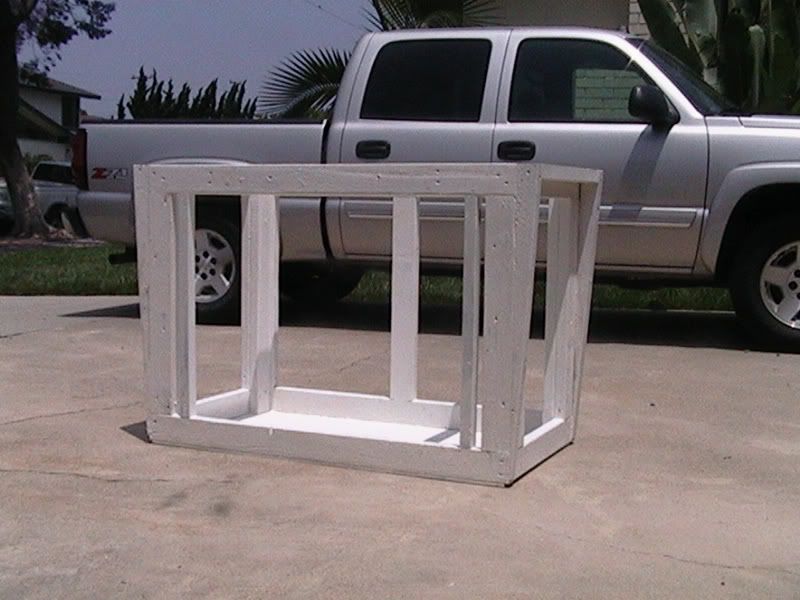 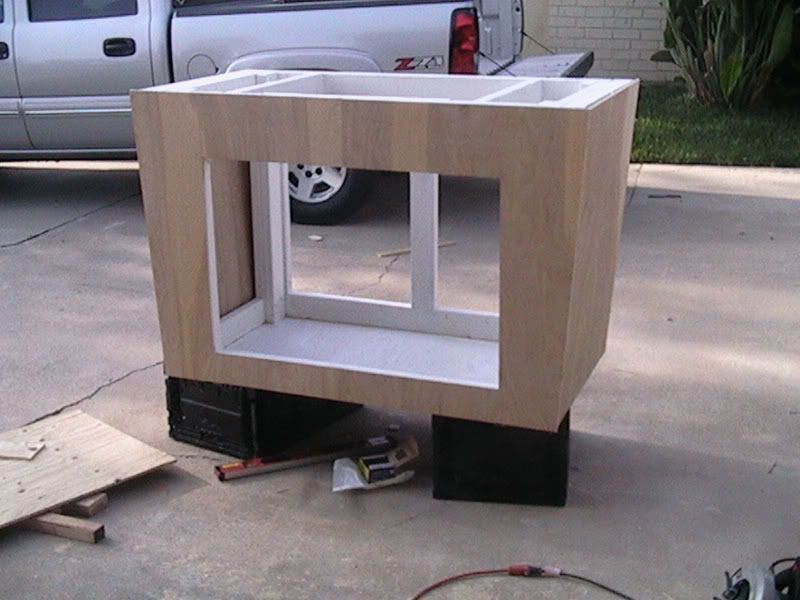 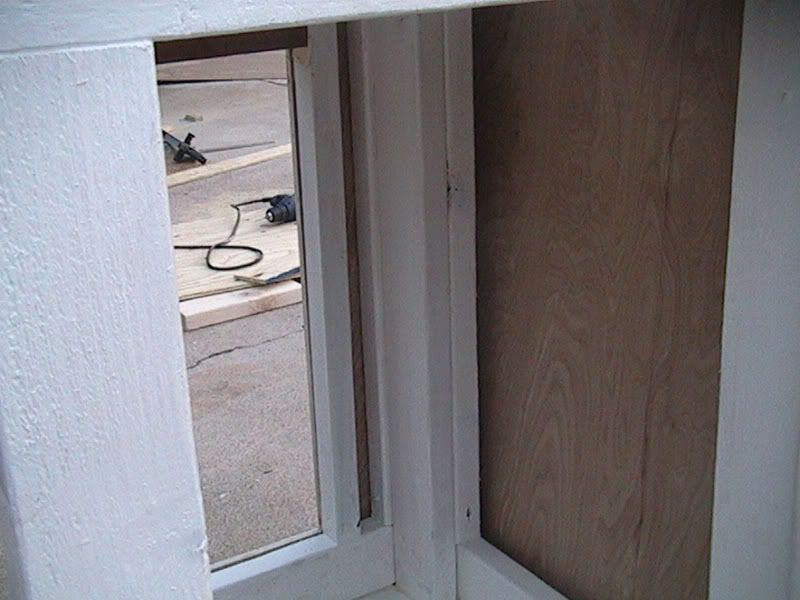
|
|
#32
07/29/2007, 01:00 AM
|
|||
|
|||
|
To cut the 2X4's to build the sides wider at top, I ripped a 2X4 2" wide at top and 0 at the bottom, think really long triangle. Then I put the one side piece against the table saw fence, used it as a template and ripped the 3 remaining pieces.
BTW, front panel was the hardest part, since the stand is wider than a 48" piece of plywood and I wanted all grain to be verticle, I nailed two pieces of ply to a sacrifical piece of ply and then cut out the front door opening. I fastened the sides then the front and used a belt sander to get the front close to the side pieces. I screwed up one piece trying to get it right. Last edited by rkcca; 07/29/2007 at 01:20 AM. |
|
#33
07/29/2007, 09:16 AM
|
|||
|
|||
|
Thanks.
|
|
#35
08/02/2007, 02:52 AM
|
|||
|
|||
|
Thanks,
When I designed the stand I was thinking, "what would you see in a place like Starbucks?" I did not want a aquarium stand, I wanted furniture. Contemporary bordering on Modern. Its kinda funny that the stand goes really well with my Grandparents Modern late 50s/ early 60s chairs I have in the room. Now, if i can find some unusual corals to make the tank really original, I'd be set. Last edited by rkcca; 08/02/2007 at 03:03 AM. |
|
#36
08/02/2007, 09:18 PM
|
|||
|
|||
|
Contemporary and Modern...
That is exactly what I was thinking when I saw your stand. I am looking for the same thing. I might just have to copy yours. Your tank is going to look awesome before too long. Sometimes I wish we could put a little miracle grow in out tanks so we can see the finished product quicker. : ) |
|
#37
08/28/2007, 01:23 PM
|
|||
|
|||
|
I really like your stand, very nice job! I'm planning on building my own as well but will keep it boring rectangular, ie. easier. I would not have thought to put a piece of plywood underneath, but was going to put it like a shelf on top of the bottom 2x4s. What are the advantages or disadvantages of either in your opinion?
|
|
#38
08/30/2007, 01:58 AM
|
|||
|
|||
|
I put the plywood on the bottom instead on the top of the bottom 2X4's because the carpet underneath keeps the vibrations a little quieter.
I also siliconed all the lower seams so it will hold spills in the bottom for a short period of time. |
|
#39
08/30/2007, 09:11 AM
|
|||
|
|||
|
Good idea! I was just talking to my wife this morning about the possibility of cutting the carpet away from the corner I plan on putting the tank. I'm a little concerned about leveling issues. In either case, I'll do like you and put the plywood on the bottom. I figured that way I could put a pond liner under there for any spills. Right now I'm thinking I won't keep anything under the tank and instead put the sump/fuge in the basement underneath the tank.
|
|
#43
12/04/2007, 01:23 AM
|
|||
|
|||
|
Rkcca you can count on me to remind you to update your thread. : )
|
|
#44
12/04/2007, 02:43 AM
|
|||
|
|||
|
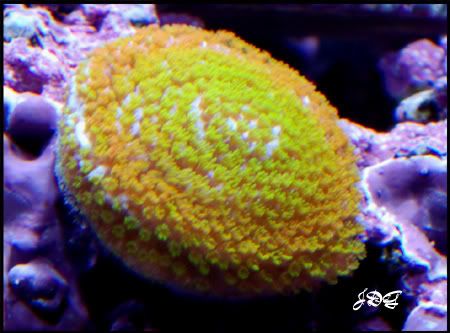
I started dosing tons of alk and CA in few months so I picked up a Korallin 1502. While trying to dial in the reactor it kept filling up with CO2. Alk dropped into the high 7's and my orange cap bleached about 50%. After figuring out how to get the vent to work properly, thing are looking better. Over the last few weeks the cap has almost made a full recovery. I've just about got the reactor dialed in.
Since the lights are out, I'll post updated pictures tomorrow. |
|
#46
12/06/2007, 02:19 AM
|
|||
|
|||
|
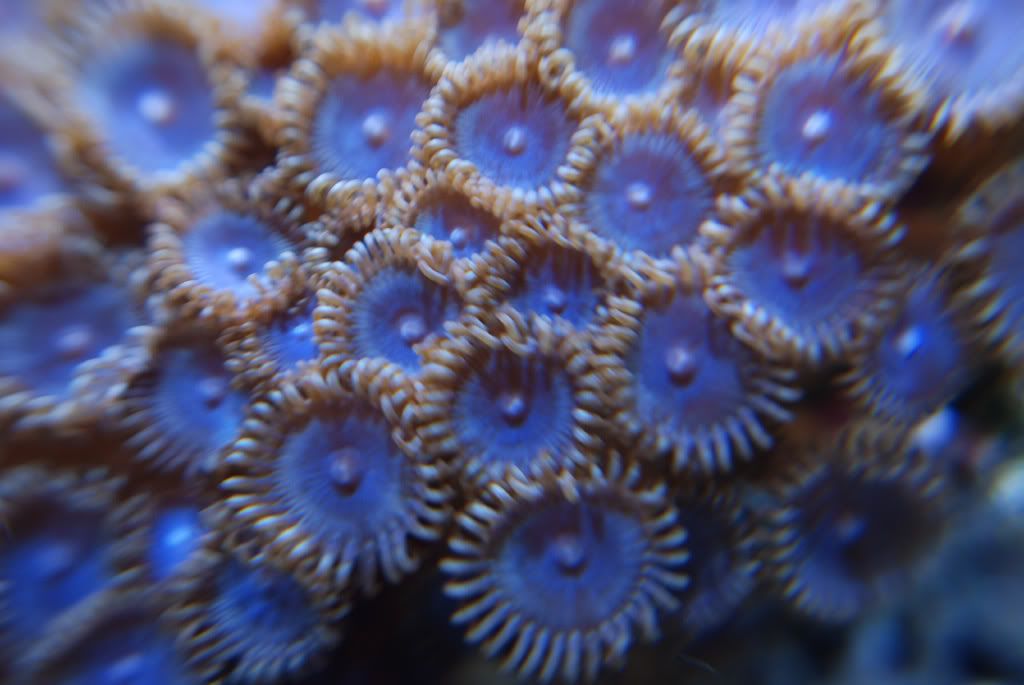
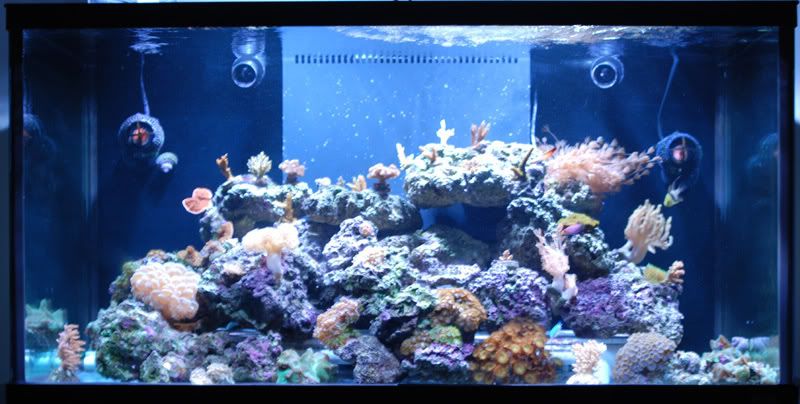
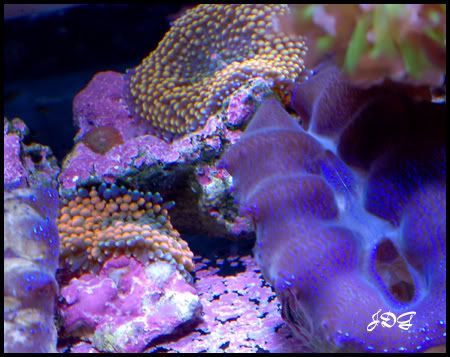
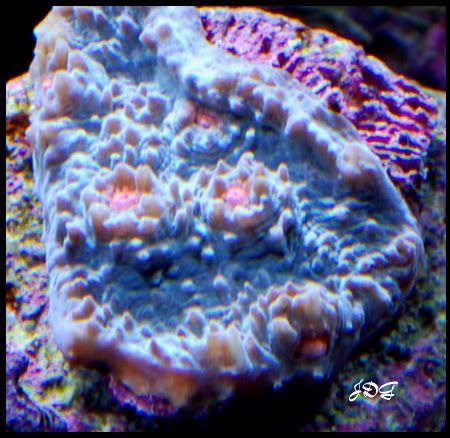
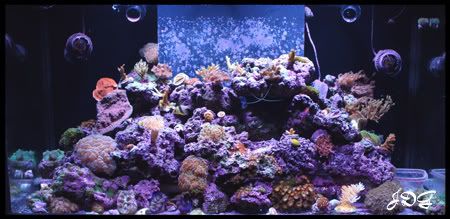
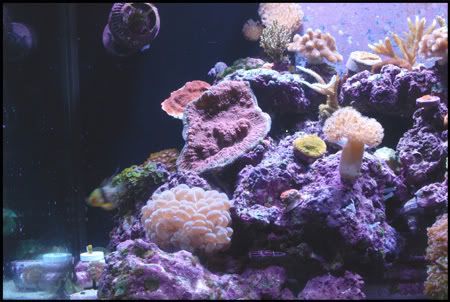
Here's a couple of updated pic's.
Pink and Green Echino about 7 inches across the widest point. 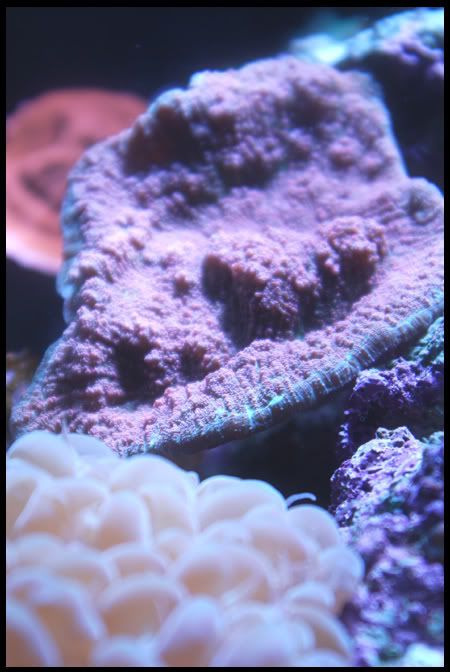 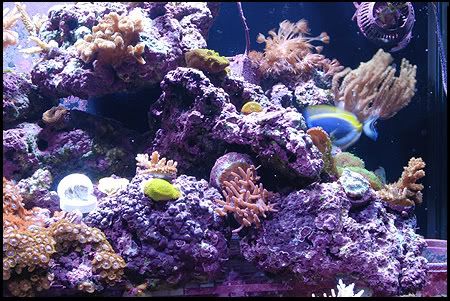 Here's a closeup of one side of my lighting. I took a steel bar and drilled holes where the wires normaly attach to the ceiling. I put 1/2 long spacers between the bar and the Aquamedic pendants then bolted the bar to both pendants. The wires going to the ceiling are mounted in the middle of the standard mounting points. Less mounting wires and the pendants are perfectly straight in relation to each other. 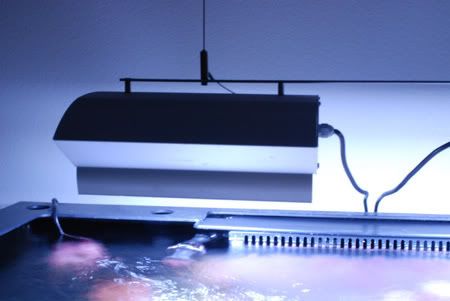 BTW: The water is not cloudy, just a slow shutter speed. Last edited by rkcca; 12/06/2007 at 02:38 AM. |
|
|


 Linear Mode

