|
|
|
#27
 10/12/2007, 02:35 PM
|
|||
|
|||
|
Yea, I used acrylic as the water guard for my 2 x 250 halides in my old canopy, and I didn't have any problems what so ever. this however is a 400 watt halide, so i may have soe heat issues; I jave some 1/4" glass left over that should make a good water guard.
__________________
I'm not as think as you stupid i am |
|
#28
10/12/2007, 04:05 PM
|
|||
|
|||
|
The tank looks great and congrats on having no leaks. You wouldn't believe the difference a shinny reflector makes man. A friend of mine used to have a reflector made out of the stuff you used and when he switched to reflective aluminum it was like night and day.
You deffinatly need to put a glass shield over that DE bulb. DE bulbs dont filter their own UV like SE bulbs do. I've heard of people burning their eyes badly after looking at their bulb for just a brief second without the glass shield on. Acrylic wont shield near enough. Your fish and coral will all be UV burnt and probably die without glass. I use 2 Luminarc 3's with DE bulbs and man they are deffinatley worth the extra money. They come with a glass shield built right in which is great. Maybe you could line the whole reflector with the tape? That might help. Also maybe you could bend your sheet metal all around the lips to be able to slide a pane of glass in like a track onto the bottom of your reflector like the Luminarcs. |
|
#30
10/13/2007, 12:24 PM
|
|||
|
|||
|
I'd like to get a lumen arch sometime. where did you get yours JJ? I can't get mine through NSS yet, my wholesaler is in the middle of some law suit with them.. it's a long story. Im happy with my DIY reflector for the time being though.
I've never used the shim method, i don't think it's necessary unless you are siliconing super thick glass. I just apply it to one pain and stick it to another. It has never failed me. On the rare occasion that i get an air bubble between pains, i use a knife blade or something to mush some more silicone in. I only had to do that on one corner. All my bonds are nice and even.
__________________
I'm not as think as you stupid i am |
|
#31
10/14/2007, 06:23 PM
|
|||
|
|||
|
Heres some pics of the stand which I started today. Just your basic spruce and plywood frame for now, which I will cover with oak faced plywood and solid oak trim. Should look really pretty
Heres the base. I screwed some 1/3 plywood to the bottom to keep things nice and square, and provide base. I will explain why later. 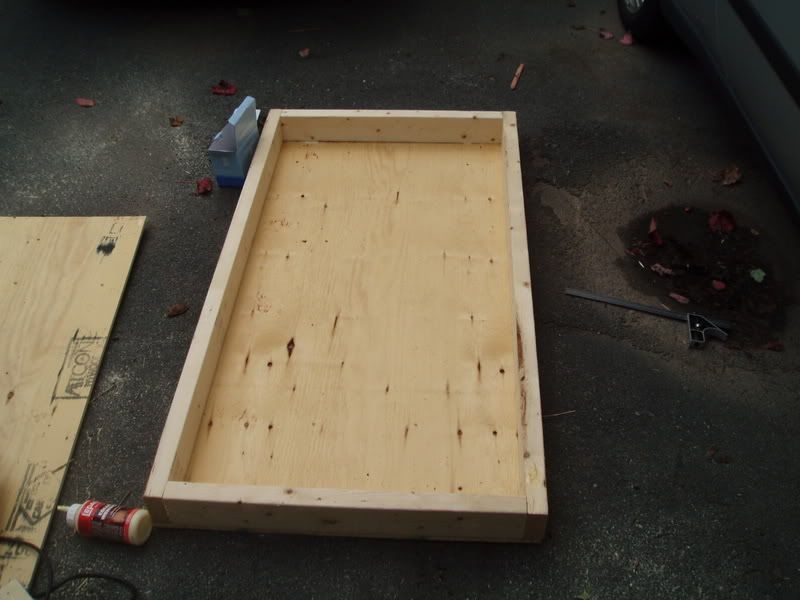 Next we have the legs. Notice the space behind the legs. This stand will be kind of a C shape, wrapping around the tank. This should leave lots of room for storage and sumps so I dont have any equipment spilling out on to the floor. 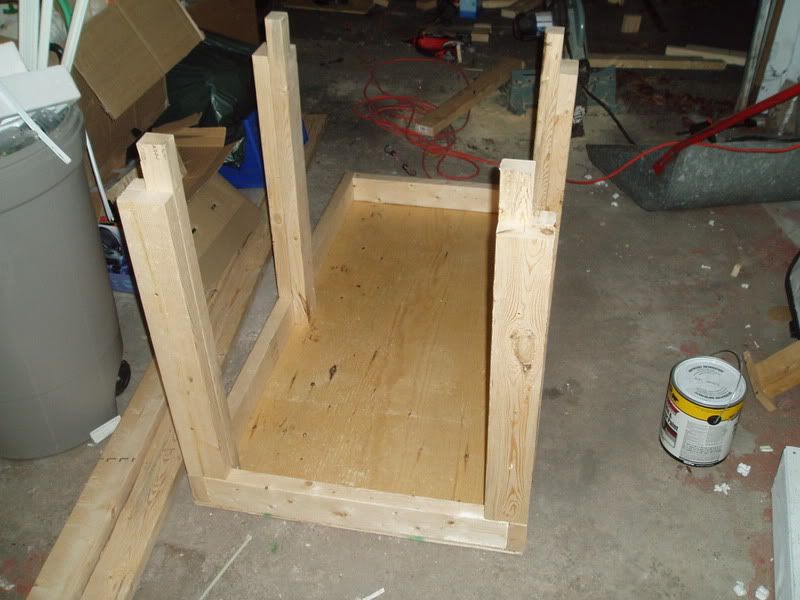 And finally the top. I will put some foam on top for the tank to sit on. 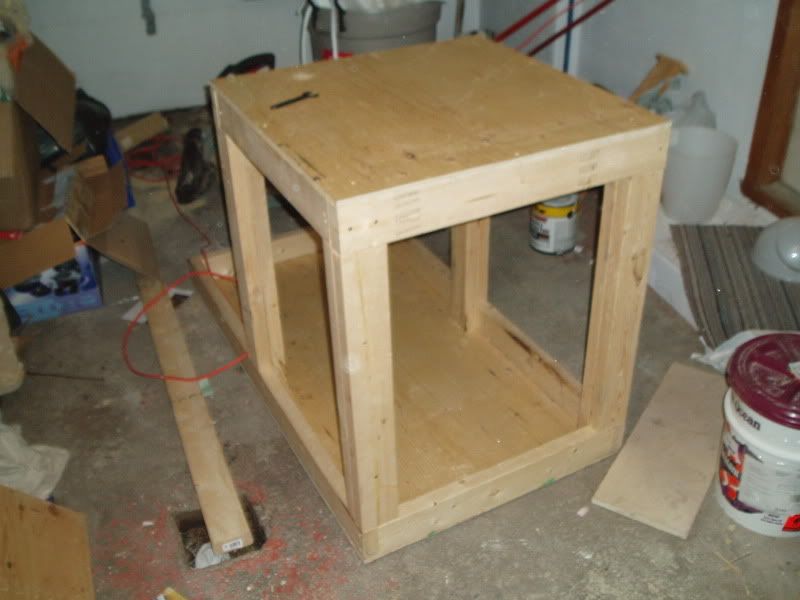 I kalked the joints because I wanted to make the base of the stand water tight. 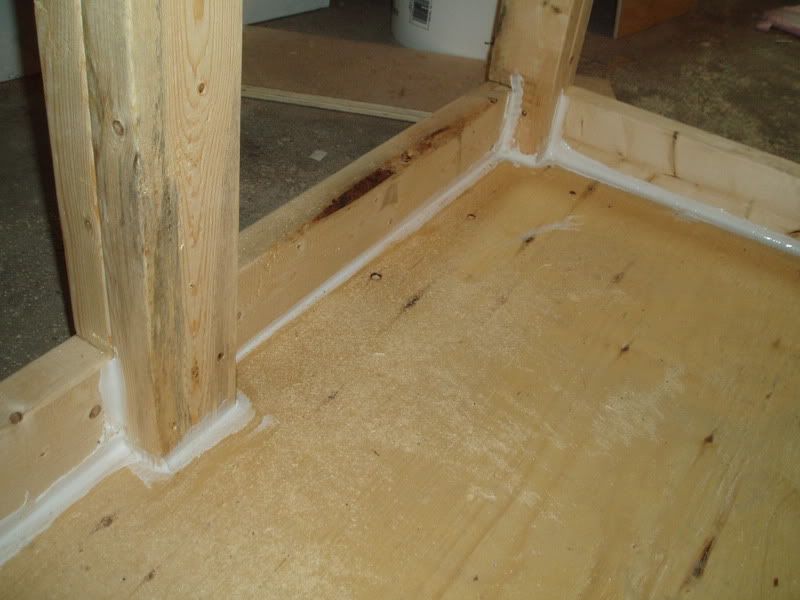 I am going to paint the inside of the stand with some epoxy paint shown below. This is what the home depot people recommended for water sealing wood, although it does say it is for concrete. I just might use what I have left over to paint my grose garage floor. 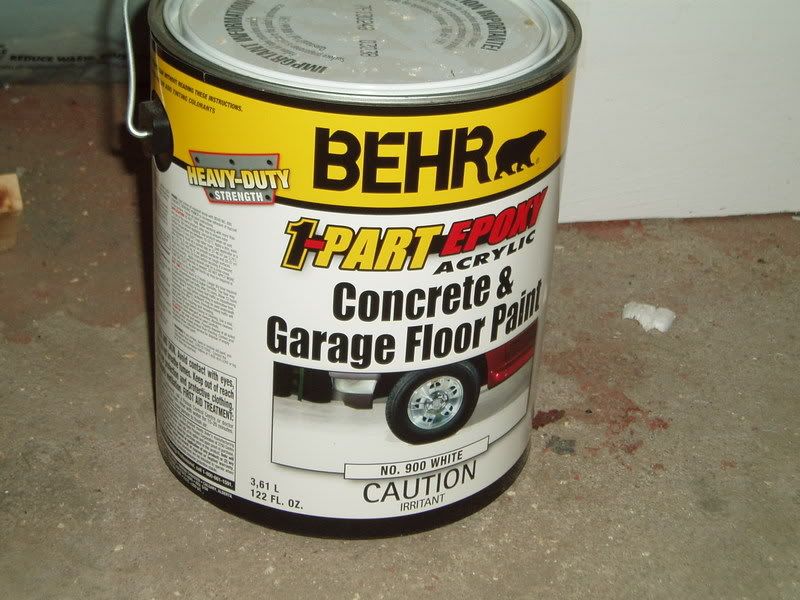
__________________
I'm not as think as you stupid i am |
|
#32
10/15/2007, 02:17 PM
|
|||
|
|||
|
I started on the facing today. I am going with ¾ oak plywood with solid oak trim. I used my skill saw with a cutting guide and a chop saw to cut out these pieces. They were glued together and held in place by 3/8 doweling, which I used a doweling jig for.
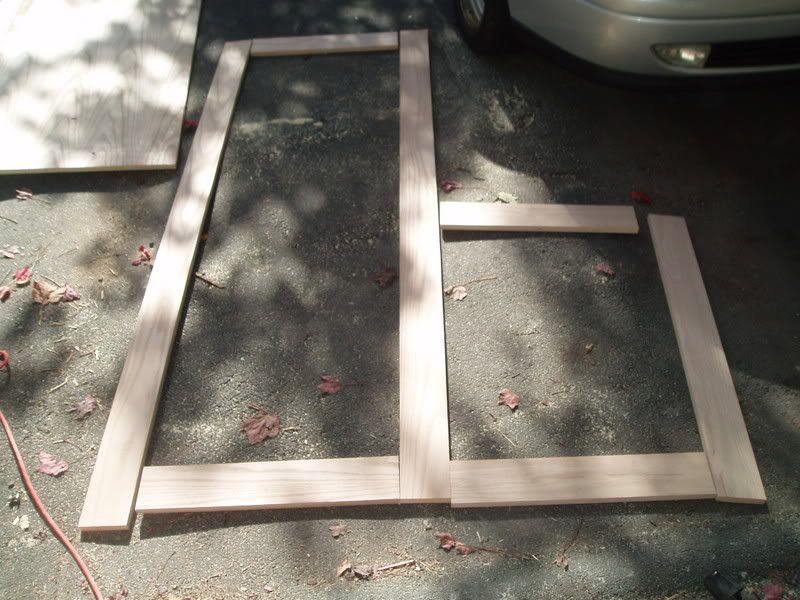 and here it is setting up on a flat surface no Im not gluing it to the floor.. 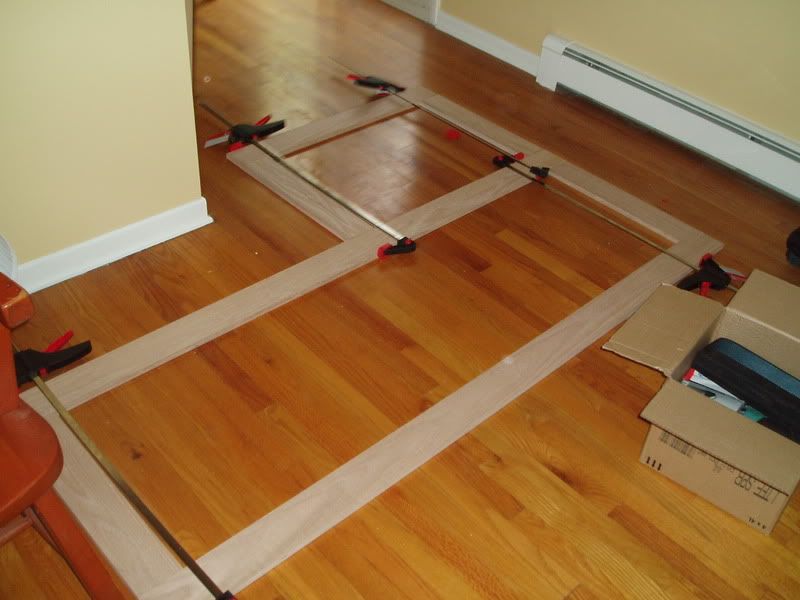 does anyone have any recommendations for stains/varnishes that will help protect the stand should I spill some salt water on it?
__________________
I'm not as think as you stupid i am |
|
#33
10/15/2007, 08:23 PM
|
|||
|
|||
|
Does anyone know what varnish / stain will help protect the oak should i spill salt water on it?
__________________
I'm not as think as you stupid i am |
|
#34
10/16/2007, 11:19 AM
|
|||
|
|||
|
Heres the only update for today. I realized I made a booboo when I measured out the oak facing. I made the facing so it would cover up the 2x4 frame nicely, but it would also about 10 cm of one side of the tank, which just wouldnt do. No problem though, just a few chops later and I fixed the problem. Notice how the piece coming up the center is now a little thicker, and the tall side cabinet frame is now a little thinner.
__________________
I'm not as think as you stupid i am |
|
#36
10/17/2007, 08:17 PM
|
|||
|
|||
|
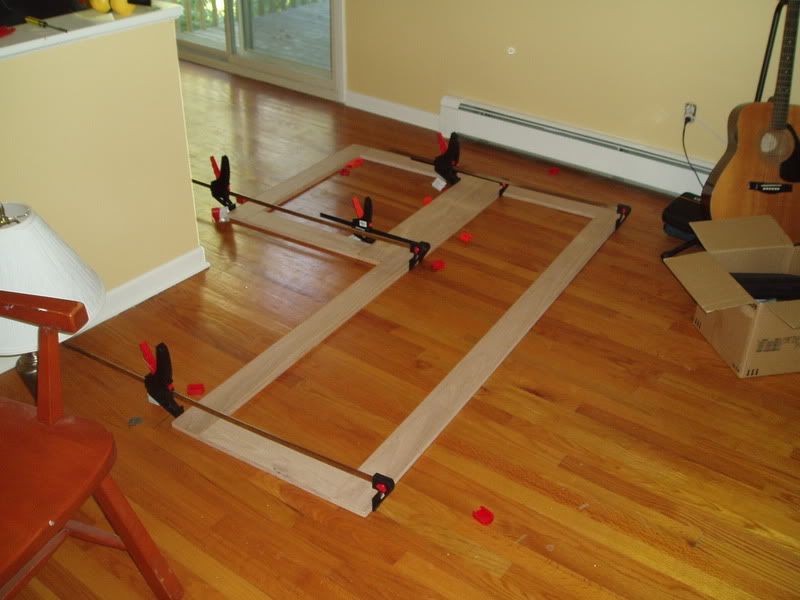
Finished some more work on the stand facing today. I decided that I would put doors on both sides of the stand instead of just the front. The backside will be up against the wall, but it occurred to me that if I move sometime (and I really hope its no time soon), or if I decide to move the tank to another part of the house, than doors on both sides would be a good idea. When I added it up it actually worked out to be a little cheaper too as most of the surface area would be covered with ¼ oak as opposed to ¾. Anyway, so today I glued up the other side of the ¾ facing frame. I also took a few more detailed woodworking pics.
Here you can see what the tank will essentially look like when it is finished. This is the first frame I built mocked up against the wall. Note the wall plug visible in the bottom right plug of the larger door. I had an electrician install that on two separate circuits (as in the top plug is on a different circuit than the bottom plug) so I have two electric circuits that are dedicated to the tank. There is a third plug on the wall to the left (hidden behind the backpack or whatever that is) so that should give my tank plenty of juice. 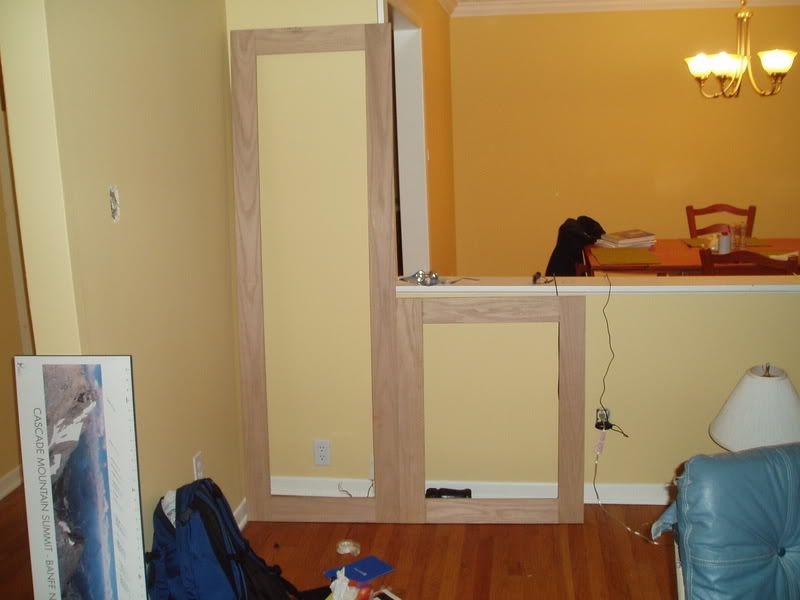 Next I put some woodworking pics. Here is how I cut my oak. I use a 71/4 black and decker skill saw with a cutting guide to cut the long pieces, and a miter saw to cut them to length. 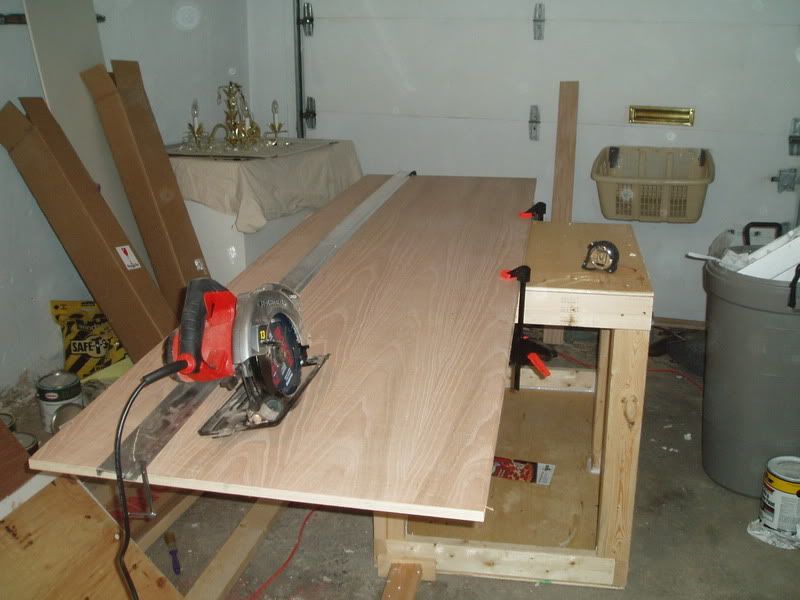 As I mentioned before, I use doweling (and plenty of glue) to hold everything together. Here is my doweling jig in action. An awesome little tool. 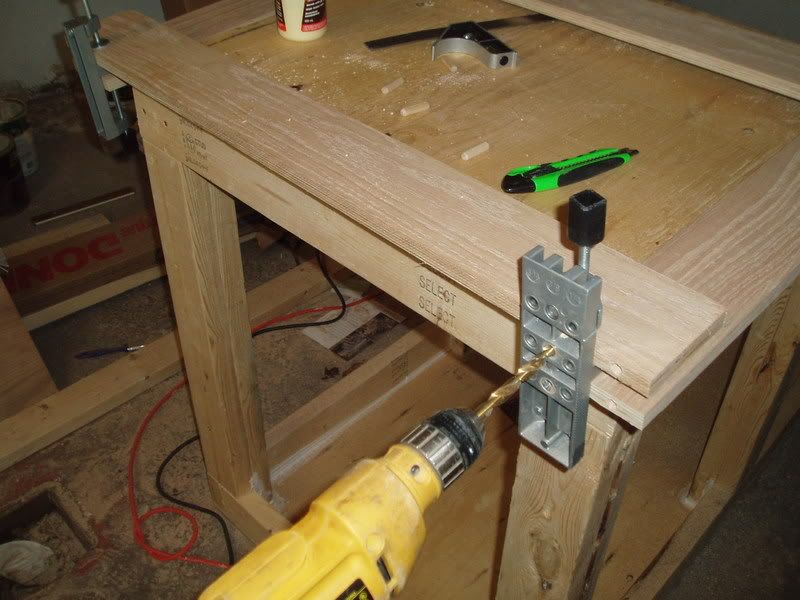 heres how they fit together. 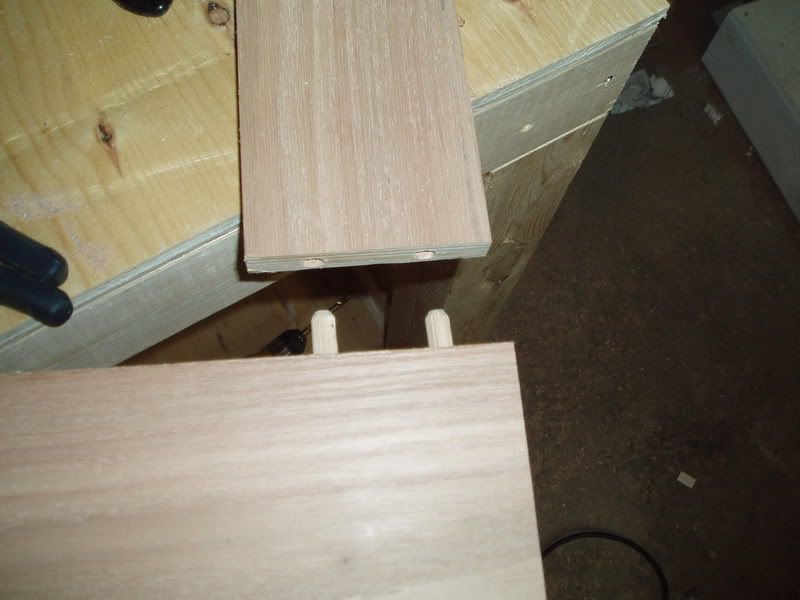 and here is the last shot of this view, I promise. This is the other side of the facing frame gluing up unfortunately the middle of the living room is the only place I can fine enough clear level floor. This Ive decided will actually be the front facing because I did a much better job on this one than the other. 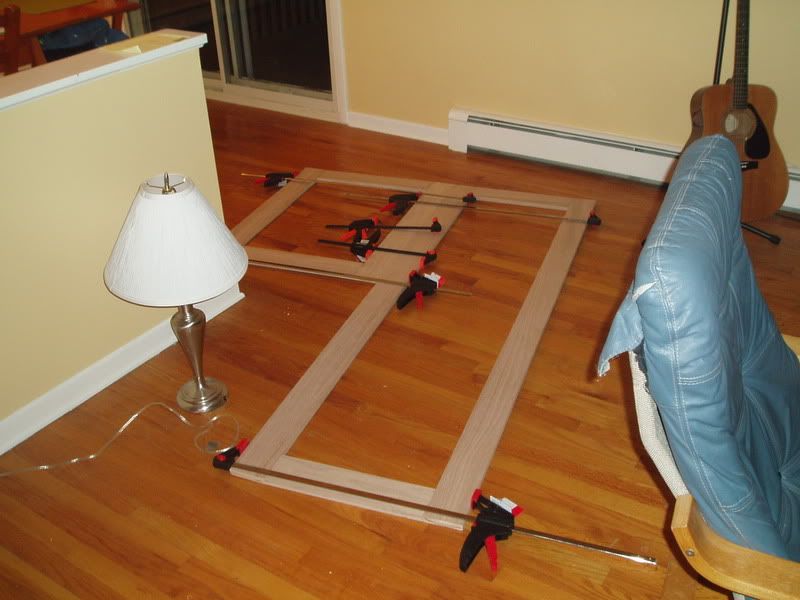
__________________
I'm not as think as you stupid i am |
|
#37
10/25/2007, 01:54 PM
|
|||
|
|||
|
Looks good. Your stand is mostly the same as mine. As for protecting your oak I recommend using a clear coat. I used my compressor and spray gun to spray a few coats of clear on mine. That way you still get the natural look of the oak but it wont get wet.
Oh and I got my luminarc lll's at J&L. |
|
#38
10/25/2007, 03:15 PM
|
|||
|
|||
|
Tank is looking great. You have some pretty good DIY skills man. Gratz on the tank build. Could you show us a close up of your silicone seams? I've never done this before I was hoping to get a better Idea of how that went.
__________________
Brian SEASL & SLASH member For the Best of both Worlds!!!! |
|
#39
10/25/2007, 07:42 PM
|
|||
|
|||
|
looking good. had a reflector made out of that aluminun stuff and thought it was decent until i got some good reflectors and the difference was amazing. 10 month old bulbs looked better than when they brand new with the aluminum crap for a reflector. save youself some time and do it with a good reflector in the beginning. you'll be kicking yourself if you don't.
|
|
#41
10/28/2007, 01:37 PM
|
|||
|
|||
|
I had a chance to get cracken on the lights this weekend. I guess I should have tried to finish the wood work, but I had to rig up a t-5 kit for a customer, so I thought I would get mine going as well. I actually got allot more done than I expected. My light fixture is pretty much finished, I just have to build the wood shell to hold everything together / make it look good. I am also thinking I will integrate some moonlights into the system, but I havent decided exactly how yet. Open to suggestions! Anyway, here are some pics of this weekends work.
For the base of the light fixture I riveted some aluminum angle pieces together. I got these from my dad who is in the solarium business. 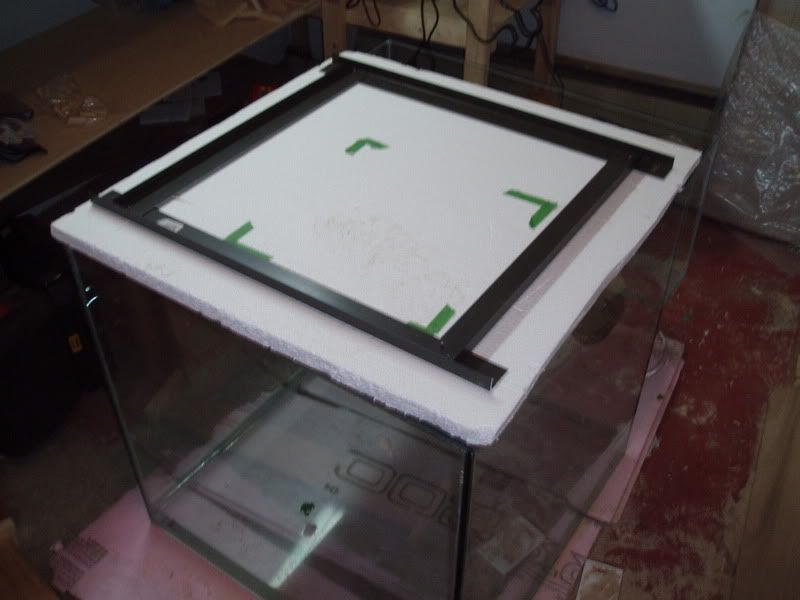 I uses some wood blocks to hold the reflector up  next I installed the t-5 retrofit kit. 4 x 24w t-5 bulbs with reflectors should do the trick. Now I see what you guys are talking about with regards to the reflectors. Look at the difference between the shininess t-5 reflectors and my makeshift dealy. I think a lumenarc is going to be ordered soon, but for now mine will do. 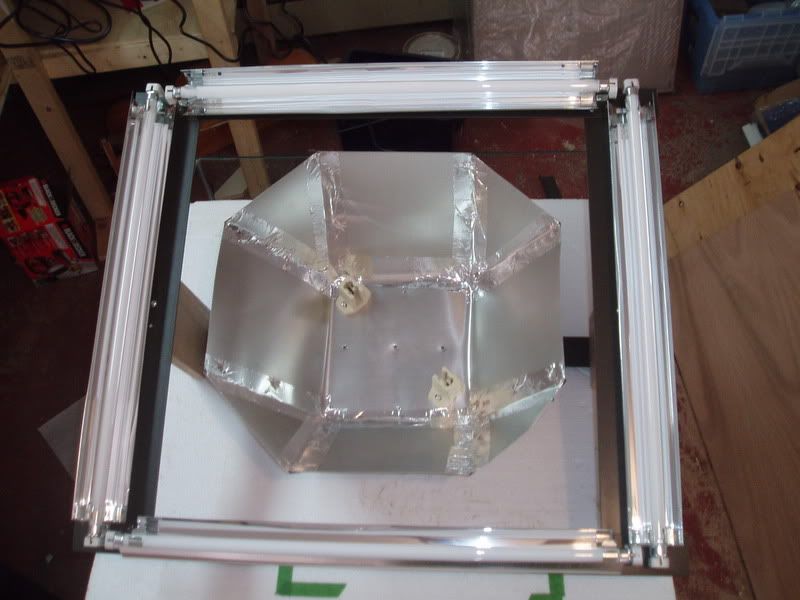 and my bulbs work 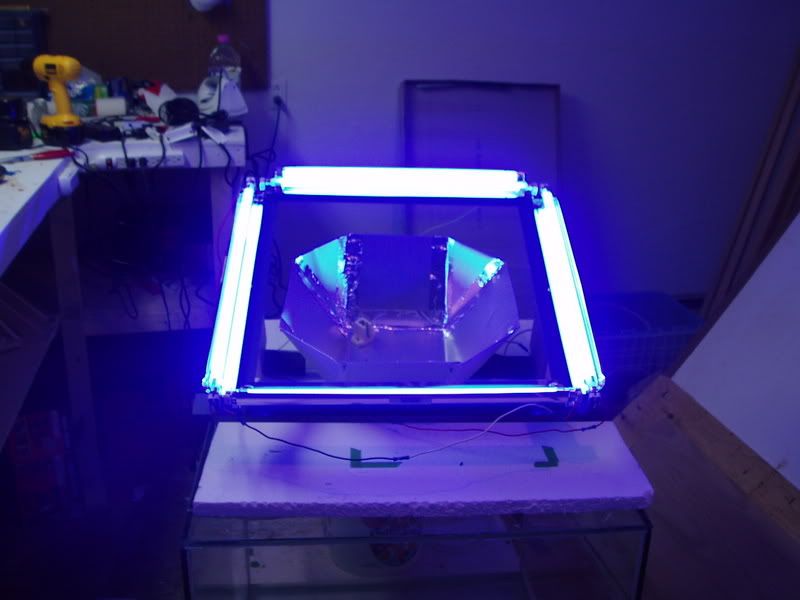 finally, here is the finished product over the tank. I fired up the 400w halide and the t-5 actinics and here is what we have. Looks good if I dont say so myself 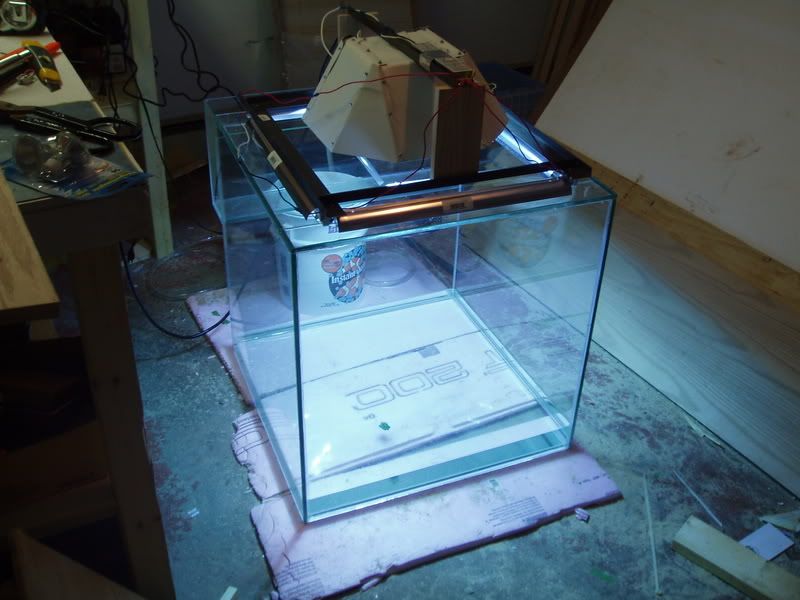
__________________
I'm not as think as you stupid i am |
|
#43
10/28/2007, 04:55 PM
|
|||
|
|||
|
Great build! I can't wait to see it take shape. You will definitely thank yourself if you buy a good reflector. Here's a pick of my LA Mini for comparison.

__________________
Proud Card Carrying Member of the Deltec Club. |
|
#46
10/28/2007, 07:57 PM
|
|||
|
|||
|
Quote:
__________________
I'm not as think as you stupid i am |
|
#47
10/29/2007, 09:36 AM
|
|||
|
|||
|
Quote:
__________________
Proud Card Carrying Member of the Deltec Club. |
|
#48
10/29/2007, 08:17 PM
|
|||
|
|||
|
where did you pick it up? i've been having trouble finding places that have them.
__________________
I'm not as think as you stupid i am |
|
#49
10/30/2007, 08:16 AM
|
|||
|
|||
|
http://www.hellolights.com/index.asp...odID=1473&HS=1 Shipping and packaging were great!
__________________
Proud Card Carrying Member of the Deltec Club. |
|
|


 . keep up the good work!

 Linear Mode

