|
|
|
#1
 09/03/2003, 03:13 AM
|
|||
|
|||
|
240 Inwall Construction (Image Intense)
OK folks, here we go. I have been working on this project for a couple of months now and decided it was time to share some info and photos. I have gained much knowledge on this forum and if this experience of mine helps anyone, I am pleased. Here's the basic idea; upgrade my existing 65 gallon Oceanic tank to a 8X2X2 Oceanic reef ready tank of 240 gallons and convert a guest room into a fish room. Some of the equipment and all the rock and critters would be transferred to the new spacious abode. The tank front is located on the main great room wall after having moved my entertainment unit to the adjacent wall. So here begins the tale of an ambitious one-man project.
I ordered the tank with two 1"bulk head holes drilled on the back centered in height and approximately 6" from the prefilter boxes. These are for the closed loop pumps inlets. Unfortunately, the tank, ordered through a local fish store, took 2 months to arrive. This ground my work to a hault due to my want to have exact measurements for "the hole in the wall". Finally it arrived and I was back under way. First, I added a sink to the room to have drainage (water changes) as well as the ability to clean and dry parts without the need to leave the room. The master bath shower backs up to one of the walls in the fish room so plumbing would be straight forward. Here's a photo of this plumbing addition for hot/cold water and the drain. The horizontal copper water lines are the new addition as well as the black ABS "T" for the drain. 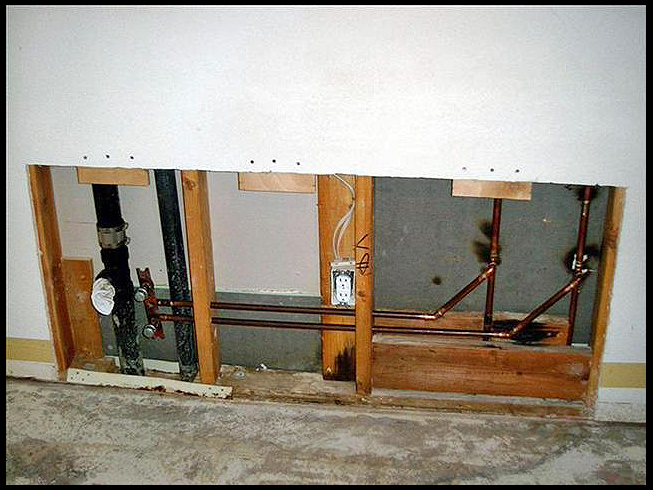 Next.. re-sheetrock, texture and paint. Then I installed the sink as seen here; 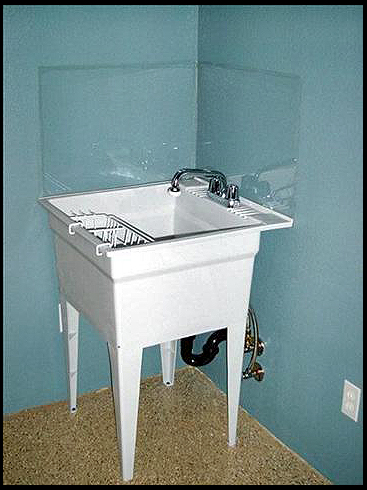 And here is a shot of the tank, newly arrived. I picked it up myself with a rented moving truck. I would highly recommend this, especially one equiped with a lift gate. With the help of some friends, family and the dolly I made, we got it into the house. 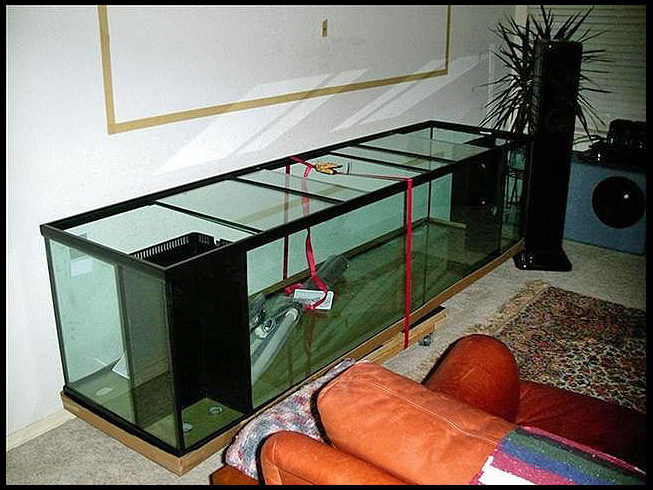 To be continued... Last edited by Skipper; 04/03/2004 at 10:16 PM. |
|
|


 Threaded Mode