Another day another dollar.
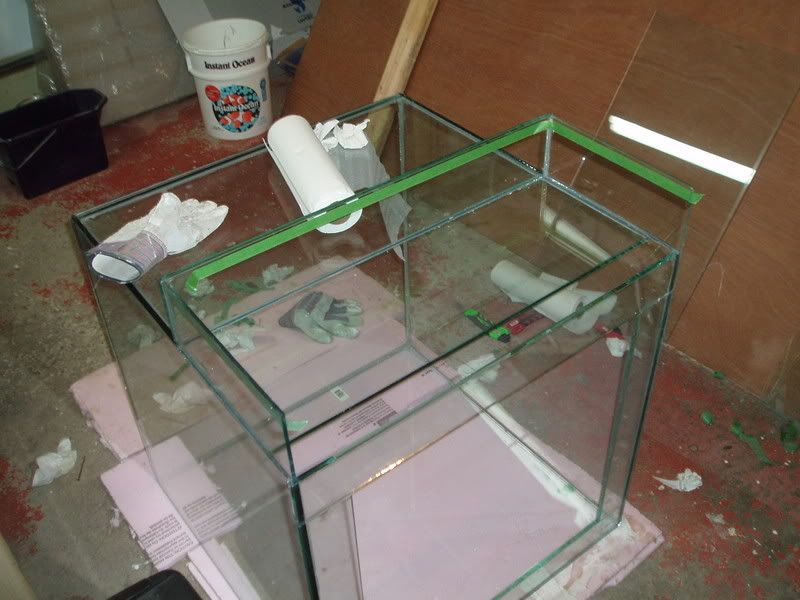
Here we are on day two, and she can stand on her own now. Everything sealed nicely, no visible bubbles of silicone between glass pains, and everything stayed well aligned over night.
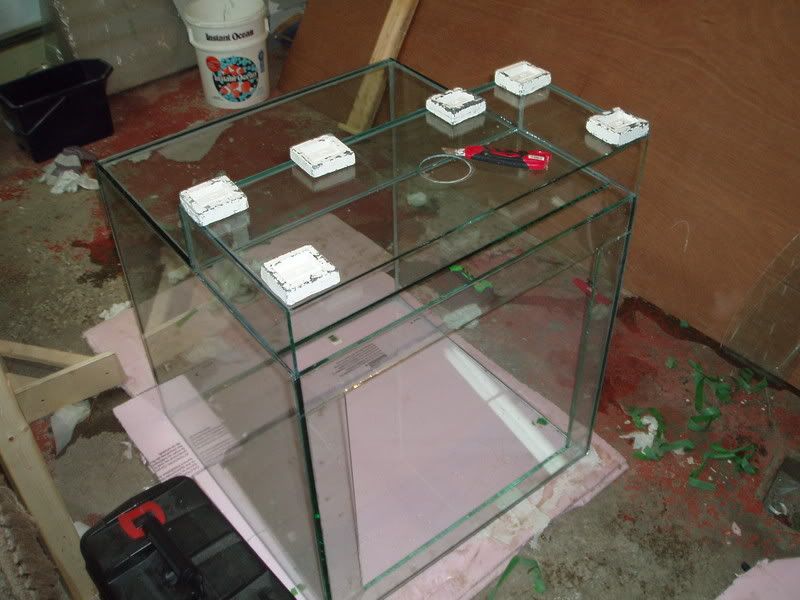
Now its time to start euro bracing. The braces are 8cm thick, and made from the same 10mm glass. Here is the front and back being silicone in place. The front was fussy, and I had some trouble with air bubbles, so I enlisted my recently purchased, and sufficiently heavy salt jug to keep everything in line.
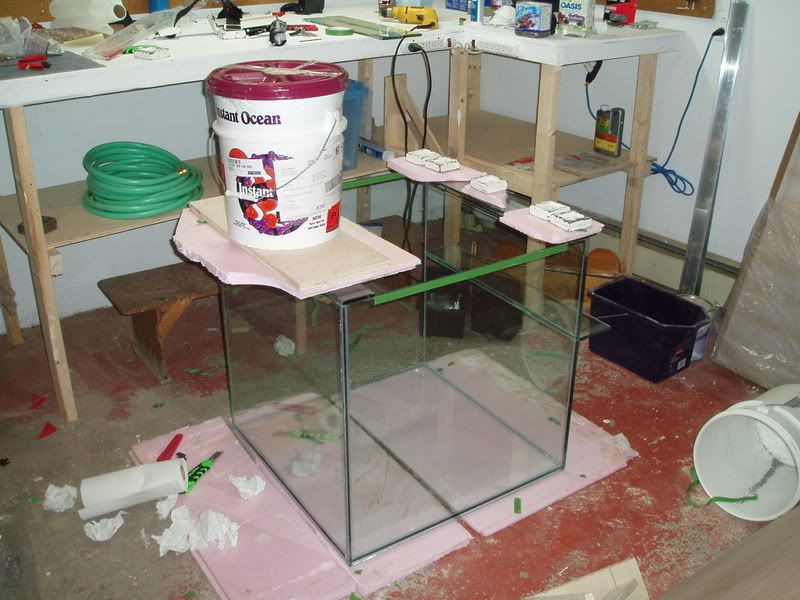
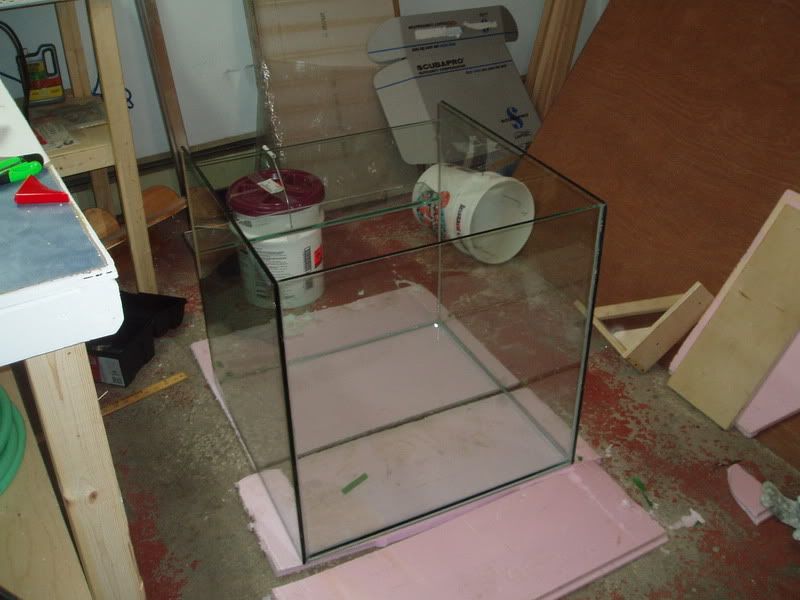
I let that cure up for the better part of the day before I added the side pieces. Tank maker node: you can never own too many clamps.

and here she is all set up with the tape and weights off.
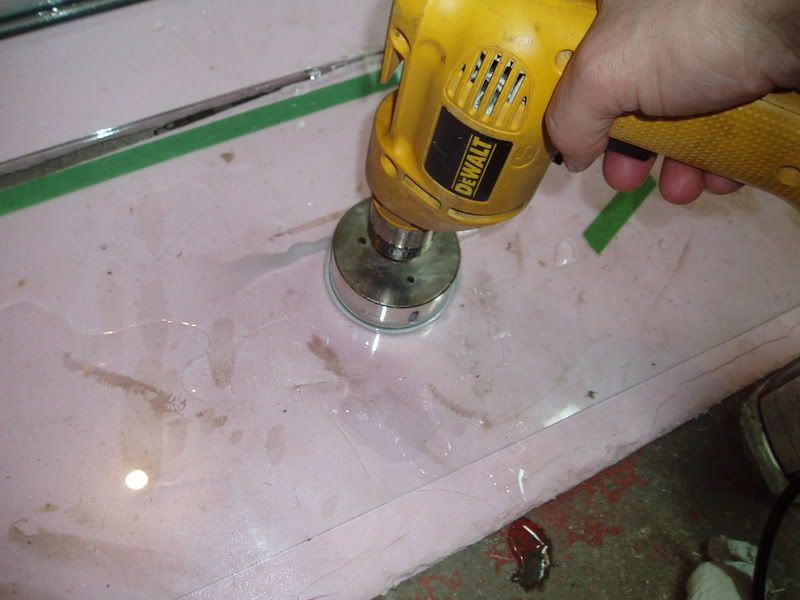
Next up we have some overflow pics. For the overflow I am using 5mm glass that I cut myself. This glass is from an old window that I cleaned with rubbing alcohol.
The pain for the back of the overflow is where I am putting my bulkhead, but I decided to drill it before I attach it to the tank. I used a 85mm diamond coated hole saw from e-bay. I drill tanks professionally (well.. quazi professionally) so I have all the necessary gear.
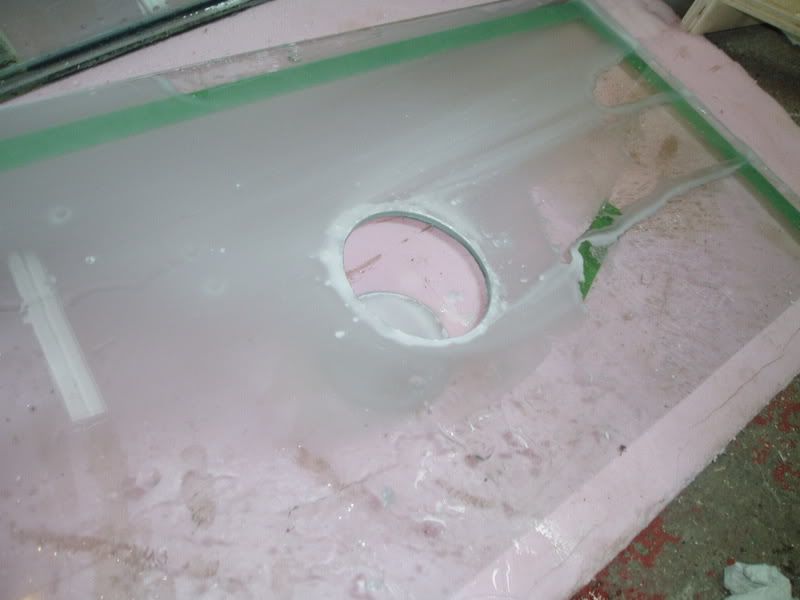
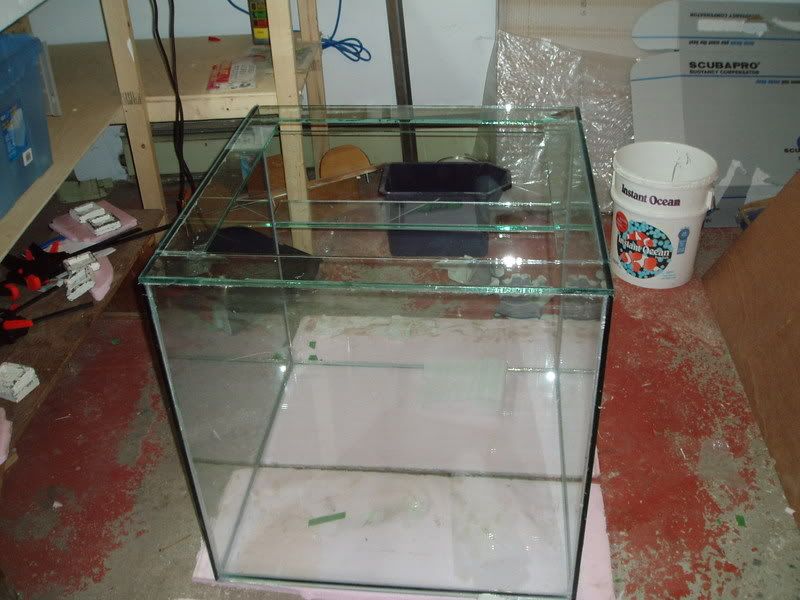
Finally the last pain is in place and I can call the tank just about done. I still have to dull the edges of the glass that I cut, which I will do with a diamond bit and a dremel, and clean all the fingerprints and silicone boo boos, which I will do with razor blades, paper towel and rubbing alcohol.