|
|
|
#1
 01/19/2007, 04:20 PM
|
|||
|
|||
|
My 150G Build Thread
Well even though its going to take some time to get a new 150G up and running, Im going to go ahead and get started on this thread. The new tank is going to be 60X24x24. I was going to DIY a stand and canopy for this new tank but I found a deal in Denver thats hard to beat. Plus it fits the tank.
Here is the pic of the stand and canopy. I have to fix the door since we broke it off the hinges.(Note to self, dont trust the wife when she says "I got it") Yup, we dropped it. But its an easy fix. [IMG] 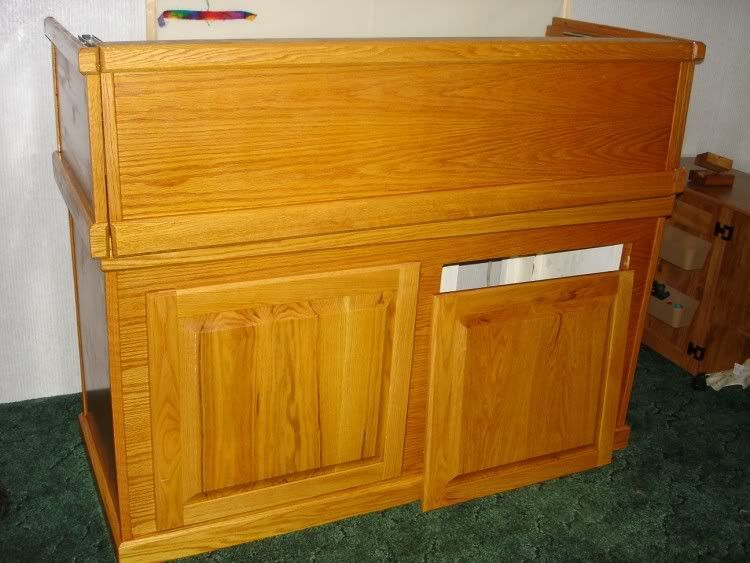 [/IMG] [/IMG] What I like about the canopy is the front rolls up to give me a lot of room to work if Im working on the tank [IMG] 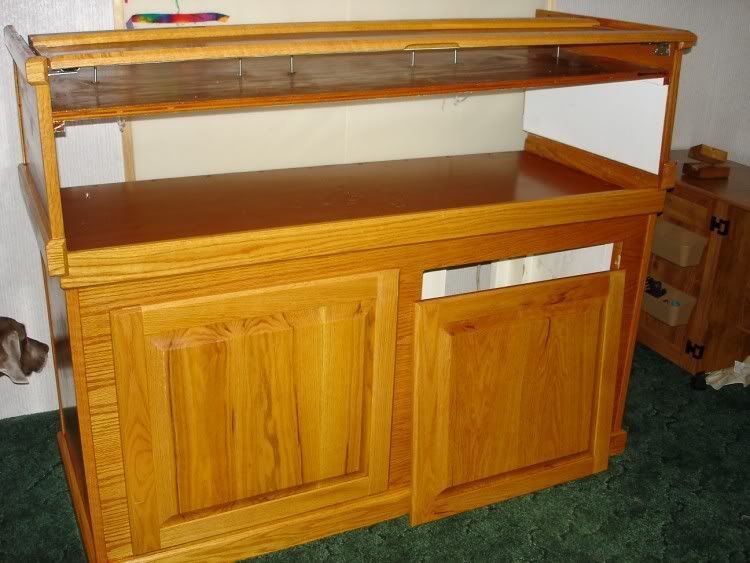 [/IMG] [/IMG]
|
|
#2
01/19/2007, 04:28 PM
|
|||
|
|||
|
So, we get started on the tank itself.
Jan 13th, we started to cut the acrylic. We forgot to take pics of the full sheets but the dimension were 8'X4'x1/2". [IMG] 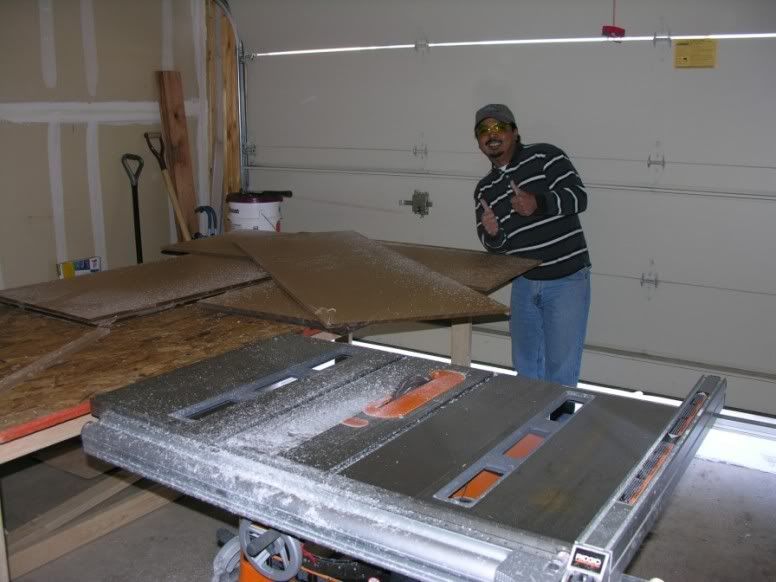 [/IMG] [/IMG] Eric got a new blade for his table saw that worked so smooth, sanding the edges wasnt needed. We then glued both sides of the tank to the front. We used the "pins method. [IMG] 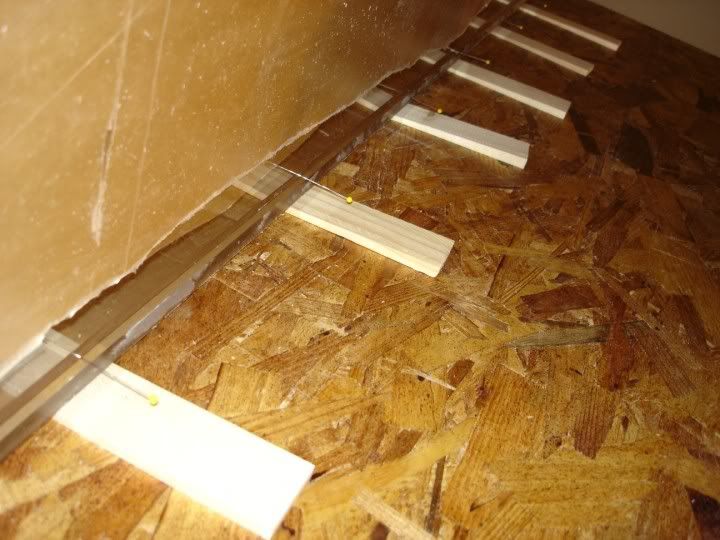 [/IMG] [/IMG] [IMG] 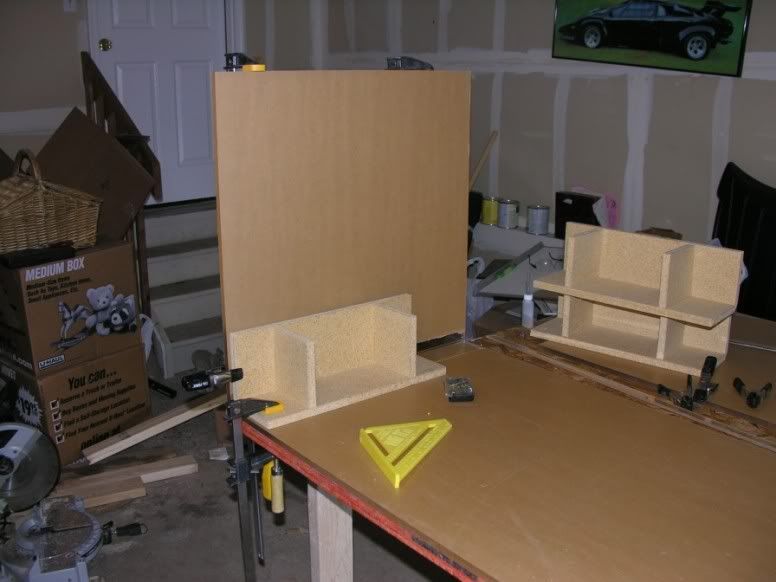 [/IMG] [/IMG] [IMG] 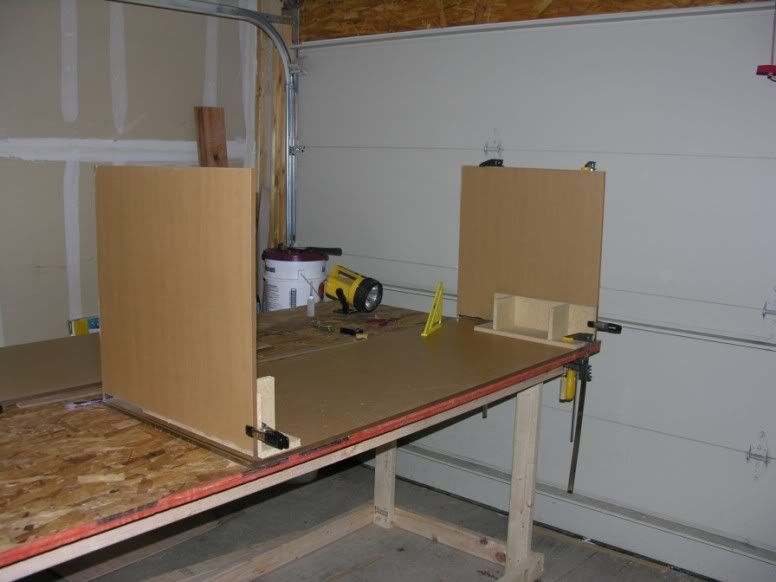 [/IMG] [/IMG] After the sides were glued or should I say welded in placed and clamped down, we goofed off for the rest of the day and went to Keys Island. Thats were Eric scared the crap out of me riding in his Beemer. Nice smooth ride though. That car can sure handle some icy roads. |
|
#3
01/19/2007, 04:37 PM
|
|||
|
|||
|
Jan 16. Due to the new episodes of 24, it took a few days for us to get back on working on the tank. We then started to weld on the back panel. The tank is going to have an external overflow. This eliminates taking up some valueble tank space inside.
We first cut a template for the overflow teeth. [IMG] 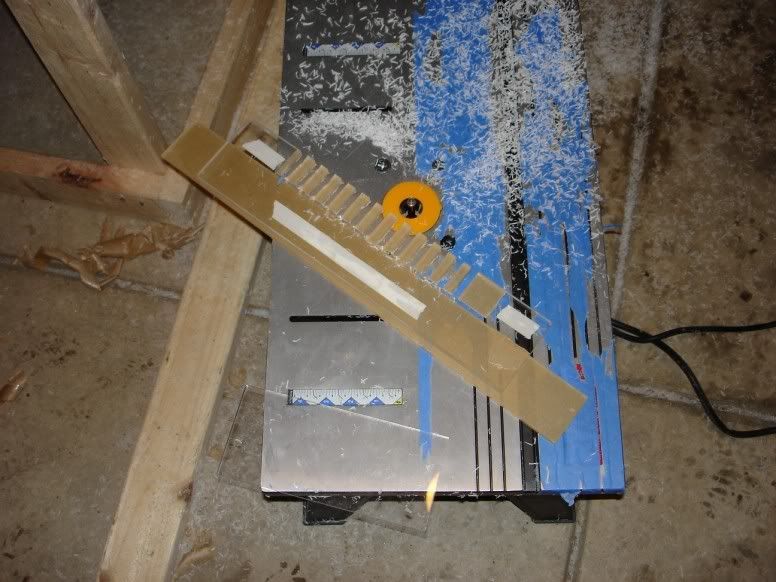 [/IMG] [/IMG] After we got the templete cut, we then used it to cut the teeth on the main tank itself. I did the first cut and screwed it up. I guess I was pushing to hard and broke one of the teeth. No problem, Eric cut a piece and fixed it. [IMG] 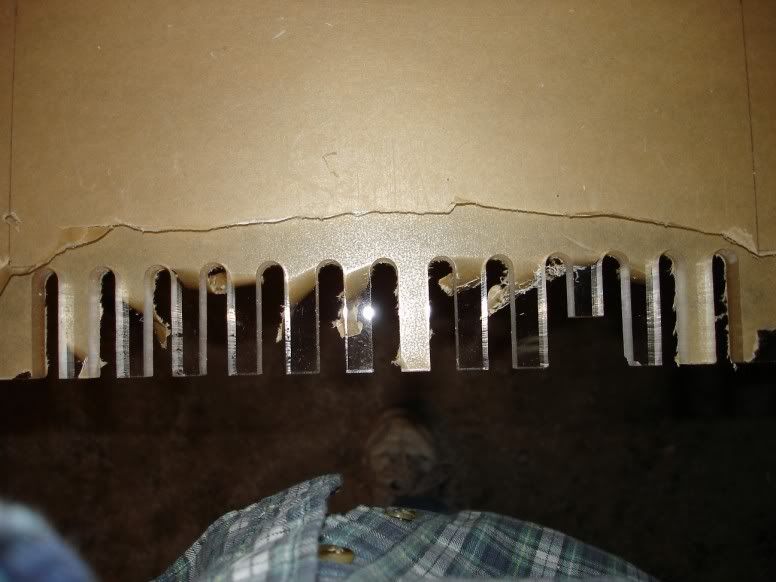 [/IMG] [/IMG] We then proceeded to weld the back on. [IMG] 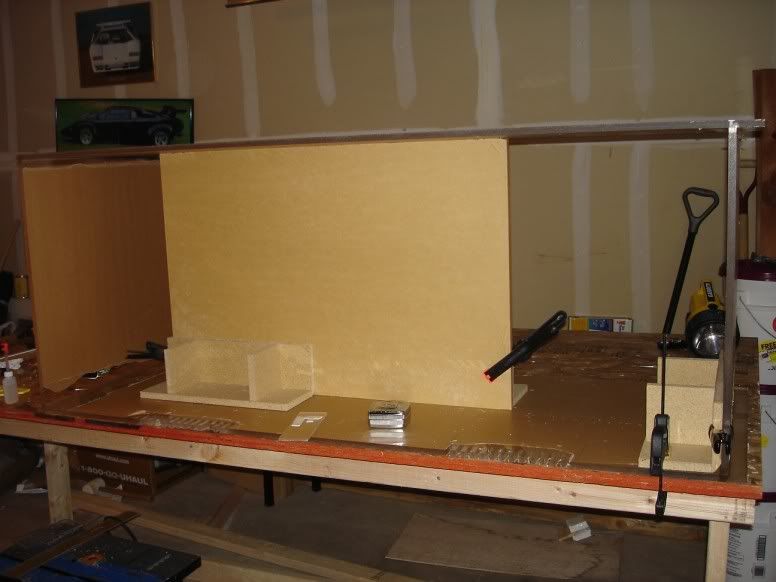 [/IMG] [/IMG] We then called it a night. |
|
#4
01/19/2007, 04:43 PM
|
|||
|
|||
|
Jan 17. We then started to build the top. The edges of the top are 4" and the center is 6". We drew out the openings on the acrylic and used a 4 1/8" hole saw for the rounded corners.
[IMG] 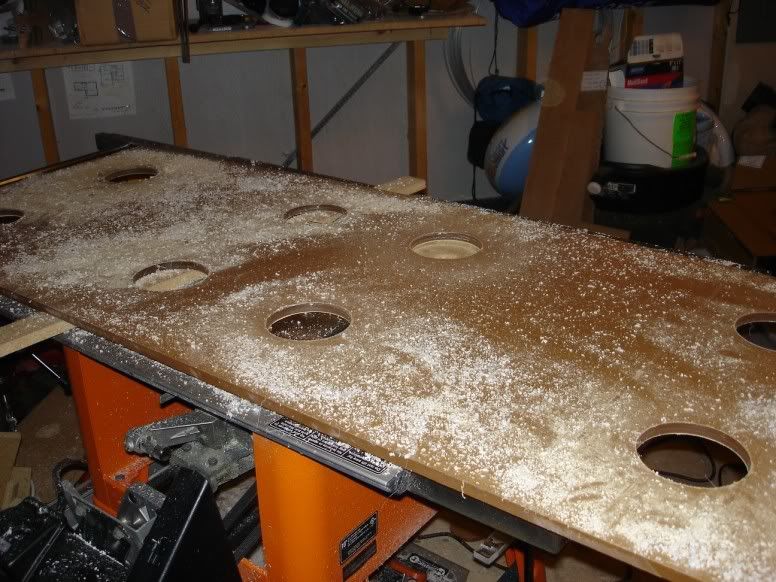 [/IMG] [/IMG] Rough cut the openings [IMG] 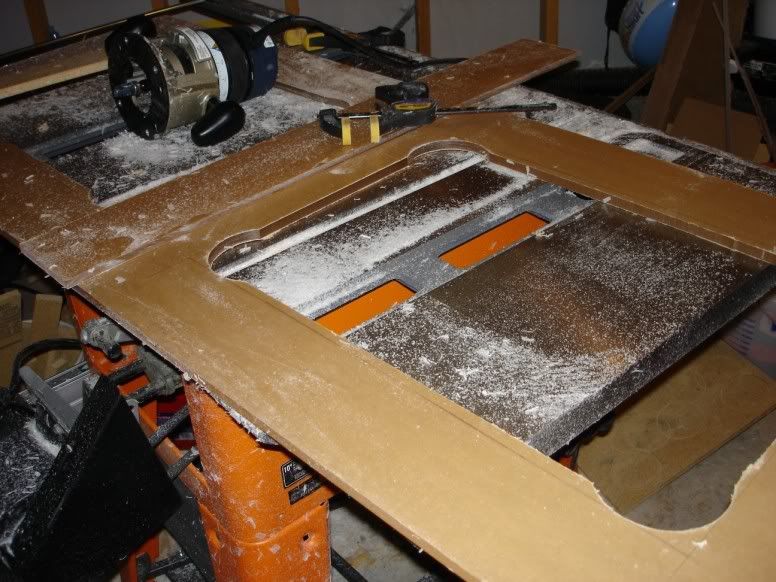 [/IMG] [/IMG] Then took the router and made a nice straight edge [IMG] 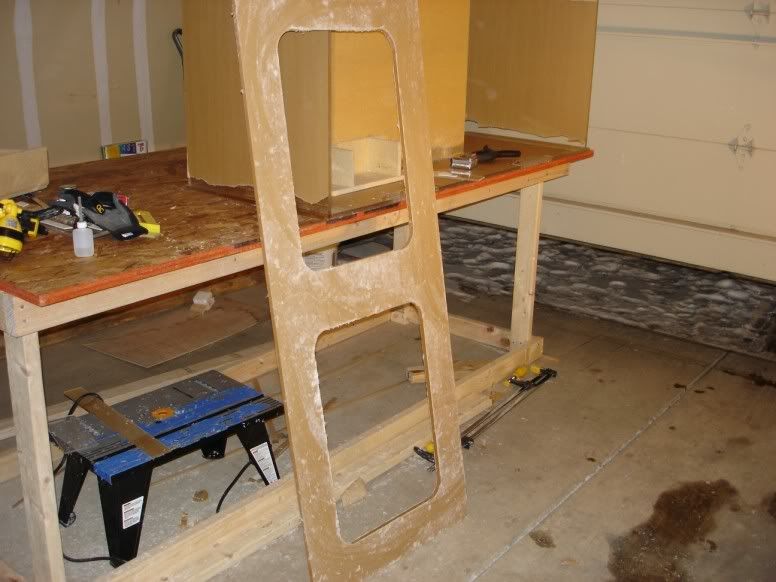 [/IMG] [/IMG] Welded the top in place [IMG]  [/IMG] [/IMG]
|
|
#5
01/19/2007, 04:47 PM
|
|||
|
|||
|
Jan 18. Bottom of the tank is welded
[IMG]  [/IMG] [/IMG] We then proceeded to make the overflow boxes. [IMG] 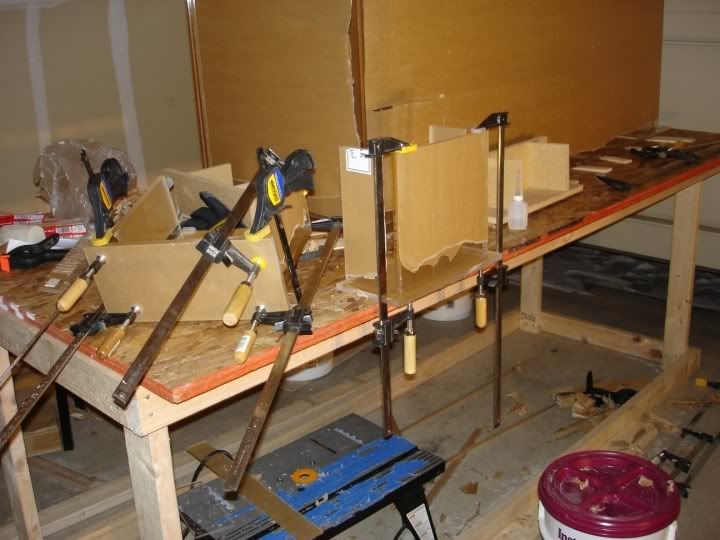 [/IMG] [/IMG] So thats it for now. We will weld on the overflow box tonight and start routing the edges tommorow. We will still need to sand the edges but that can wait for now. |
|
#6
01/19/2007, 04:56 PM
|
|||
|
|||
|
Heck yeah baby!!!!
__________________
"The problem with America is stupidity. Why don't we just take the safety labels off of everything and let the problem solve itself" Member of the 1000 watt bulb club |
|
#7
01/19/2007, 06:03 PM
|
|||
|
|||
|
That is really looking good guys. This baby should be ready for a water test by what...Saturday??? Yes that sounds like a logical day to me, what does everyone else think??
BTW Russ, that stand and canopy is beautiful. Care to say where and how much?
__________________
Todd Its better to burn out than to fade away..... |
|
#8
01/19/2007, 06:11 PM
|
|||
|
|||
|
Nice russ, very nice thats nice to be able to say you had a hand in building the tank! Not many people can say that.
I love that lid on the canopy, is that some special hinge setup? I've never seen something like it before.
__________________
People without reef tanks are so smart! Listen to them and you will learn so so much..... |
|
#9
01/19/2007, 06:26 PM
|
|||
|
|||
|
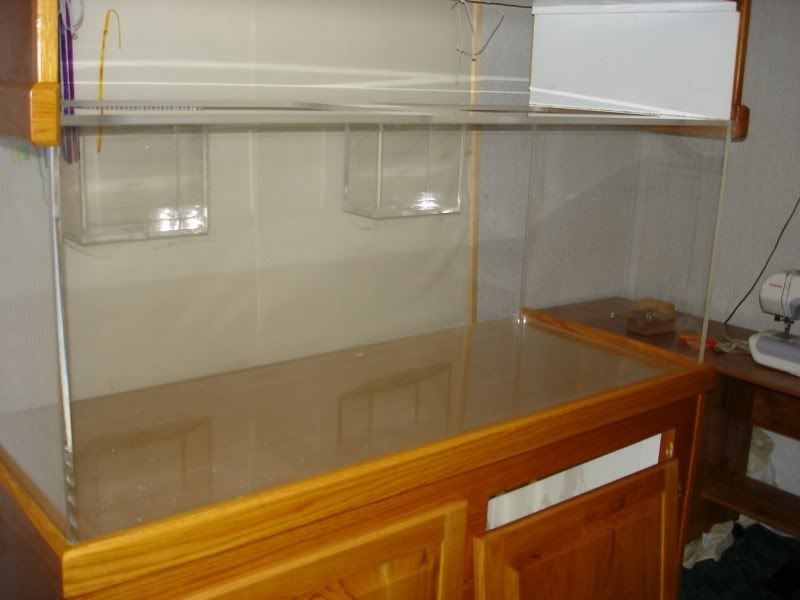
Todd, the stand and canopy was $150. I thought it was a good deal. Chris, there are some rollers on the canopy. Its a pretty simple design, but effective. Sorry guys, wet test will not happen for a while. I will do it in my garage but I have to build a stand frame for it. The stand I have isnt going back outside since its pretty heavy. With the cold weather we have been having, Im not going to do it anytime soon.
|
|
#11
01/19/2007, 06:54 PM
|
|||
|
|||
|
Quote:
Are you saying not everyone has a heated garage?  You are waaaay more patient than I. You are waaaay more patient than I.
__________________
Todd Its better to burn out than to fade away..... |
|
#12
01/19/2007, 07:00 PM
|
|||
|
|||
|
LOL! Nope. I dont have a heated garage. Everyone thinks that Ill have this tank up and running fairly quick. Im really not in a hurry to set up this tank. I didnt think that the tank was going to be built so soon. This tank will not see any livestock till fall at the minimum.
|
|
#13
01/19/2007, 08:09 PM
|
|||
|
|||
|
Re: My 150G Build Thread
Quote:
I can relate  try that with a Jeep hard top. Same thing happend "I got it, crash crack break...." I should have taken notes!!!! try that with a Jeep hard top. Same thing happend "I got it, crash crack break...." I should have taken notes!!!! Looks great. Don't fret Russ, I don't have a heated garage either, I just bought a portable heater to use when I am working out there and it doubles for in the house too.
__________________
C4 is your freind, It is easy to use, safe and deadly! You can even use it to cook your food with. |
|
#14
01/19/2007, 09:54 PM
|
|||
|
|||
|
Quote:
I dont see why you cant have livestock in it by Feb. yeah thats a good goal. 
__________________
People without reef tanks are so smart! Listen to them and you will learn so so much..... |
|
#15
01/19/2007, 10:57 PM
|
|||
|
|||
|
I think he stated in a different thread that Feb or March was his deadline to be set up. C'mon Russ, its just a month or so early. I can help you move the stand!
__________________
C4 is your freind, It is easy to use, safe and deadly! You can even use it to cook your food with. |
|
#16
01/19/2007, 11:45 PM
|
|||
|
|||
|
LOL! Sorry guys. Ill do my best to get this up and running fast. The tank will be in my house tommorow. I have to help Eric build his Dads tank first. Its bigger than mine so it may take a few days. Ill talk to you guys about my tank tommorow.
|
|
#17
01/20/2007, 06:47 AM
|
|||
|
|||
|
Jan 19. We went ahead and routed the edges. Good thing I didnt havent had dinner yet then since I got really full on acrylic shavings.
[IMG] 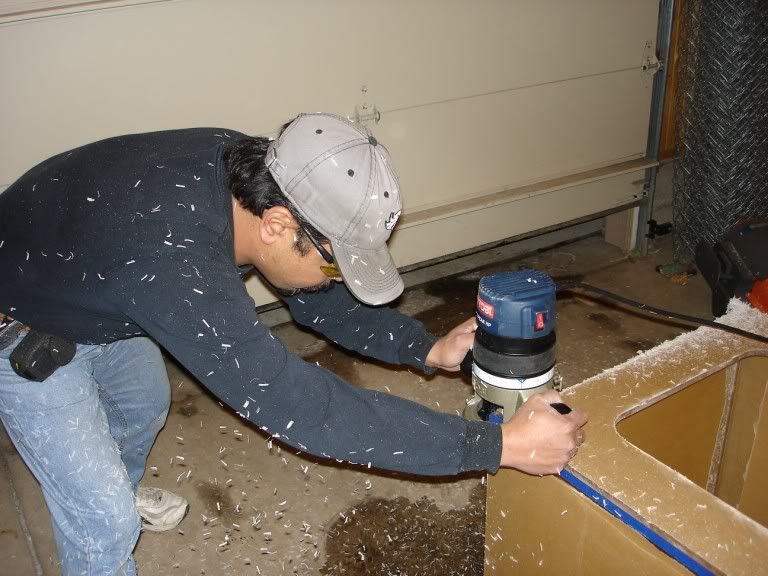 [/IMG] [/IMG] [IMG] 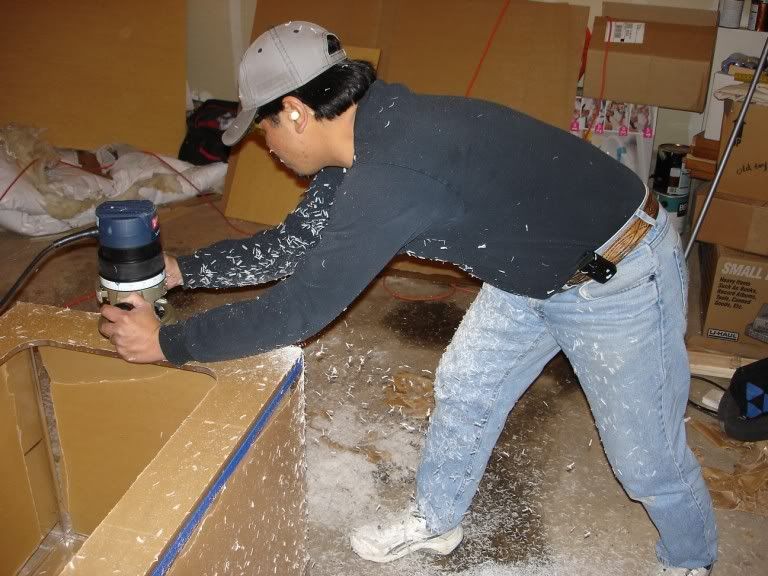 [/IMG] [/IMG] Drilled the hole for the overflow box [IMG] 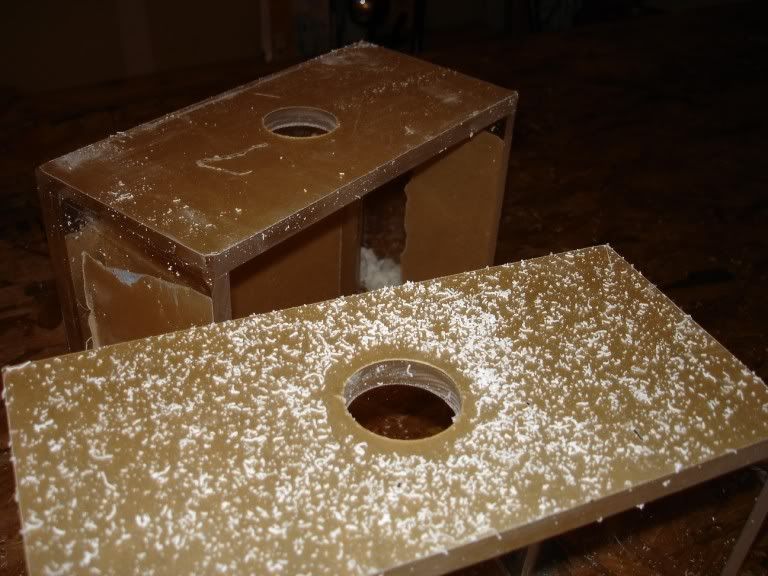 [/IMG] [/IMG] And proceeded to weld it in place. The ballast are just there to put some weight on it to hold it in place. [IMG] 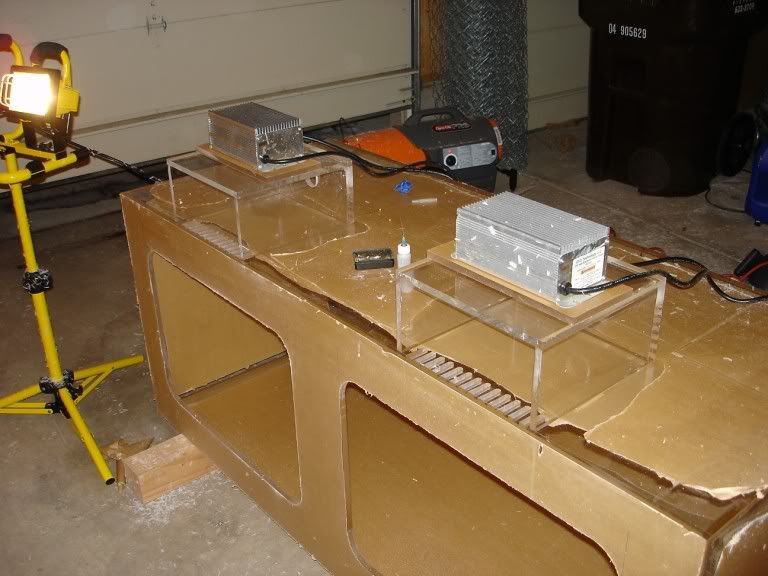 [/IMG] [/IMG]
|
|
#18
01/20/2007, 07:58 AM
|
|||
|
|||
|
Thats looking great Russ!
I know who to call when I want to build one now! 
__________________
I never saw a wild thing sorry for itself. A small bird will drop frozen dead from a bough without ever having felt sorry for itself. D.H. Lawrence |
|
#20
01/20/2007, 10:17 AM
|
|||
|
|||
|
Russ your tank is looking so sweet. I love the overflow design. The way the top part of the teeth are covered by the top is cool. Can not wait to see it running. No rush. Take your time do it right.
|
|
#21
01/20/2007, 10:41 AM
|
|||
|
|||
|
what type of bit did you use to drill those holes? looks clean, I always use a hole saw but I hate it and it melts the acrylic.
__________________
People without reef tanks are so smart! Listen to them and you will learn so so much..... |
|
#22
01/20/2007, 01:00 PM
|
|||
|
|||
|
Explain the pin method of gluing the tank. I think I know but am not sure.
__________________
C4 is your freind, It is easy to use, safe and deadly! You can even use it to cook your food with. |
|
#23
01/20/2007, 03:35 PM
|
|||
|
|||
|
Thanks Dan!
Chris, we used some regular hole saws and went really slow. Paul, the pins method is basically using pins to elevate the panel that will be welded on. We use Weldon3 to bond the 2 pieces with a needle type applicator. You basically squirt the weldon between the seams and remove the pins after forty five seconds. The panel will drop down and was clamped. If I understand correctly, this method helps eliminate some major air bubble pockets. I still have few air bubbles but nothing major. |
|
|


 [/IMG]
 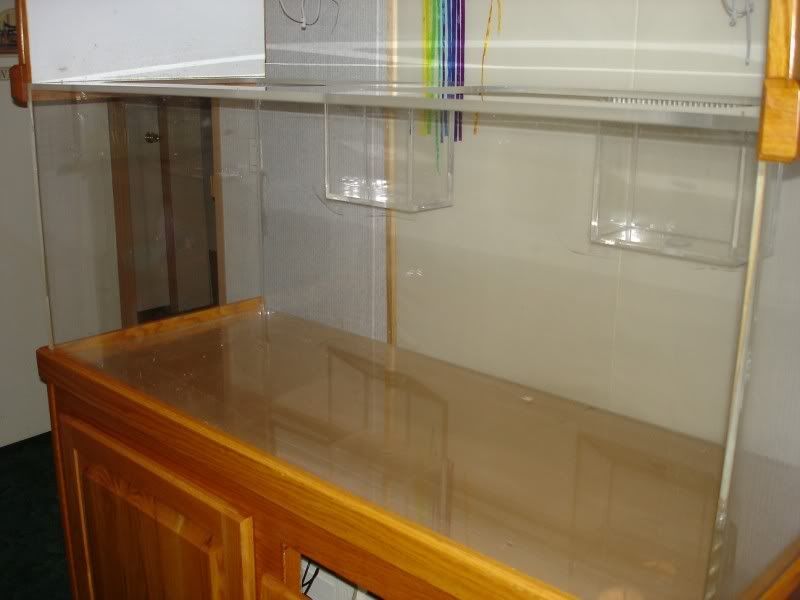 [/IMG]
 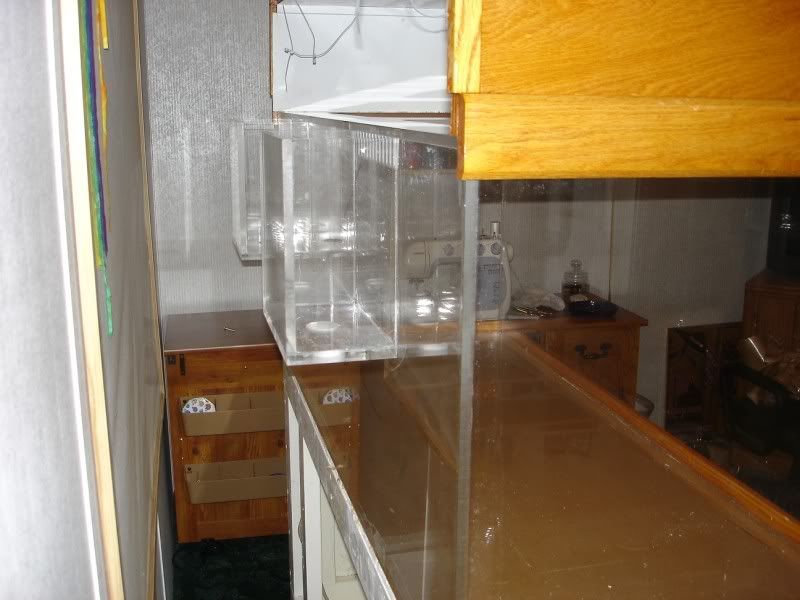 [/IMG]
 Linear Mode

