

|
|
|
|||||||
|
|
Thread Tools | Search this Thread | Display Modes |
|
#26
|
|||
|
|||
|
:Travis jabs Nick in the side: This is the other guy that I was talking about
 Hurry up and get some pictures Hurry up and get some pictures  I'm not too sure how well it would stick. I really think that it will do well. I'll have to put a dab of silicon down on some newspaper and spray it in a few days and see what happens.
__________________
Travis Stevens |
|
#27
|
|||
|
|||
|
Quote:
Keep teaching Bro. Paul 
|
|
#28
|
|||
|
|||
|
Aye, I was thinking that I might do that after my fantasy draft tonight.
This could be a good exercise. You still have that glass circle from when we drilled your tank last night? Put some silicone on it, then paint it. Grab a Joe's cup, pull some water from your sump, and soak the glass. Maybe put it in the same area as your sump, so it will get light also. After a couple days, check it. It would be a good test as to how the paint will react. Ahh, experiments. Gotta love them. 
|
|
#29
|
|||
|
|||
|
I'm not too sure where that piece of glass went from drilling my tank, but I'll definitely do some tests for everyone. It looks like those that are following this thread will have a bunch to read and see tomorrow.
__________________
Travis Stevens |
|
#30
|
|||
|
|||
|
Continued...
Well, I remembered the camera last night. I went out and did some price shopping as well. Let's do a little recapping. Here are the items in their packages and the prices.
Bulkhead Pieces One Inch Female Adapter Socket to FIPT - Lowe's - $0.48 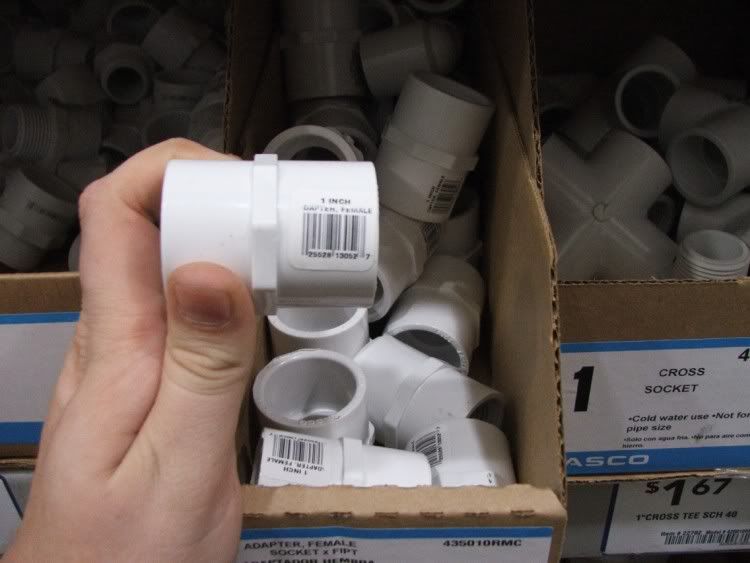 One Inch Insert to FIPT - Lowe's - $0.97 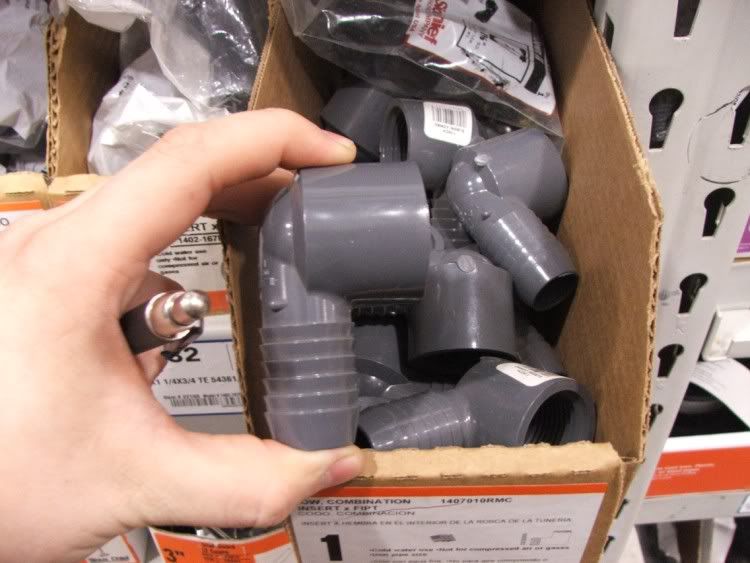 Lavatory Pop-up Drain Gasket - Lowe's - $0.97 Take this item and cut the lip off so you can have two gaskets. 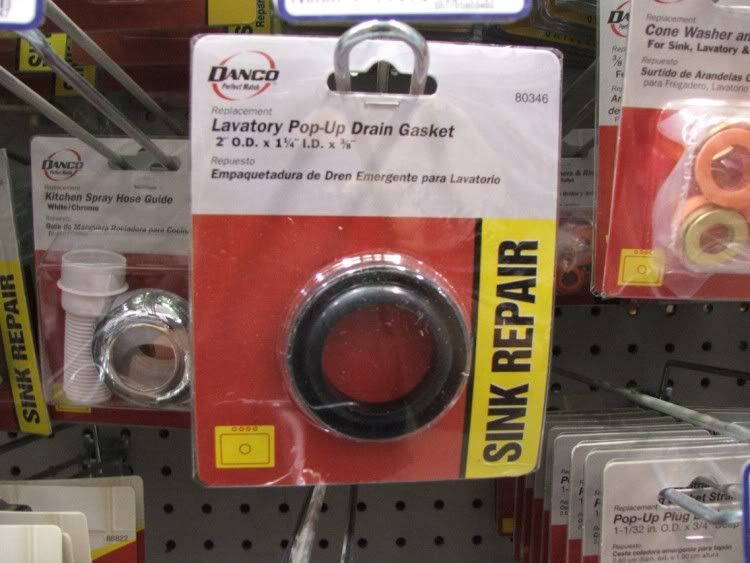 Total DIY Bulkhead Price - $2.42 Glass Drilling Pieces Diamond Coated Ball Point Dremel Bit - Lowe's - $9.47 Diamond Coated Taper Dremel Bit - Lowe's - $9.49 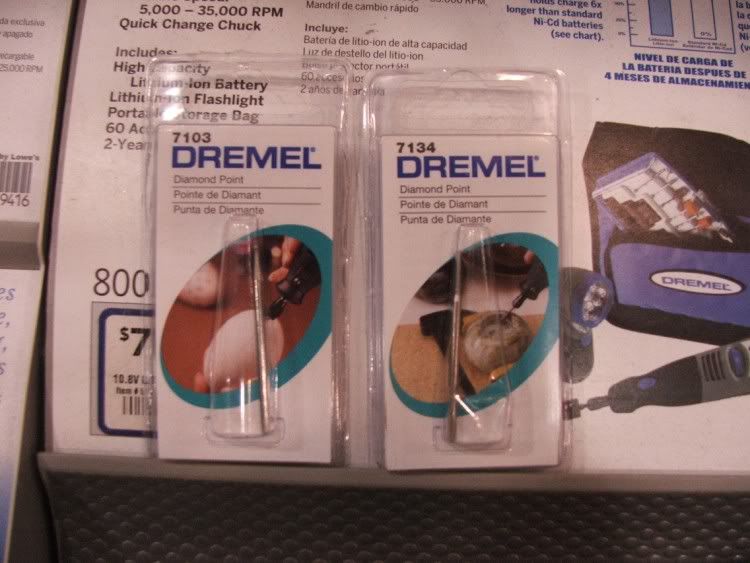 Total Glass Drilling Price - $18.96 Overflow Pieces 6" ID x 10' PVC - Lowe's - $32.46 Of course you won't need all ten feet. If possible, try to find someone local with some extra. 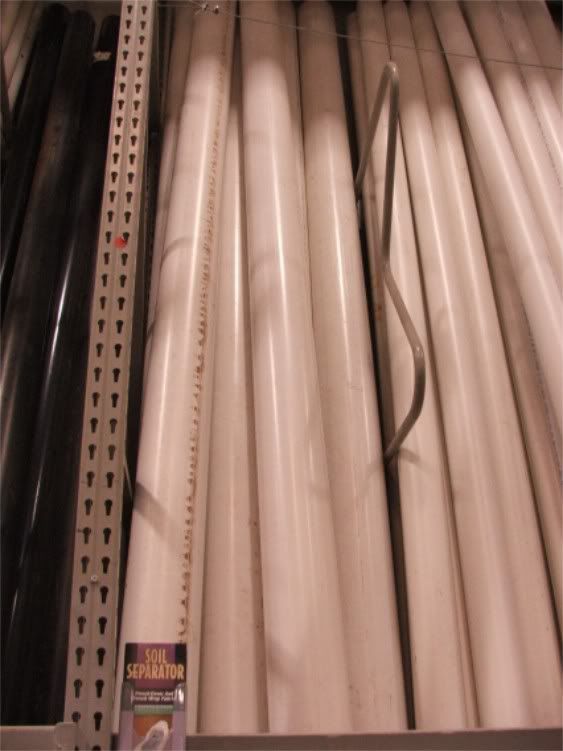 Tank 10 Gallon Tank - WalMart - $9.97 No Picture Available Now that that is taken care of, it's time to get back to drilling the tank! 
__________________
Travis Stevens |
|
#31
|
|||
|
|||
|
Drilling Continued
Now it's time to get back to drilling. After you pierce the glass with the ball point bit, it's time to change it out to a taper or cylindrical one. I prefer the one pictured in the above post, but I lost that one and had to use the one pictured below. It's slightly wider than the other tapered bit. 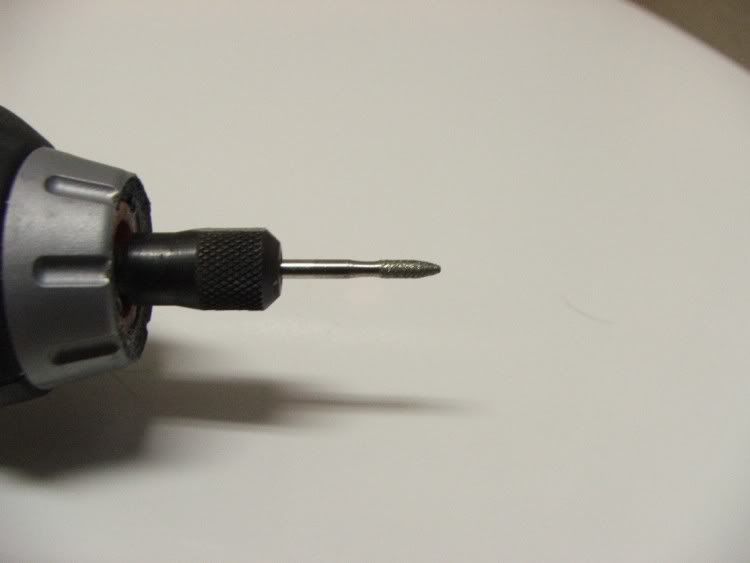 About ten minutes later and lots of water and noise, you'll have a nice hole. Don't expect it to be uniform, but it won't matter. 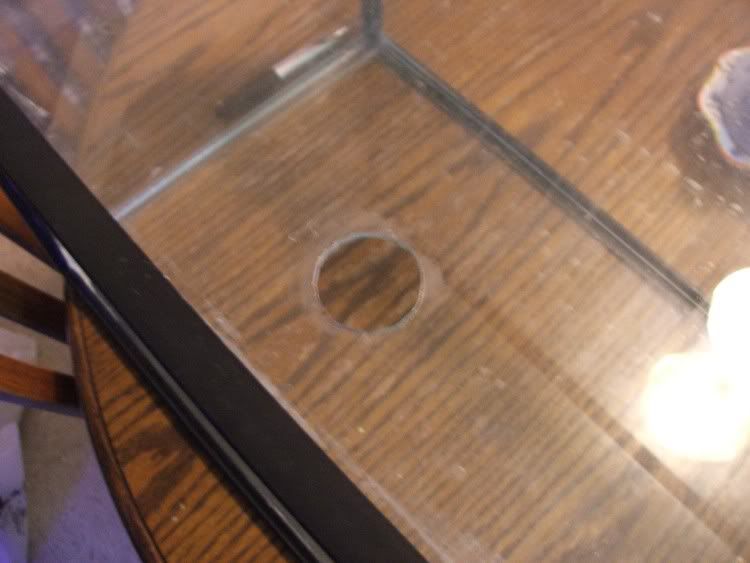 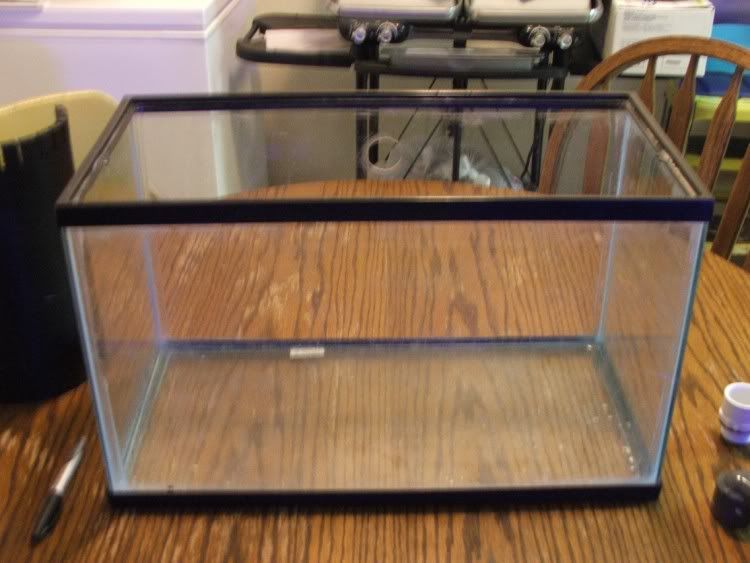 You can find more detailed pictures here - http://archive.reefcentral.com/forum...13#post7762013
__________________
Travis Stevens |
|
#32
|
|||
|
|||
|
Bulkhead Installation
Now comes the fun part. But first we need to do something to the gasket, so take it out of the package. Now take an Xacto Knife or a sharp razorblade and carefully cut the lip of the gasket off. This will be used on the inside of the tank to plug the hole. The larger flat piece will be used on the outside of the tank to seal it off. Trust me, it doesn't work the other way around. Though it seems like it would work better. Step 1: Put the lip that you cut off on the adapter. Let the round in face towards the glass. 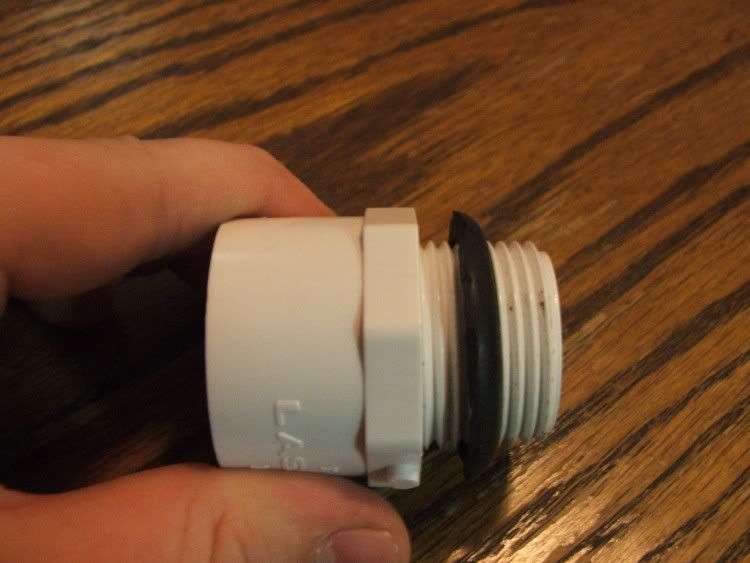 Step 2: Slide the adapter in place. 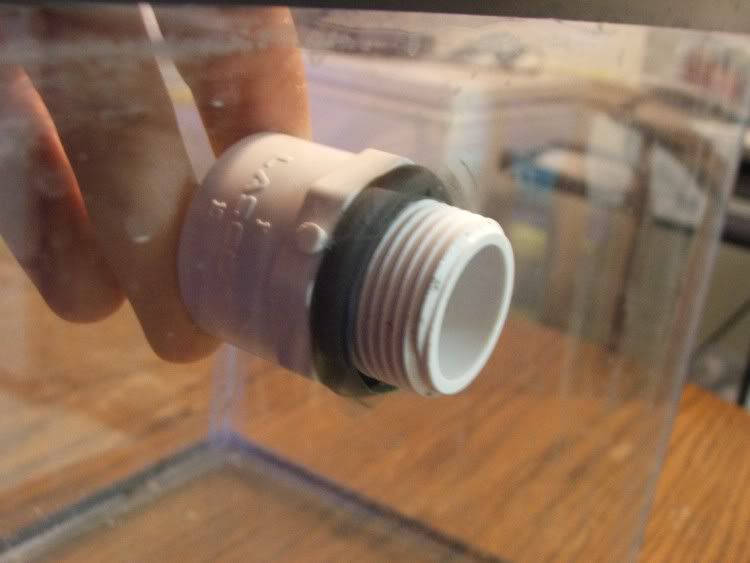 Step 3: Add the second half of the gasket onto the adapter. Make sure that the cut edge is away from the glass and the smooth, uncut edge is facing the glass. 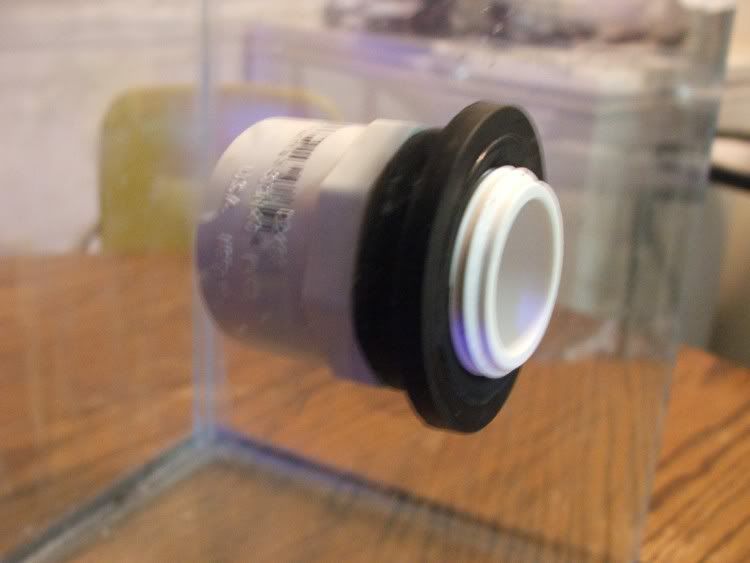 Step 4: Screw on the Barb Fitting rather tightly. Don't crank it down too hard or you can break the glass. Test your seal by filling the tank up. If it drips, tighten it by hand until the drips stop. 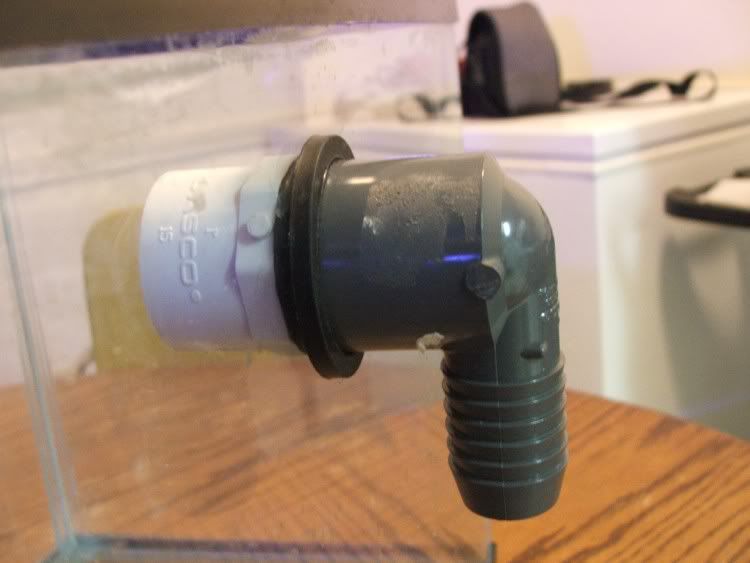 Here is the bulkhead in place from different angles. 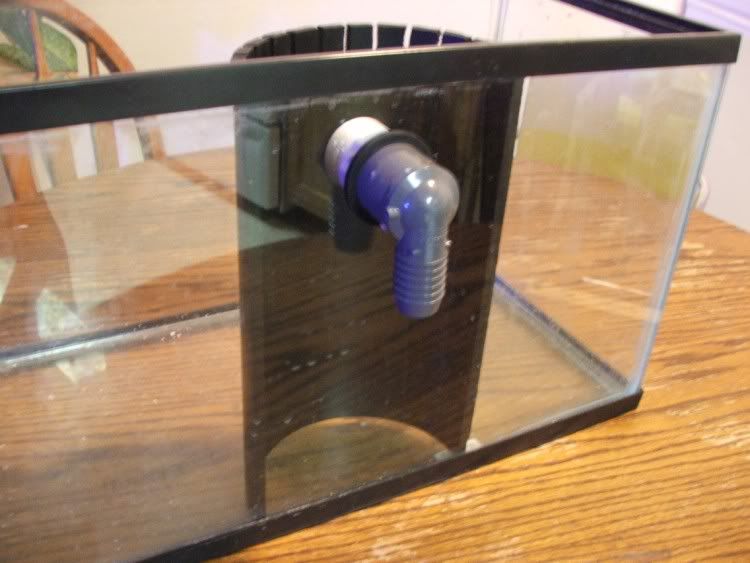  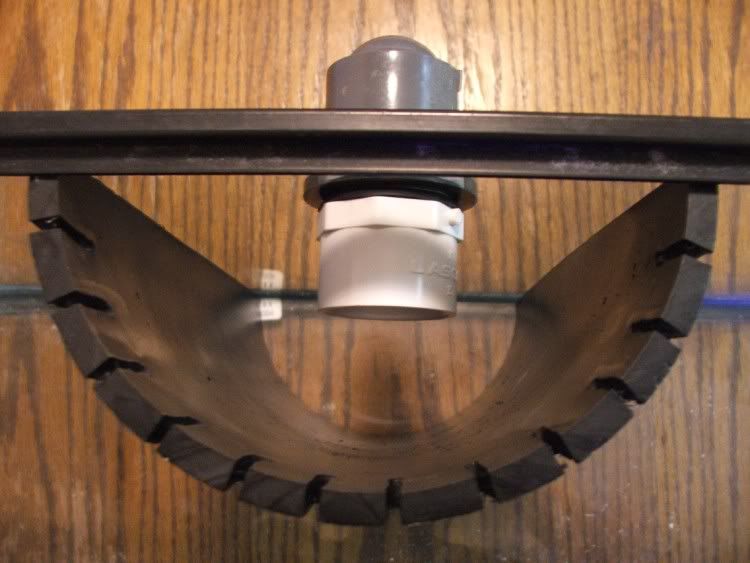
__________________
Travis Stevens |
|
#33
|
|||
|
|||
|
Installing the Overflow
Now that we have the tank drilled, it's time to install the overflow that we made earlier. But first, you will need some Caulk and a Caulking Gun. I highly recommend that you use GE Silicon I: Window and Door. This is safe to use in aquariums. Do not get GE Silicon II. Most contain Mold Inhibitors that will poison your tank. If you feel more comfortable, you can get some caulk that is labeled as aquarium grade, but it will cost you more money for the same thing. GE Silicon I: Window and Door (Clear) [10oz] - Lowe's - $3.38 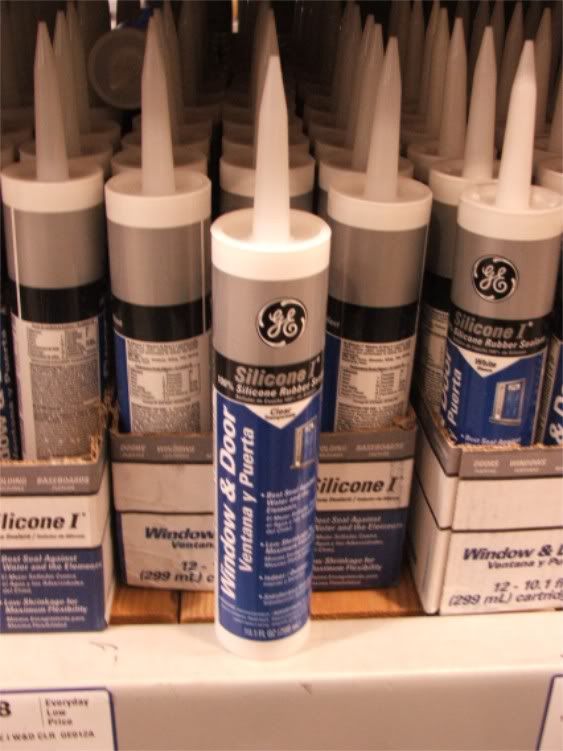 Now we measure the back of the tank to make sure the overflow is centered. You can be as anal retentive about this as you want. I got a ruler, but I eyeballed the math. It turned out that the edge of the overflow is roughly 6.75" away from the edge of the tank. After you have it measured and the overflow placed in, get the caulking gun ready. 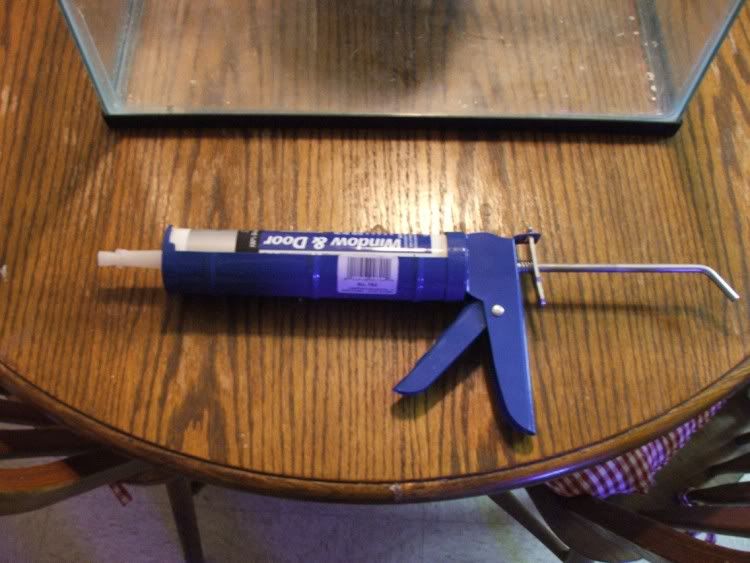 Here is a tip for you. When you cut the tip off of the caulk tube, save the tip. After you finish caulking, you can use it to plug the tip of the tube. And because it's plastic, it comes right off for future use. 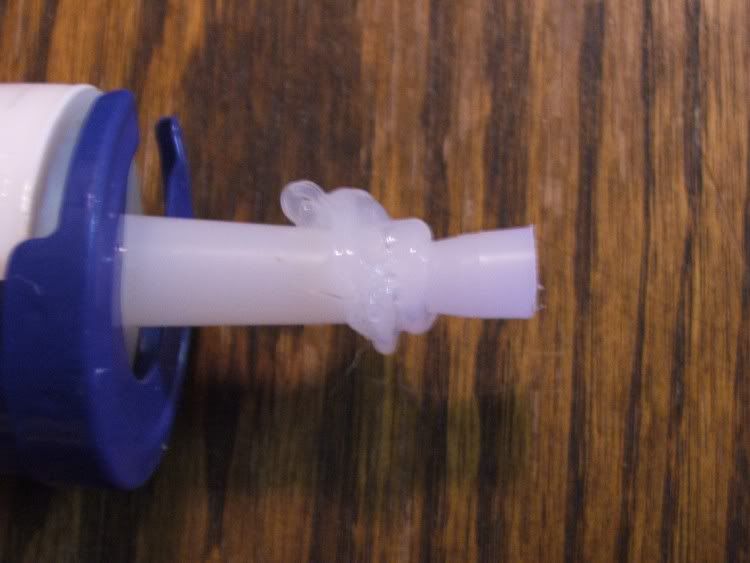 Now back to caulking. Once you have all the edges caulked, take a cup of water and some paper towels. Wet your fingers so the caulk doesn't stick to them and make a mess. Now, run your finger along the silicon and take the excess silicon off. Wipe any gobs of silicon on the paper towel and repeat this process until you have a smooth finish. After you're done, your fingers shouldn't have any silicon on them. Allow 48 hours for the silicon to dry before adding water to the tank. Here are pictures of the tank completed. As you can see, I like to use LOTS of silicon. Better safe than sorry. 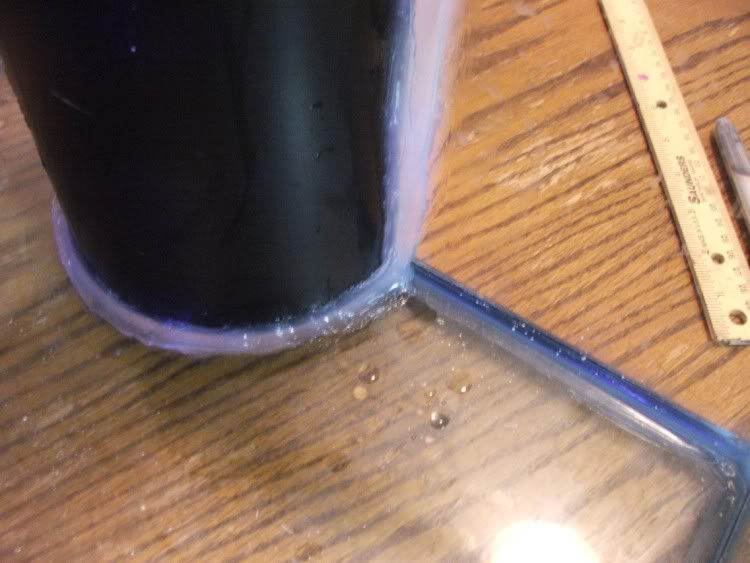 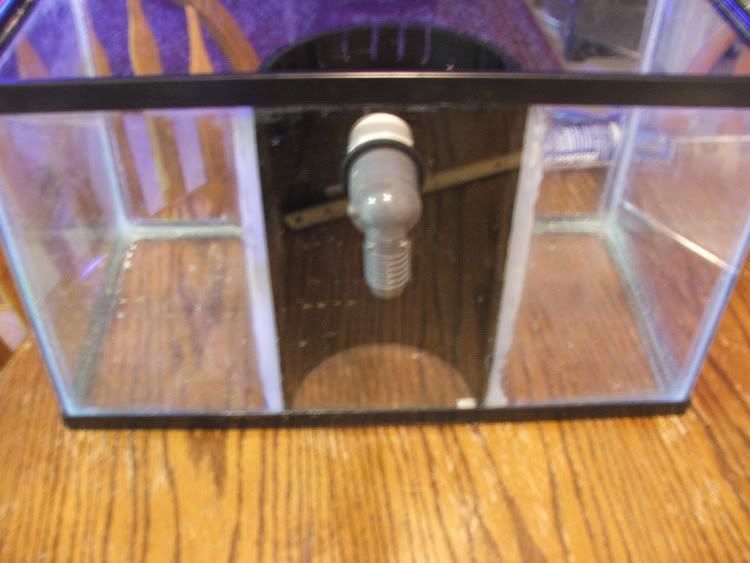 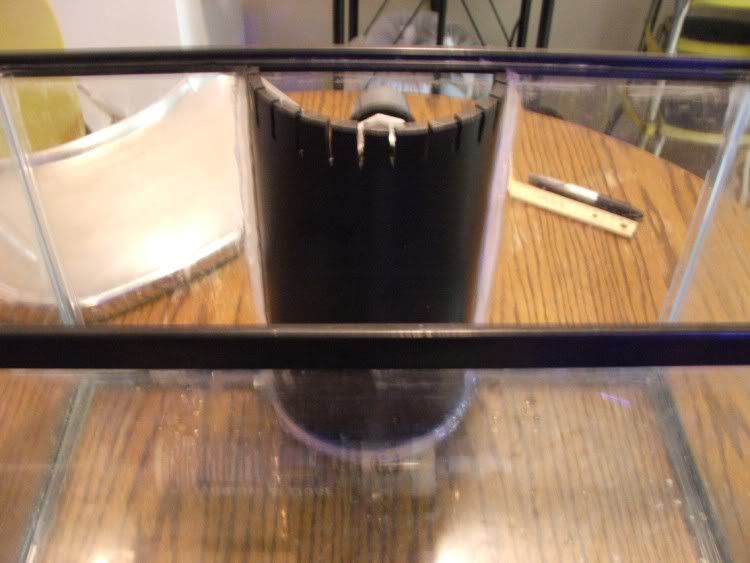 In future updates, expect sand options, rock options, stand and canopy building, and lighting options. To be continued....
__________________
Travis Stevens |
|
#34
|
|||
|
|||
|
Travis, Travis, Travis...
It looks as though you're now fully out of the lounge. Instead of writing a how-to on tanks, you should do Lounge Posters Anonymous: How to Break your Addiction to the Lounge.  I *really* like this. I've been into reefs for the better part of a year now, and this is the first time I've seen a post that had pics that assumed I knew nothing (which is correct) I like it. A++++++. Great Reefer. Will do business again.
__________________
This post approved by Mrs. Sixline. assign <= six.line(#FFFFFF && string("nerdy")) |
|
#35
|
|||
|
|||
|
Quote:
 Luckily, I was addicted to reefing before I was addicted to the Lounge *points to post count* as you can see. Luckily, I was addicted to reefing before I was addicted to the Lounge *points to post count* as you can see.The only bad part about this thread is it is all technical stuff right now. When it gets up and running, I'll attempt to get very detailed with scientific stuff so new aquarists can understand why you need to do certain things like tests and water changes and stuff.
__________________
Travis Stevens |
|
#36
|
|||
|
|||
|
I'd like to make a request that you paintbrush on the pics to re-iterate points. For example, when you talk about exacto-ing off the lip, if you have arrows saying 'Here's where the excess would have been, I cut it off and this is why' à la John Madden on the lineup screen on TV.
Just a thought. This is a great thread.
__________________
This post approved by Mrs. Sixline. assign <= six.line(#FFFFFF && string("nerdy")) |
|
#37
|
|||
|
|||
|
I would like to do that, but I barely have enough time since I post at work in the first place. Shhhh. You didn't hear that from me
 If I get the time when my home computer is fixed, then I'll start doing stuff like that. If I get the time when my home computer is fixed, then I'll start doing stuff like that.
__________________
Travis Stevens |
|
#38
|
|||
|
|||
|
To save some trouble for some people on opening a new link, here are the pictures of when me and a buddy drilled a 75g for a sump. All of this is found in the link above in the Drilling Continued post.
Quote:
__________________
Travis Stevens |
|
#39
|
|||
|
|||
|
Ohhh... yeah... I'm not at work either.... *looks at office door*
__________________
This post approved by Mrs. Sixline. assign <= six.line(#FFFFFF && string("nerdy")) |
|
#40
|
|||
|
|||
|
Again, what a great tutorial that you have going here. Although as I said earlier, I have a 55 up and running (without a sump), this is great info. since it kind be daunting first starting reading on here and trying to decipher people's writings and translating that into really doing something. I basically went sumpless because I didn't really have a full understanding of it and didn't want to flood my apartment as a result.
I think this is going to be an invaluable resource for those starting out, starting a second tank, or those just wanting more information or seeing something go start to finish. Glad you remembered the camera this time  Adam
__________________
"I spent 90% of my money on women and drink. The rest I wasted" - George Best |
|
#41
|
|||
|
|||
|
Quote:
__________________
Travis Stevens |
|
#42
|
|||
|
|||
|
That would be great Travis. I'm sure by then I will have everything else figured out with my tank and will be ready to move on to adding a sump then.
__________________
"I spent 90% of my money on women and drink. The rest I wasted" - George Best |
|
#43
|
|||
|
|||
|
FWIW, I think the next step will be building a stand and canopy. I won't know what size tank I can put under the stand without building a stand.

__________________
Travis Stevens |
|
#44
|
|||
|
|||
|
You're wrong Travis on us oldsters, like Paul and I. When we started out all the plumbing was copper or stainless and silicone was only used for falsies (well I guess it still is
 ) )I'm really into this thread as everyone knows I just love Drilling and PT!!! As your were. 
__________________
"Leading the information hungry reefer down the road to starvation" Tom |
|
#45
|
|||
|
|||
|
Quote:
I guess this means I have the WaterKeeper Seal of Approval
__________________
Travis Stevens |
|
#46
|
|||
|
|||
|
Whatever, waterkeeper. when you began you had to contract roman engineers to build you some aqueducts. And you had to hire celtic slaves to haul water up to the top when the mountains ran dry. you didn't have powerheads, either. you used peasants to push water around, and you hired merchants to blow air into a column for protein skimming.
Yeah. you're old. 
__________________
This post approved by Mrs. Sixline. assign <= six.line(#FFFFFF && string("nerdy")) |
|
#47
|
|||
|
|||
|
My first tank was wood, and not even good wood.
 Silicone is a relitively new product. Tanks used to be sealed with asphaltium varnish, nasty stuff. Falsies were made of tissues. Paul |
|
#48
|
|||
|
|||
|
I will enjoy following this thread
 Good info! Good info!
__________________
You can't control the wind, but you can adjust your sails. |
|
#49
|
|||
|
|||
|
Excellent thread!!! At the moment I am thinking about selling my setup and this thread makes me want to start another
 The wife is gonna kill me hahah 
__________________
Kafer |
|
#50
|
|||
|
|||
|
I bet you can sell your current setup, and then make another one similar to what I'm showing. Then you'll have made a little profit

__________________
Travis Stevens |
| Thread Tools | Search this Thread |
| Display Modes | |
|
|