|
|
|
#1
 01/08/2008, 02:40 PM
|
|||
|
|||
|
OK, here we go. After a long time planning, discussing, agonizing, and selling kidneys to raise money (kidding!) I have started my 130 gallon in-wall construction. This thread will be periodically updated over time as I do more of the installation, set-up, etc. Please be patient and gentle!
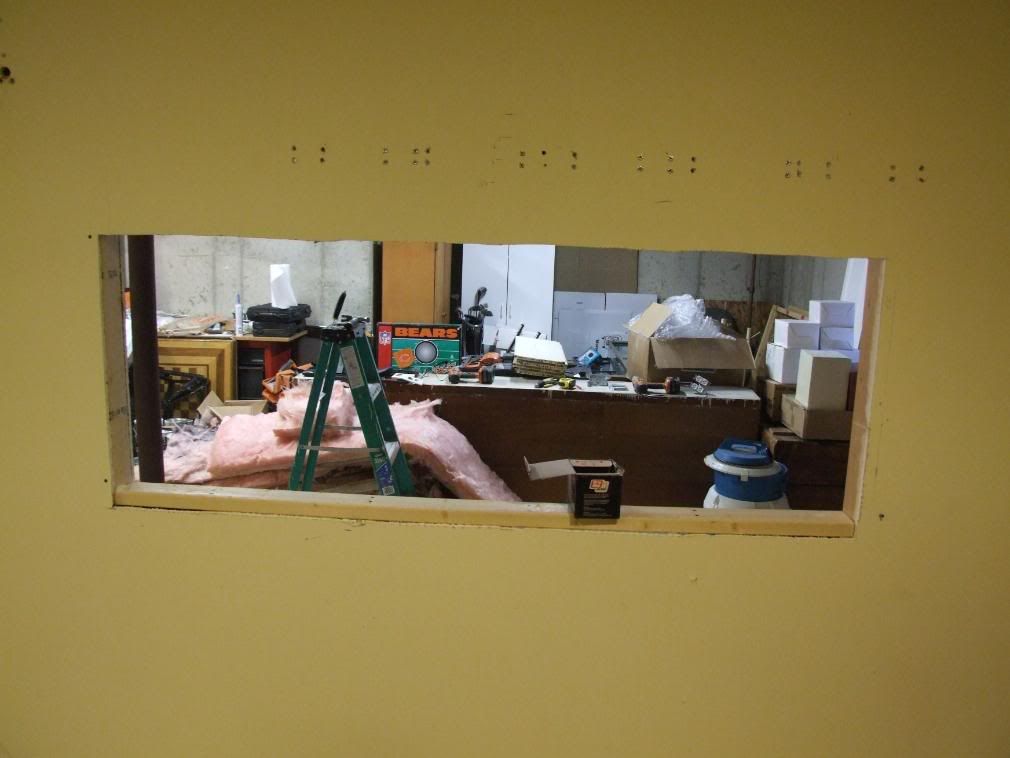
A few months ago I bought a used tank and stand. The tank was in pretty bad shape - empty for a few months before that filled with water but no fish. As you can see it was bad, bad, bad! 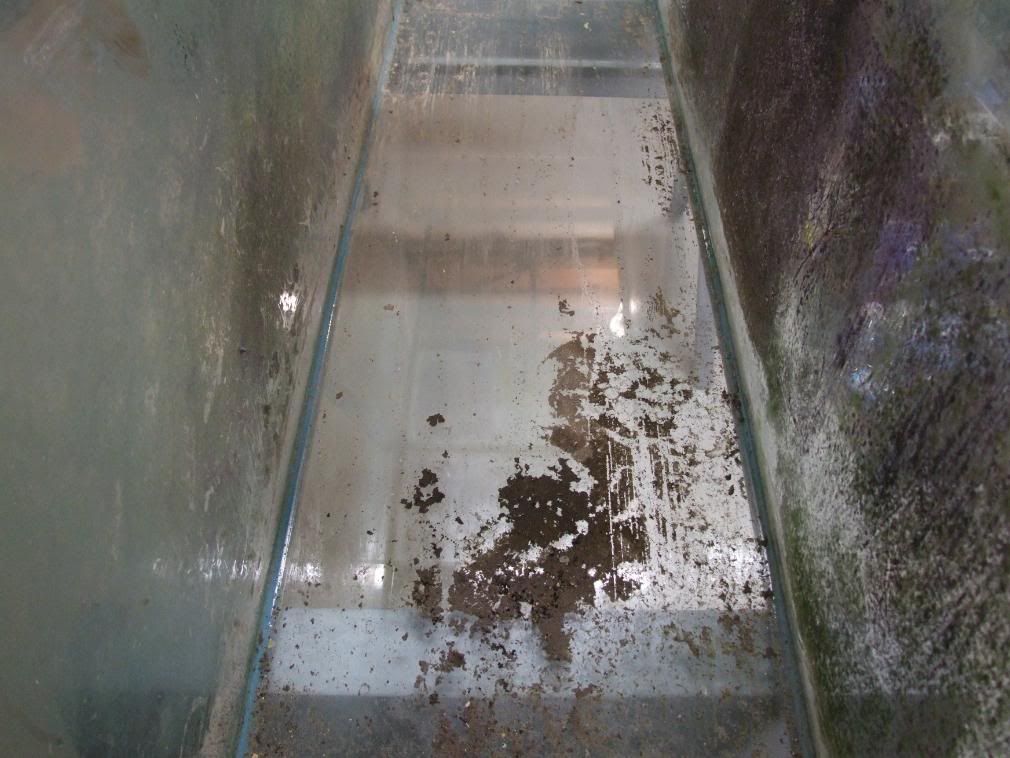 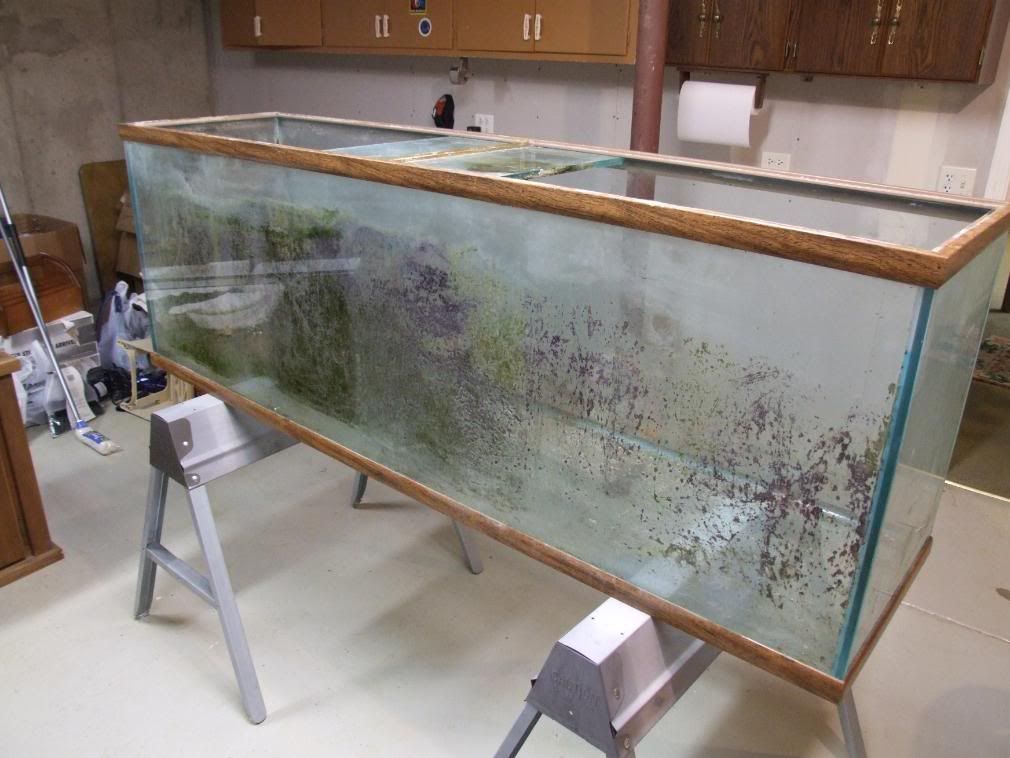 After cleaning it with lots of white vinegar and water and scrapping with a sharp razor it looked better. 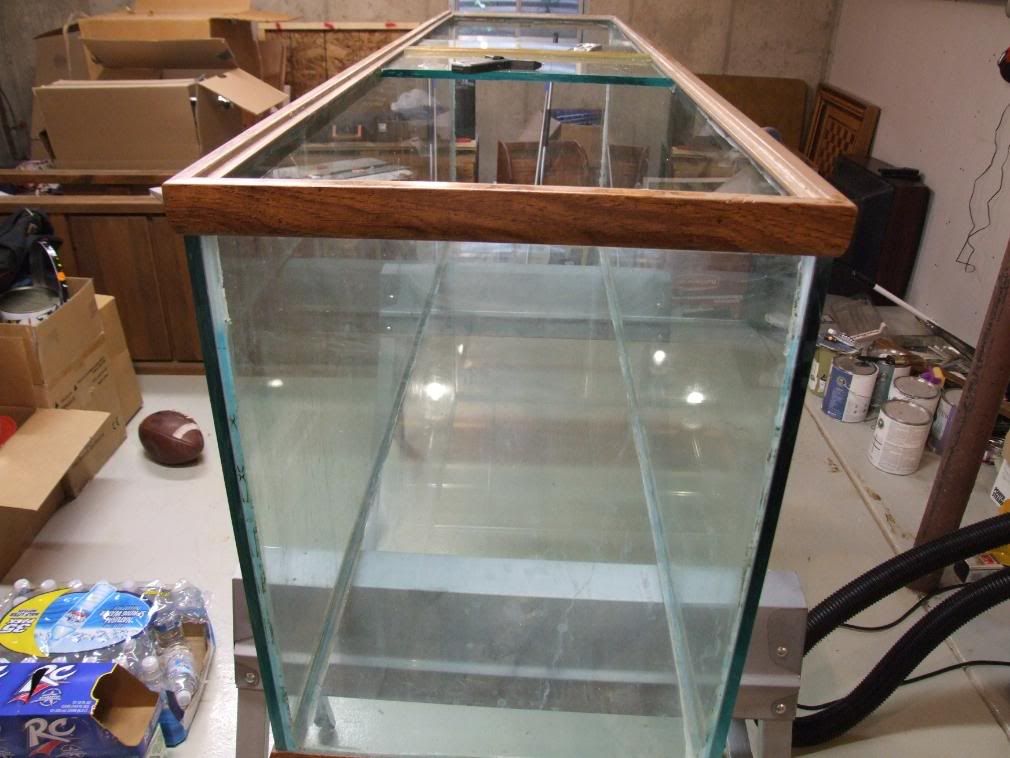 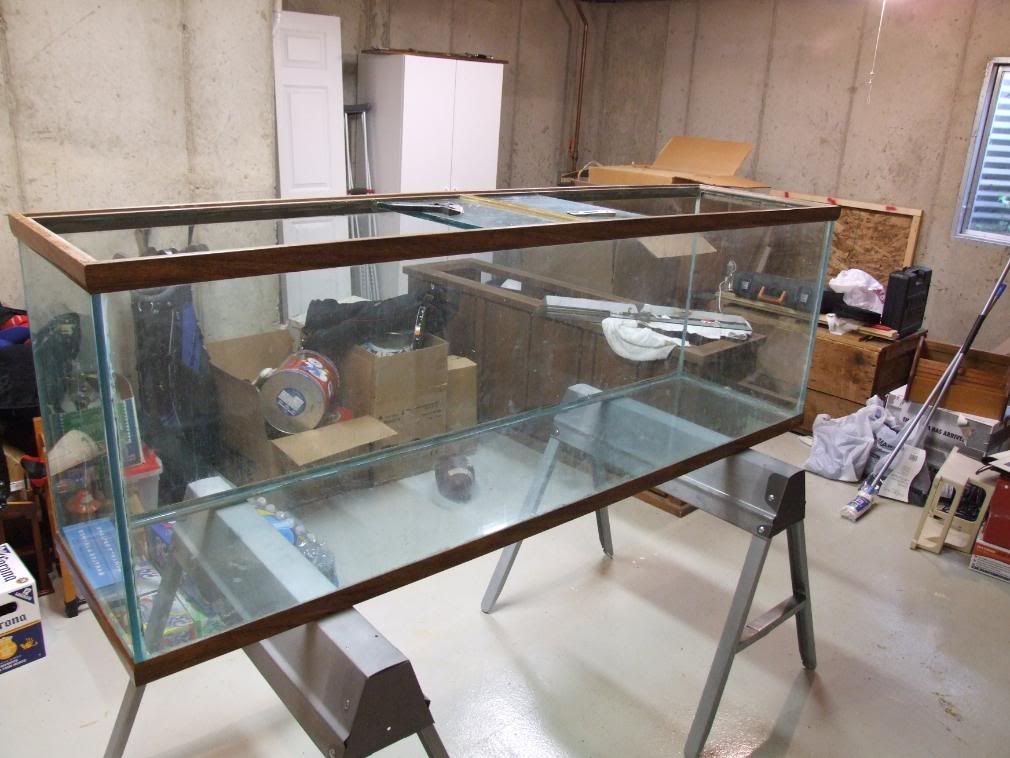 Ok, that part was done. Now, where to put it. The tank came with a stand that was sturdy but not real roomy. 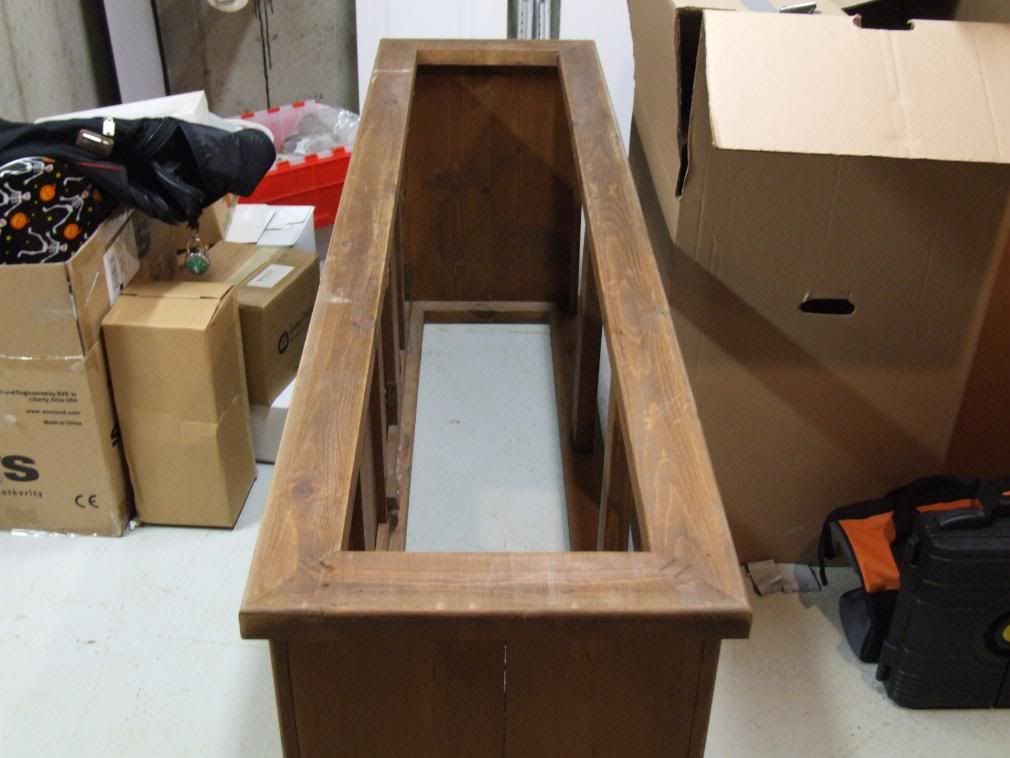 After reading and researching here on RC, I knew I needed a sump, skimmer, heaters, reactors, pumps, lights, and, of course, plumbing to tie it all together. I was struggling with how to get it all in and over the stand. So, in order to increase the expense and make a bigger mess, I decided to do it in-wall. Here are pictures of the front and back of the wall the tank is going. The back picture also shows the room where all the equipment is going. 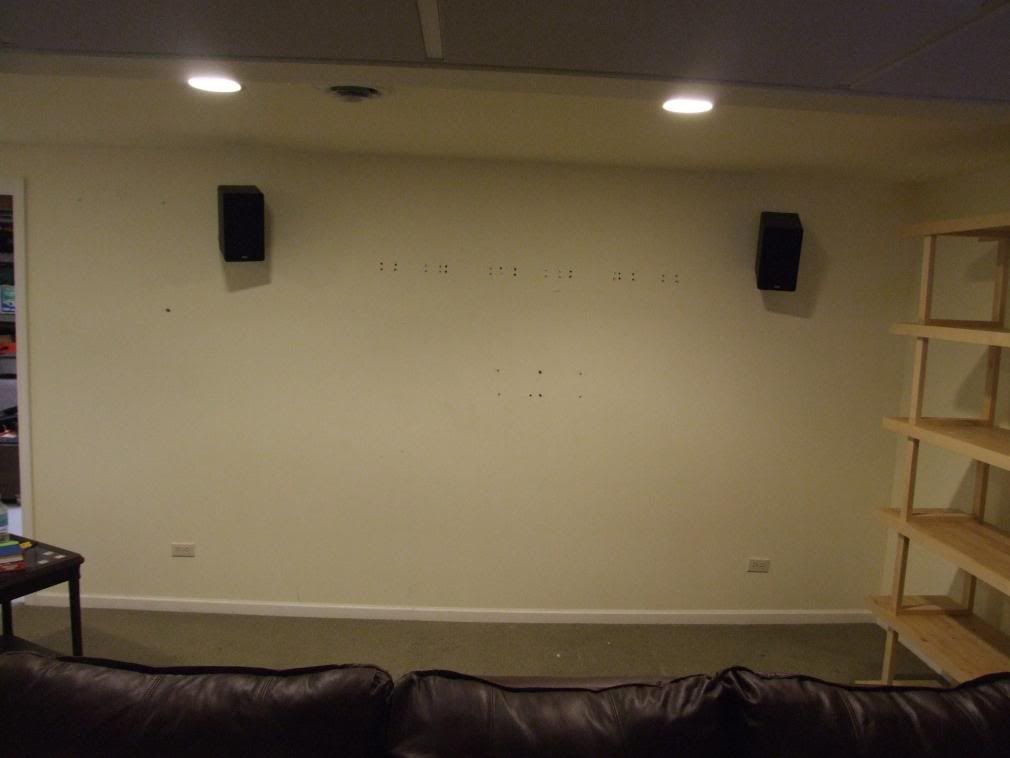 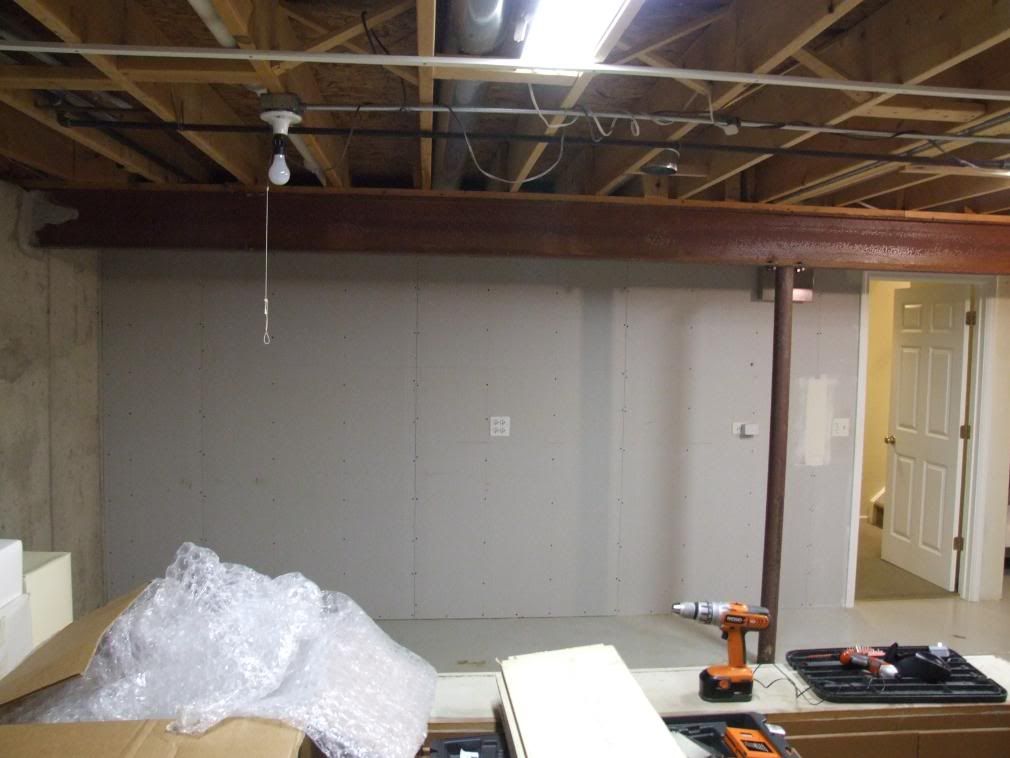 Here is a shot from the doorway showing both rooms: 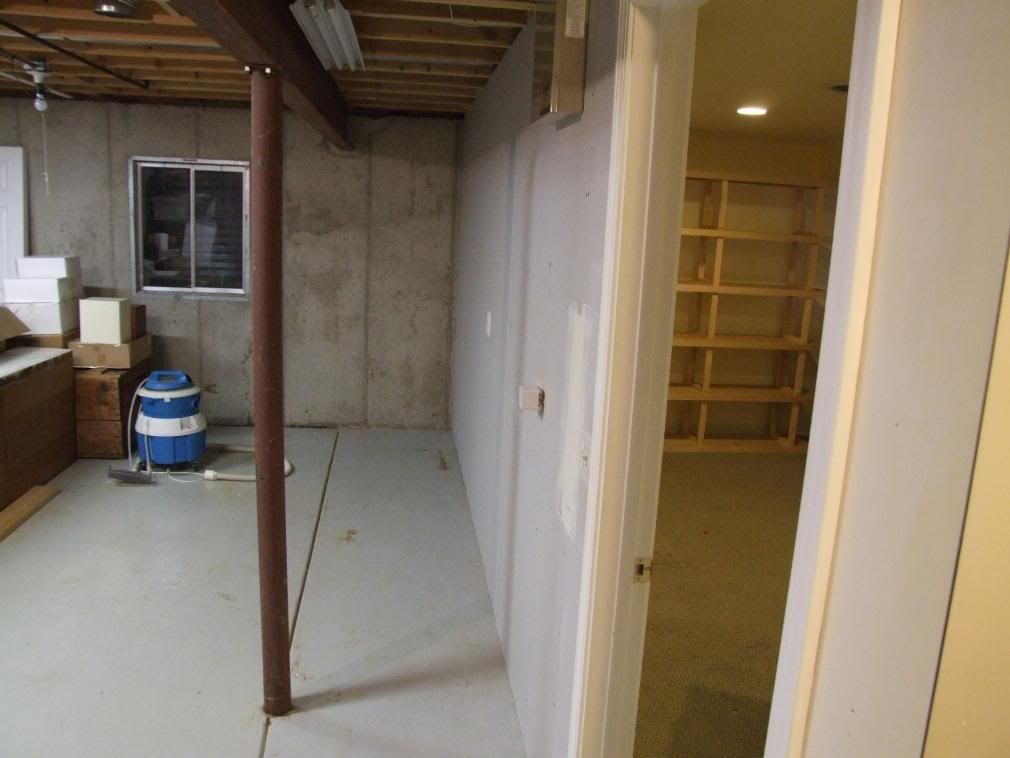 Here is a rough outline of where the tank will go. The line of string at the top shows where the top hinged molding will go to allow access to the front of the tank. This has changed from a 1 x 6 to a 1 x 10 allowing 9.5 inches of access.  Any comments are appreciated. Steve |
|
#2
01/08/2008, 02:42 PM
|
|||
|
|||
|
130 Gallon in-wall build II
So we started construction today. Here is the hole cut in the wall - from the main room and the tank room.
 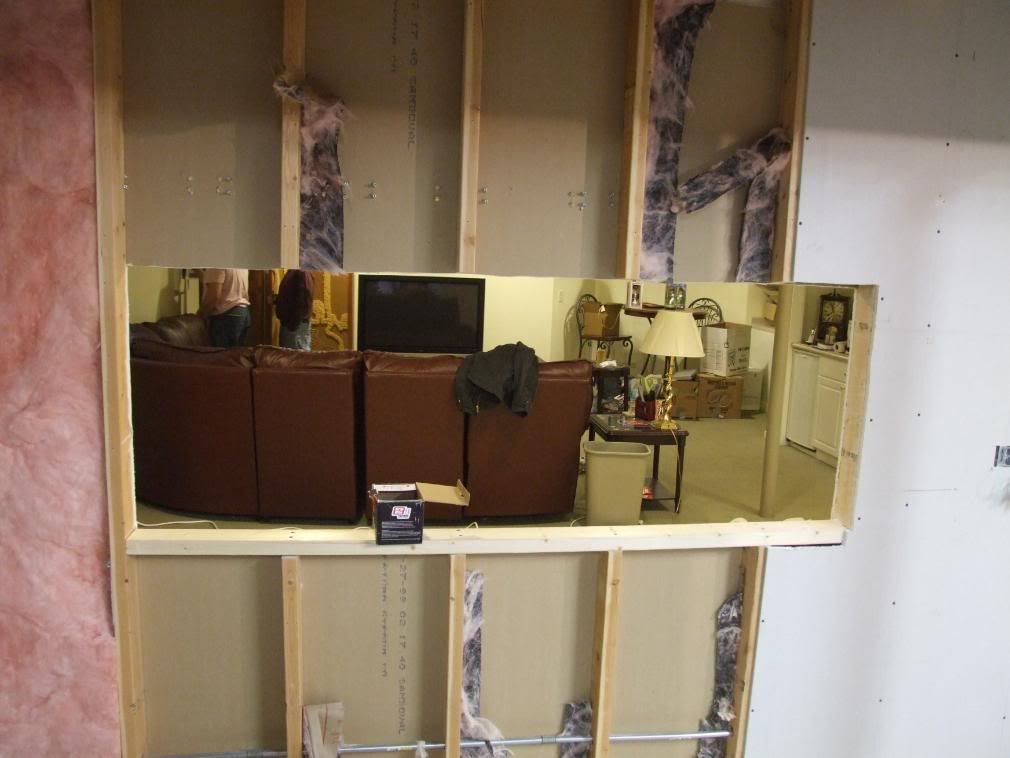 And from the doorway. 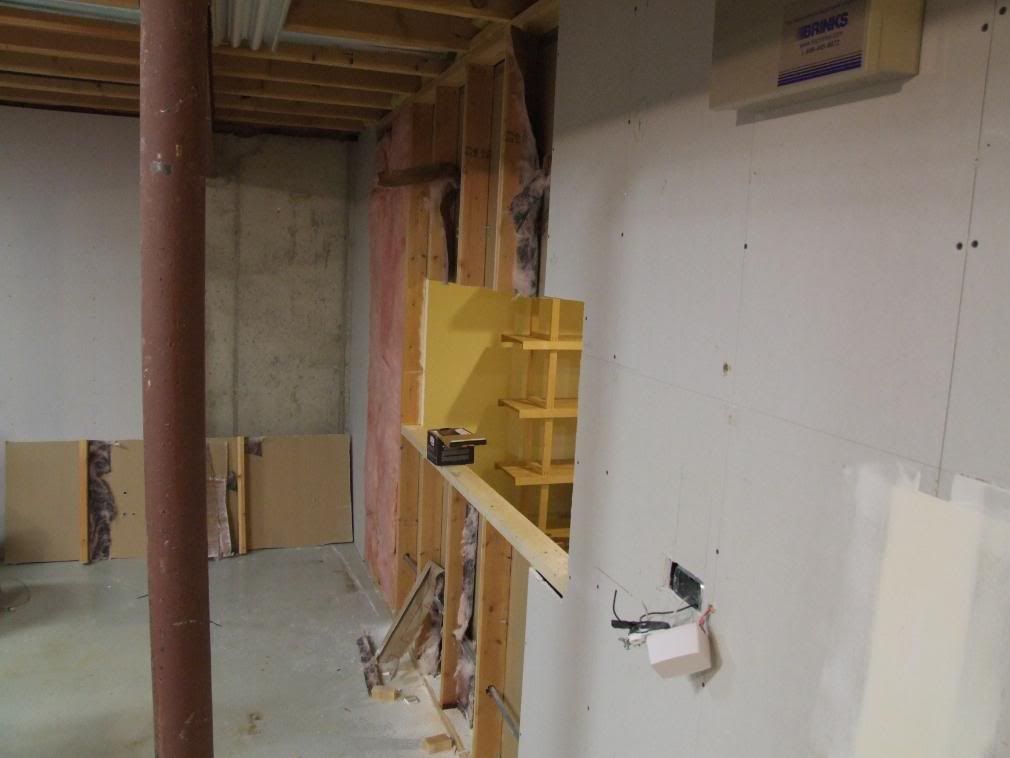 The plan is to make a stand that will run ~15 feet along the whole wall. This stand will hold the display tank and a 55 gallon sump next to the display tank. The rest of the area will be used for work space. There will eventually be a QT tank and top off container, and other assorted gear. OK, need to start working on the electrical. Any comments are appreciated. Steve |
|
#4
01/08/2008, 02:48 PM
|
|||
|
|||
|
Looks good so far. Are you going to drill the tank?
one thing if you are going to have access from behind why put a door above the front of the tank? Yes is is a pain in the a$$ but looks better just framed like a painting. JMO Good Luck.
__________________
Help my wife is going to kill me, I'm spending my sons college funds. |
|
#5
01/08/2008, 02:49 PM
|
|||
|
|||
|
talksalt, thanks.
When I picked it up it was outside on a front porch. After my son and I carried it downstairs and it warmed up - oh the stench! Vinegar was like roses in comparison. My wife asked "is it going to smell like that after you get it set up?" Not sure if she is convinced that it will smell like an ocean breeze. |
|
#7
01/08/2008, 02:53 PM
|
|||
|
|||
|
enemec1, I forgot to mention that the whole thing will be framed. The top will be the wider piece, the sides and bottom will be 2 inch pieces. This will come close to matching the doorframes and baseboards.
I'm debating drilling the tank. I do not want to do it myself and the prospect of dragging it up the stairs again (not a straight shot up the stairs) is not pleasant. A shop in the area (sort of) will do it for $20 a hole. Thinking seriously about it. |
|
#8
01/08/2008, 02:54 PM
|
|||
|
|||
|
Quote:
|
|
#10
01/08/2008, 03:51 PM
|
|||
|
|||
|
Hey u really shouldn't just cut beams u probably just want to make two headers and add jacks at the end of the walls Just my 2cents :-) looks cool though and drill that thing makes life so much easier
__________________
When life hands you lemons make lemonade one of those red house build people :dance: |
|
#12
01/08/2008, 04:14 PM
|
|||
|
|||
|
Re: 130 Gallon in-wall build (picture intensive)
Quote:

|
|
#14
01/08/2008, 05:13 PM
|
|||
|
|||
|
Got the stand done (more pictures)
Finished putting the stand together. Tomorrow will be putting the plywood on, putting the tank in to check for fit, and finishing the electrical. Painting the stand over the weekend and the trim goes up the beginning of next week. Then turning my attention to painting and putting the TV back on the wall and new wiring for the surround system.
Some pictures of the stand. 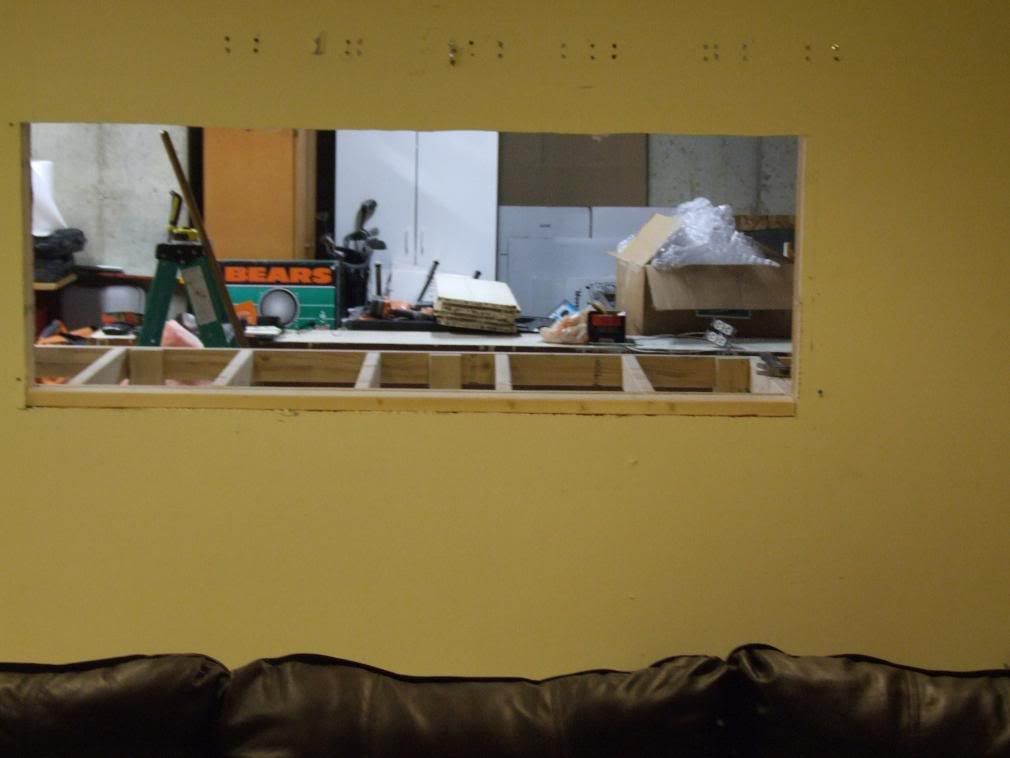 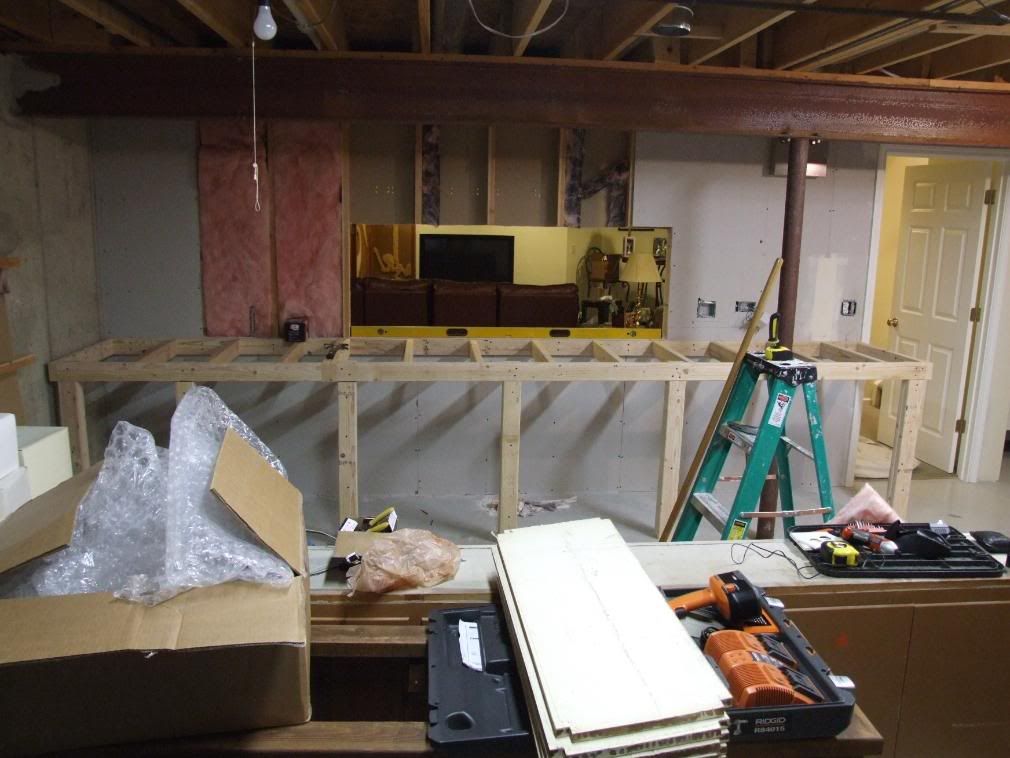 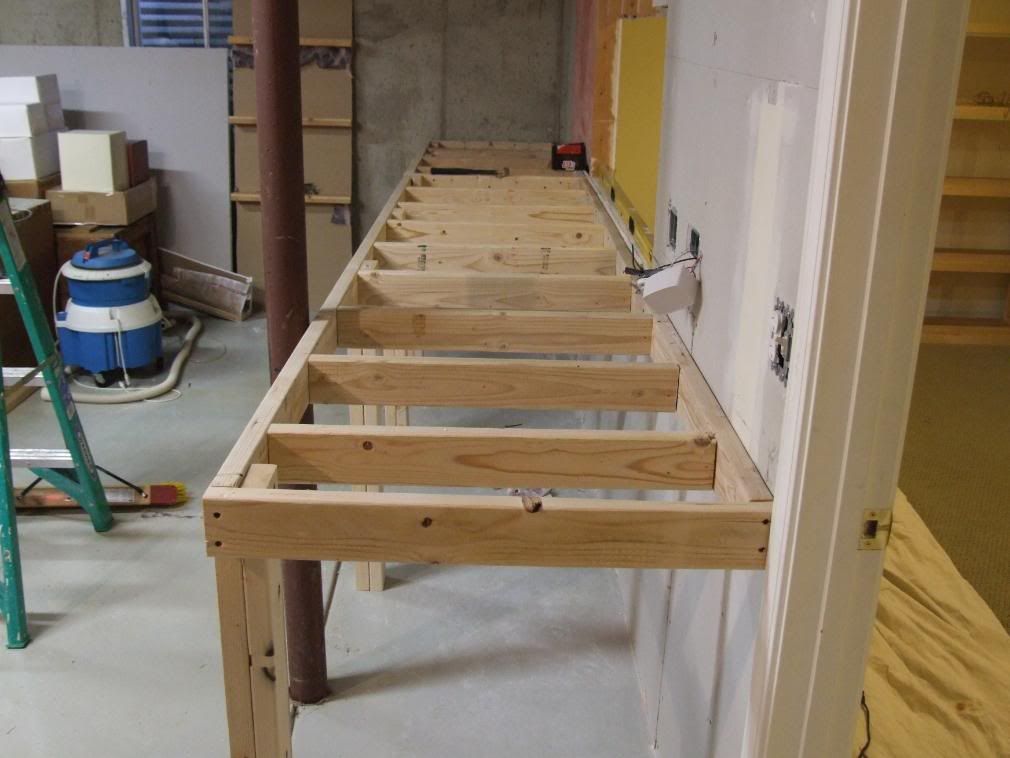 Any comments are appreciated. Steve |
|
#15
01/08/2008, 05:31 PM
|
|||
|
|||
|
Quote:
Reminds me - better paint the steel beam because it may get a little humid right over a reef tank. |
|
#18
01/08/2008, 07:29 PM
|
|||
|
|||
|
Quote:
I think so too. Going to be a while before all the pieces come together but it will get there. |
|
#19
01/08/2008, 09:18 PM
|
|||
|
|||
|
Hi, I'm not sure if it's a necessary but I would put some legs under the front of the stand (against the wall). As it is, it seems that the weight will be supported by the screws that hold the front part of the stand to the wall studs. I always overbuild my stands so lets see what the others think about it

__________________
Stephane Levesque The Shrimp Guy! |
|
#20
01/08/2008, 09:30 PM
|
|||
|
|||
|
Stephane, thanks for the advice. Actually the first ~4 inches of the tank will sit on the wall where the level is sitting in this picture.
 This is supported by 4 2 x 4 studs that are behind the drywall. I am also going to install legs ~14 inches from the wall to hold up the back of the tank. I also tend to over-engineer what I build. Lumber is cheap when compared to a tank in pieces on the floor. Thanks for keeping me honest. 
|
|
#21
01/08/2008, 09:34 PM
|
|||
|
|||
|
looks great so far following a long
|
|
#22
01/08/2008, 10:00 PM
|
|||
|
|||
|
Quote:
 I was gonna mention the stand supports, but looks like it's covered already. |
|
#23
01/09/2008, 06:10 PM
|
|||
|
|||
|
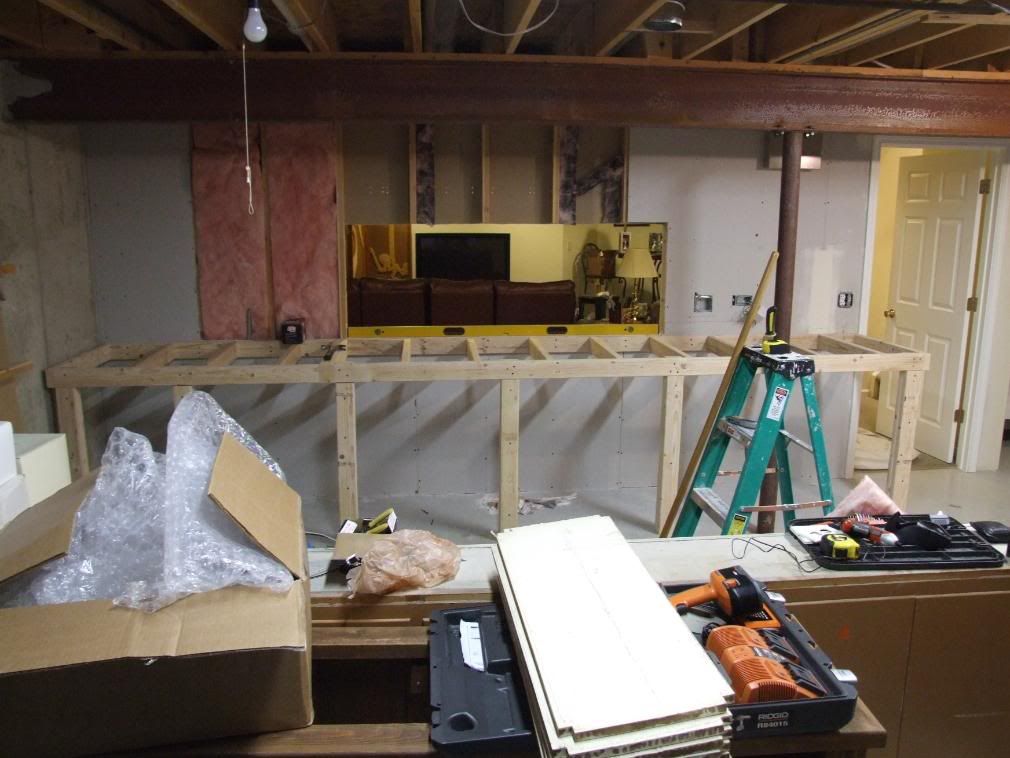
Finished the carpentry on the stand
OK, finished the building of the stand and got the electrical mostley taken care of. Need to get a couple of breakers because the electrical supply place did not have the ones I needed. They will come in on Friday and I will get that taken care of over the weekend.
Here are today's pictures. Here is the completed stand from the main room, the tank room, and from the side. Notice the additional supports installed today under where the tank will be. This should take care of the support concerns I had and that were expressed by others earlier. 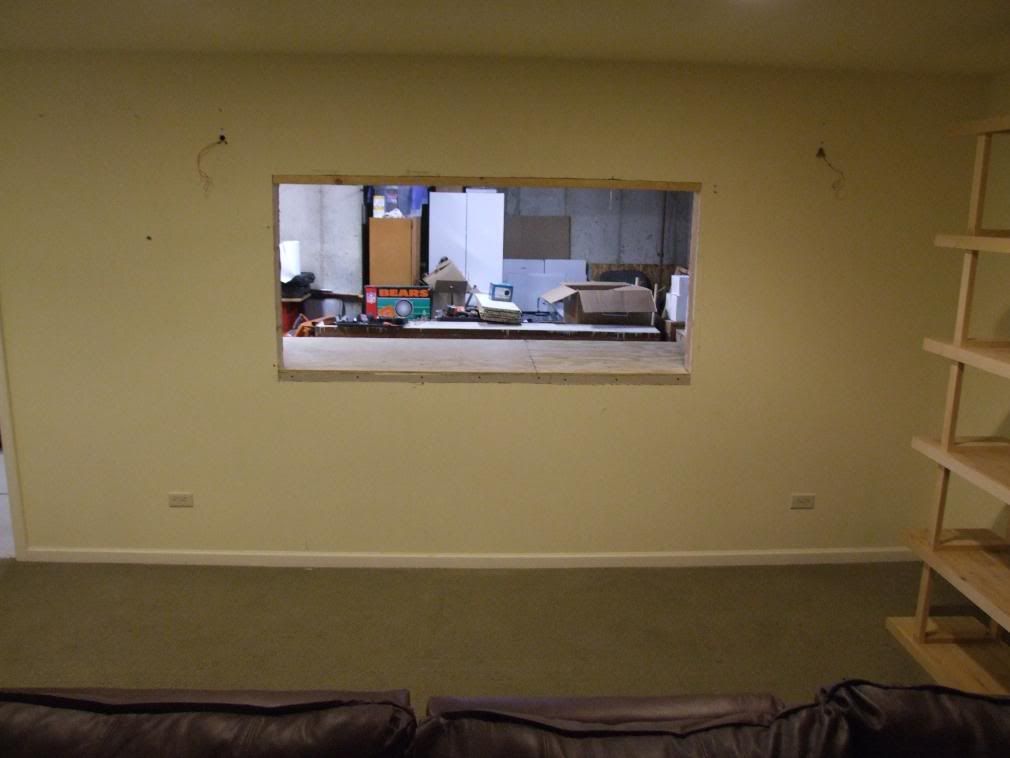 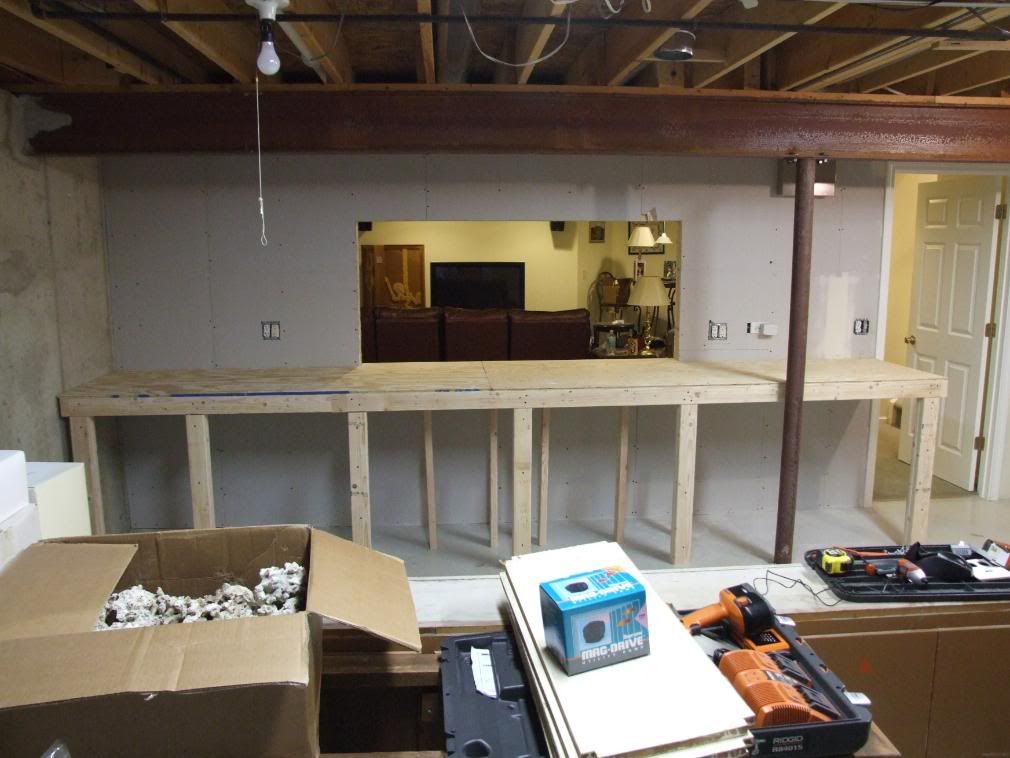 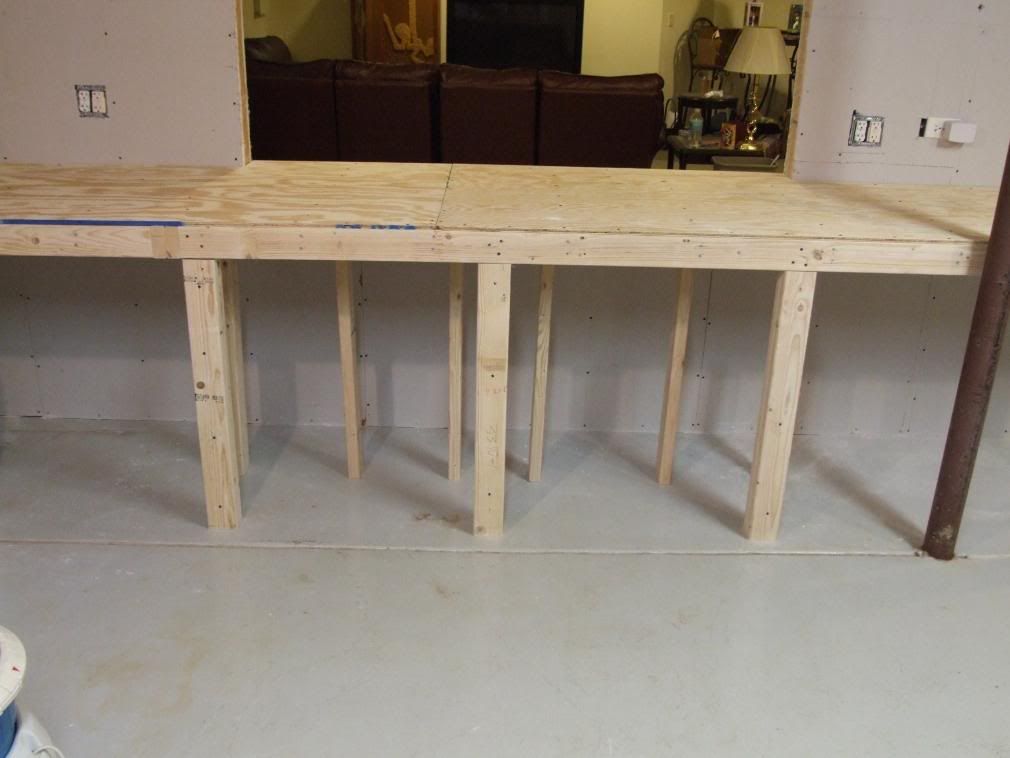 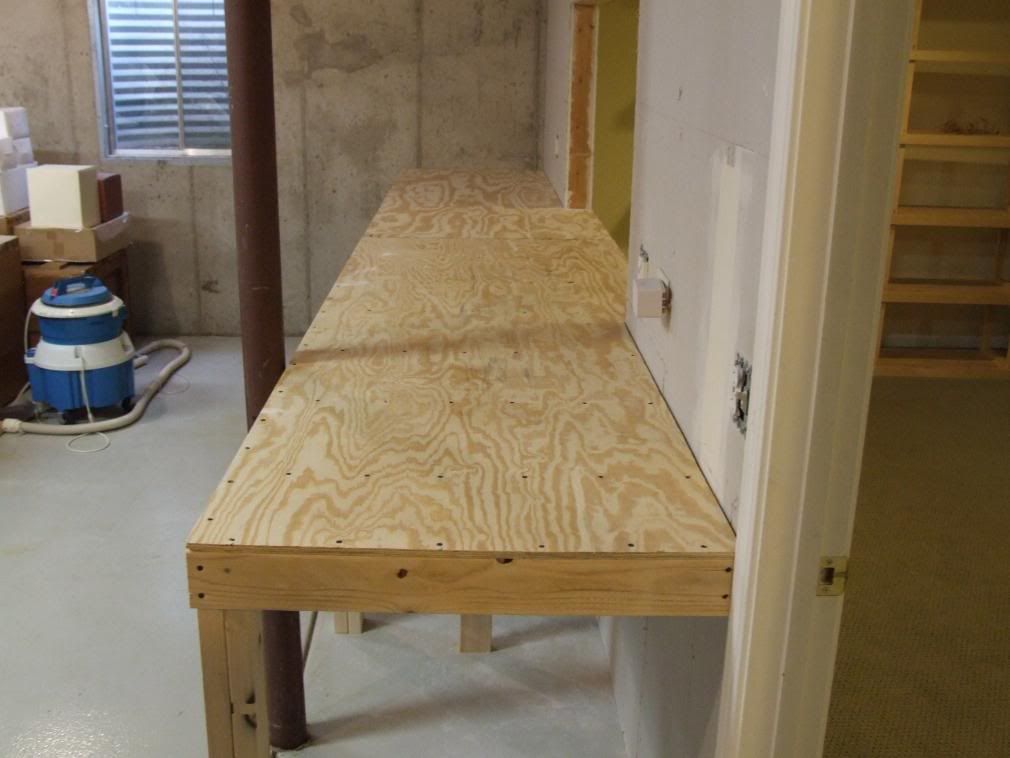 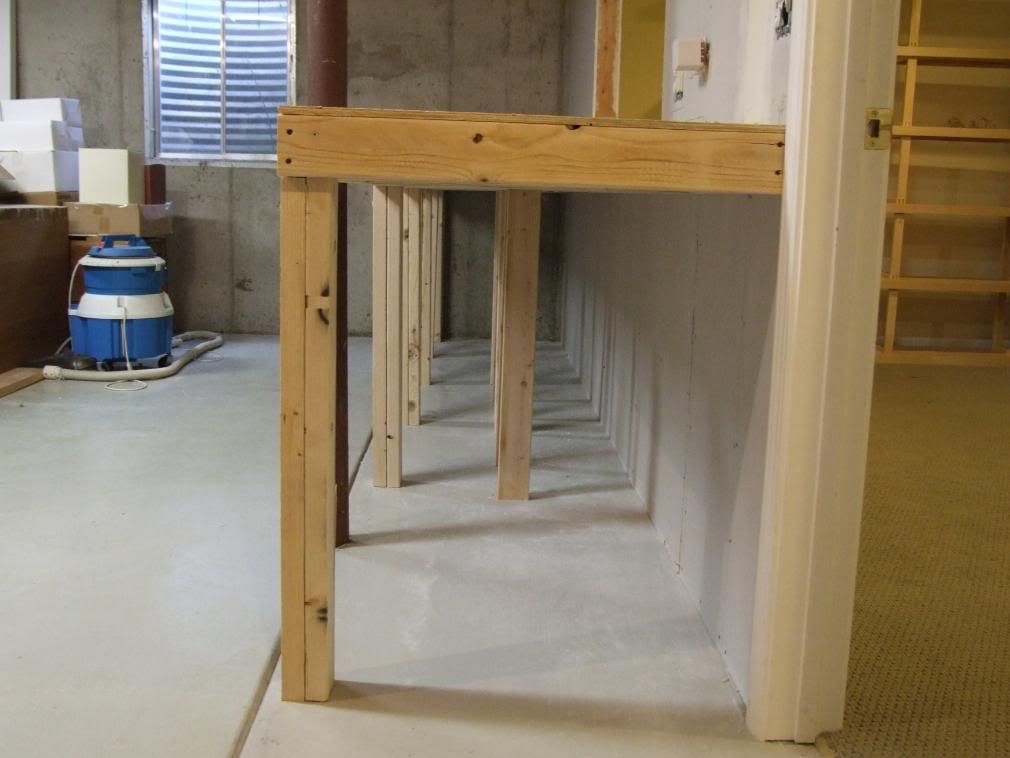 Should have plenty of power as there are 2 double outlets (one of each double being GFCI), and 2 more single outlets for a total of 11 available outlets (one is being used for the alarm system). The 2 doubles are each on their own circuit. Have to go to work tomorrow so Going to try to get it primed tonight and maybe my son will paint it tomorrow. He can use $50. Any suggestions, advice, concerns, etc. much appreciated. Steve |
|
#25
01/09/2008, 06:41 PM
|
|||
|
|||
|
Awesome! I wish I had a "fish room". Looks like you've got the beginings of a nice one!
__________________
....love to prove that, wouldn't ya. Get your name in The National Geographic.... |
|
|


 Linear Mode

