|
|
|
#1
 06/16/2006, 12:21 AM
|
|||
|
|||
|
120 Gallon Setup Has Begun
Now that my stand and canopy are completed, I have started the process of getting my tank set up. I will warn everyone now that this is a slow process. Summertime does not afford me a lot of spare time in the evenings to work on this project so bear with me.
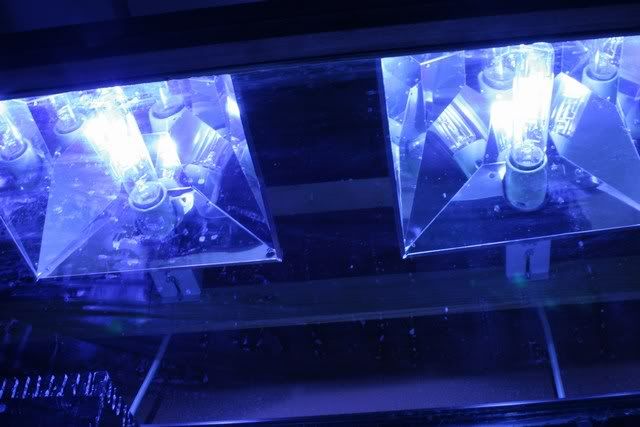
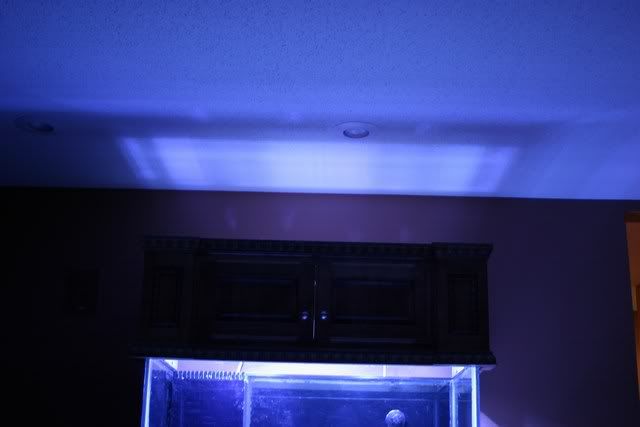
Here is my tank, stand and canopy in my basement family room. 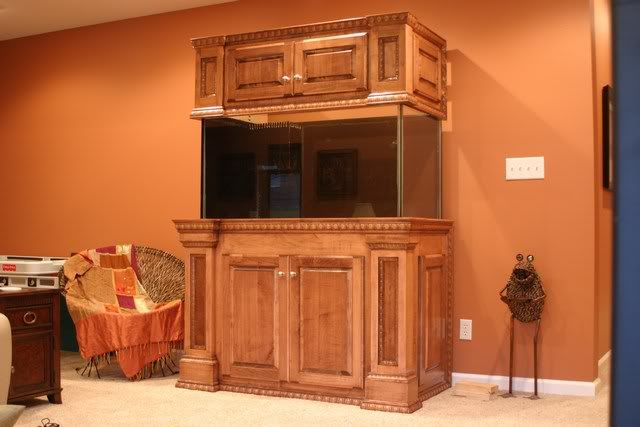 This tank will be set up primarily for sps. Now on with the pics. Installed the MH reflectors tonight. Two Lumenarc minis with 250 watt SE metal halide bulbs fired by Coralvue electronic ballasts. 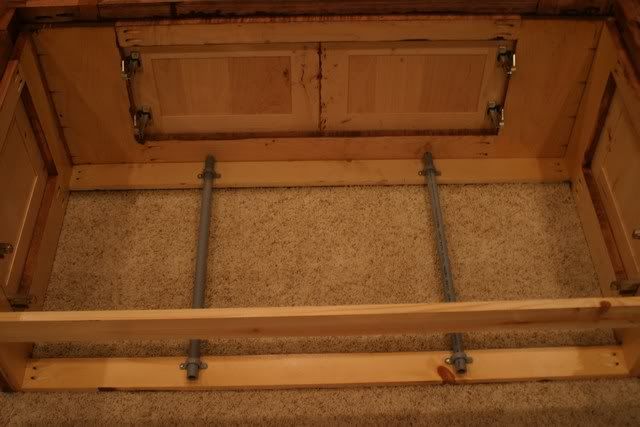 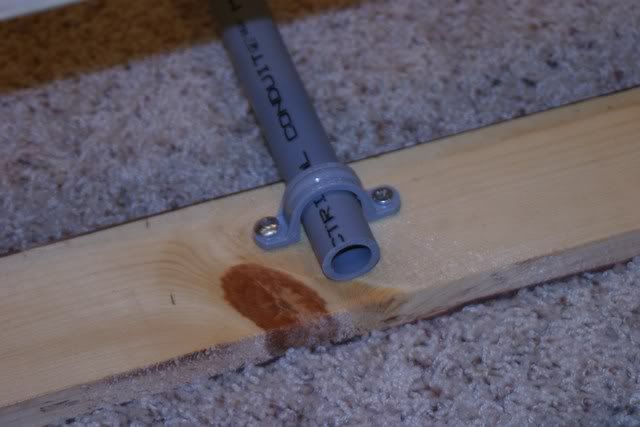 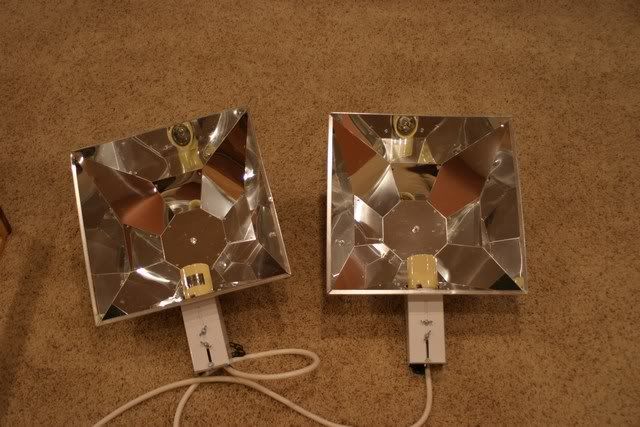 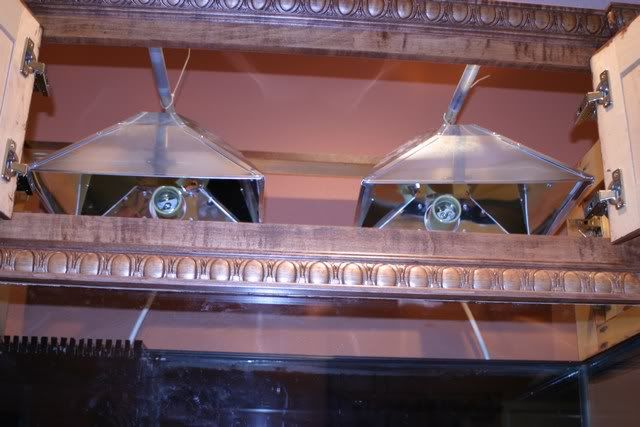
|
|
#2
06/16/2006, 12:25 AM
|
|||
|
|||
|
I am trying to avoid heat so I will run an open top and open back canopy. I used electrical pvc pipe to hang the reflectors. Here are some pics of the lights turned on. These reflectors really do a good job of keeping the light in the tank where it belongs.
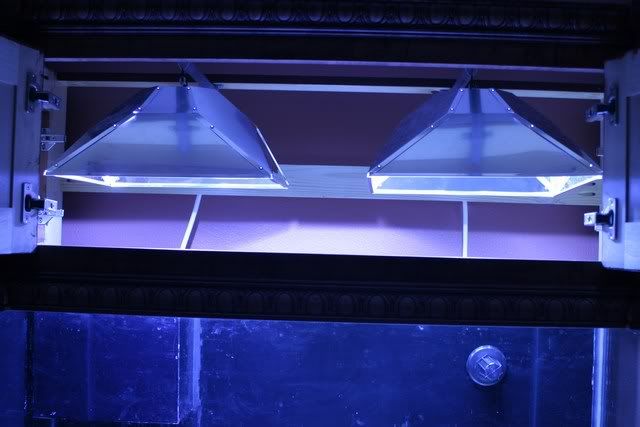 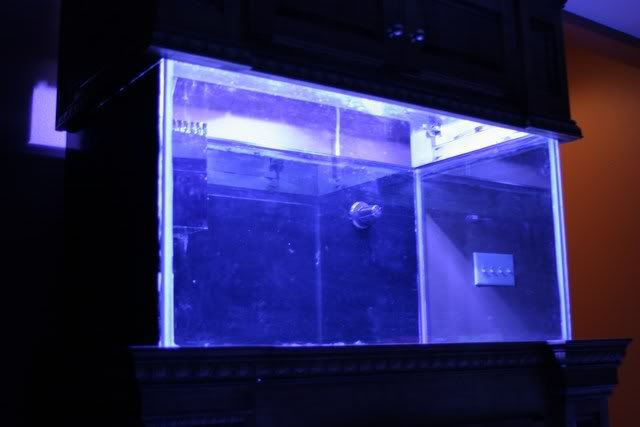 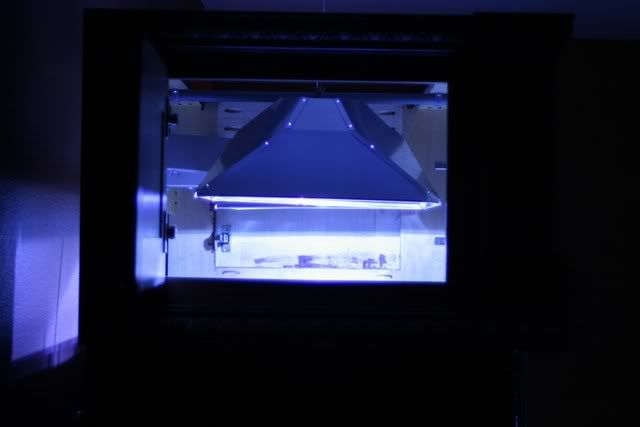   I will install some cooling fans later. Will probably add some VHO actinics to the lighting as well. I have not yet decided on what MH bulbs I will use so I'm holding off on the VHO's for now. |
|
#3
06/16/2006, 12:30 AM
|
|||
|
|||
|
Equipment for the tank will be in the room behind the tank.
Here is what I have so far: 100 Rubbermaid Sump on platform 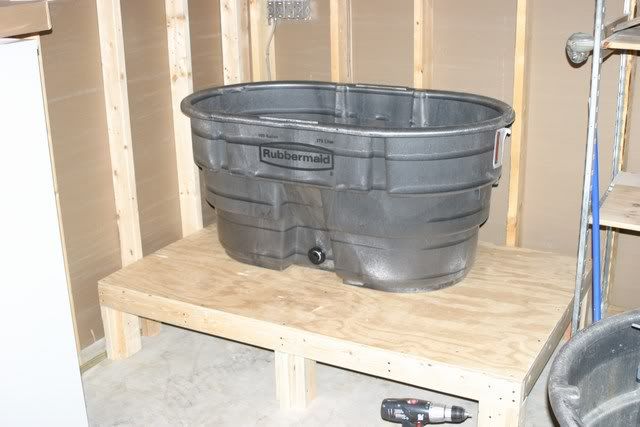 H&S external skimmer and Little Giant pump 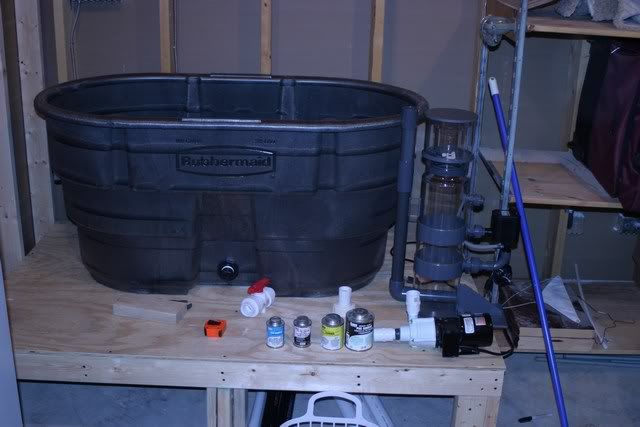 I wanted the ability to hide most of the equipment as well as a large sump. So the overflows and returns will be plumbed through the wall. I should have a nice, clean look around the tank without all of the equipment, cords and plumbing visible. Next project will be an electrical panel and the plumbing. |
|
#4
06/25/2006, 11:06 PM
|
|||
|
|||
|
I worked most of the weekend on the electrical panels for the tank.
First one goes under the stand. Three outlets, each controlled by an intermatic electronic timer, will power 2 MH ballasts and VHO ballast. Inside Stand 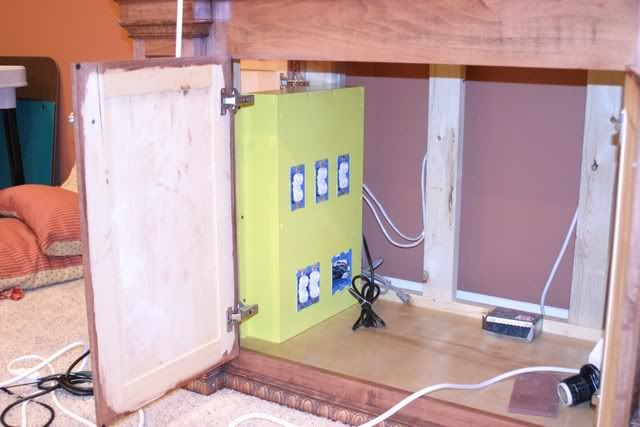 Door access 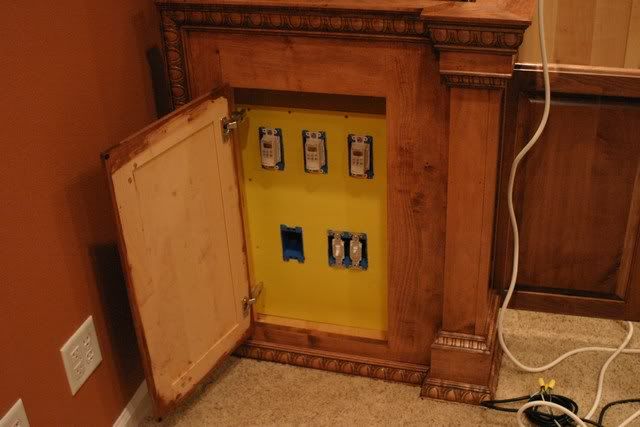 The two switches in the bottom, right box are 3 way switches that will allow me to turn off both the return pump and the closed loop pump from here at the tank. I didn't want to have to go into the sump room to turn off the pumps to feed. I had the yellow paint on hand so I thought I might as well use it! Here is the main panel in the sump room. 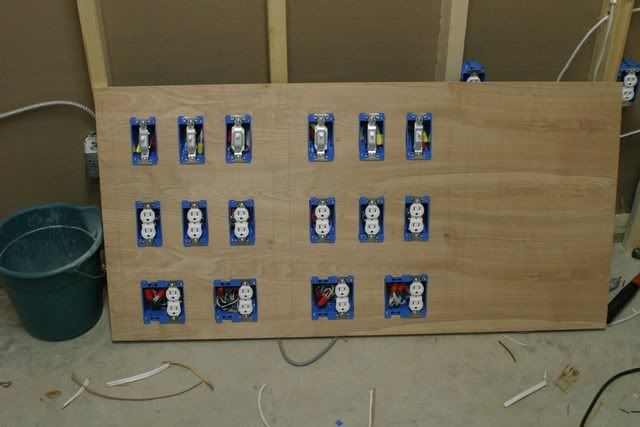 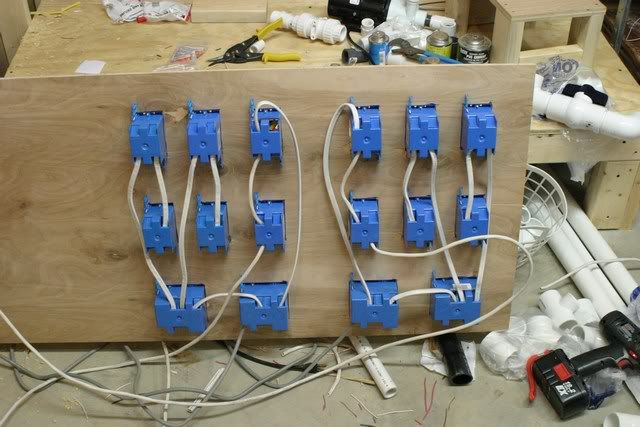 The bottom row of outlets are always powered. The middle row are all switch controlled by the top row switches. I have two 20 amp circuits dedicated to the tank. I have plenty of room in my main panel if I need to add more. Now that this is almost complete (I still have to mount the panel and add all of the faceplates), I should be able to work on the plumbing soon. |
|
#5
06/26/2006, 12:48 AM
|
|||
|
|||
|
That is well thought out, going to be awesome !!! Nice job.
__________________
I found a way to make a small fortune running a reef tank. Start with a large fortune. Unofficial President of the SEACLONE haters club |
|
#6
06/26/2006, 01:37 AM
|
|||
|
|||
|
Looks like your off to a great start.. I love the stand i wish i would of went with a little more detail on mind. Don't worry about the pace, i know how it is my 280 setup is really taking its time but it will pay off in the end. Keep us updated!
|
|
#7
06/26/2006, 07:01 AM
|
|||
|
|||
|
Looks good. No,,, great!!
Are those zip clips from the luminarcs to the pvc pipes? If so, you might want to change that part. I had some zip clips just keeping my moonlight excess wiring togather so it didn't hang and it keeps getting brittle and snapping from the heat. About every 2 weeks I'll see the excess wire hanging down and that could be a problem if that mh fixture snaps it and it falls in the tank.
__________________
Some drink at the fountain of knowledge, some just gargle, but most are rabid. |
|
#8
06/26/2006, 07:52 AM
|
|||
|
|||
|
Those are zip ties holding the reflectors up for now. Temporary fix. I will definitely replace them with something more permanent. I definitely do not want these bulbs to fall into the water.
|
|
#9
06/26/2006, 10:39 AM
|
|||
|
|||
|
Looks real nice .....Can't wait to see it finished...
__________________
120 AGA RR Ecosystem 3612 Reef Octopus DNW-200 GEO 6x18 Calcium Reactor GEO Kalk Reactor Aquactinics 2x250 12k Reeflux w/ 216 watts Blue+ T5's 210 lbs. Gulf-Keys-Fiji LR 50 lbs. LS |
|
#10
07/11/2006, 08:12 AM
|
|||
|
|||
|
A little more progress.
I got the electrical panels finished and installed. 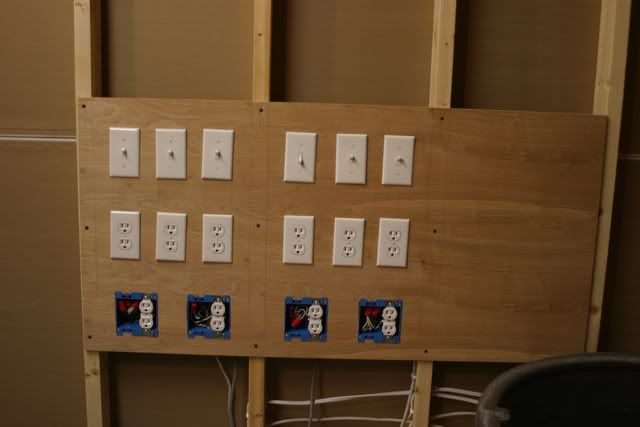 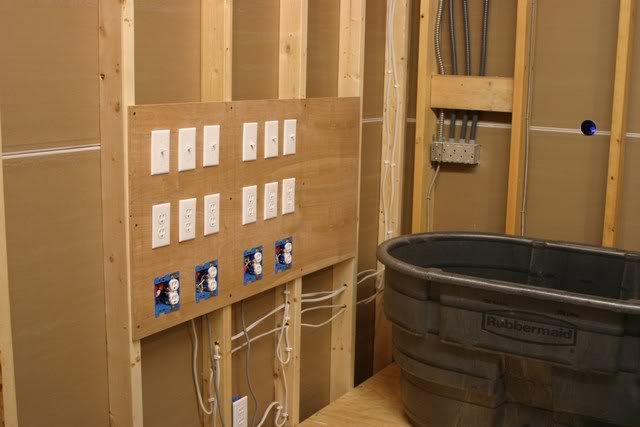 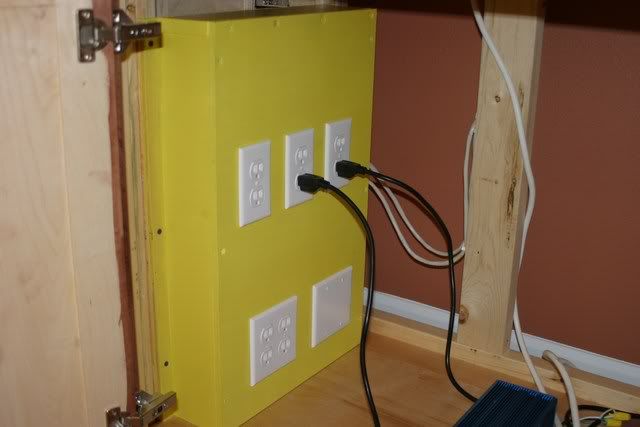 I had to order the plates to cover the outlets on the bottom of the large panel. Since they only have one outlet, Lowes and local electrical supply houses did not stock these plates. Here is the start of my plumbing. 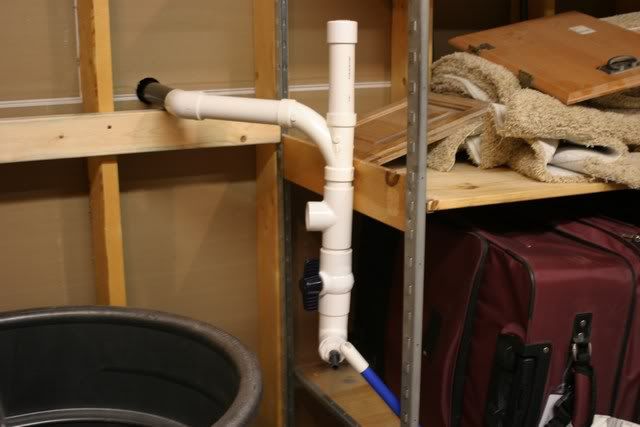 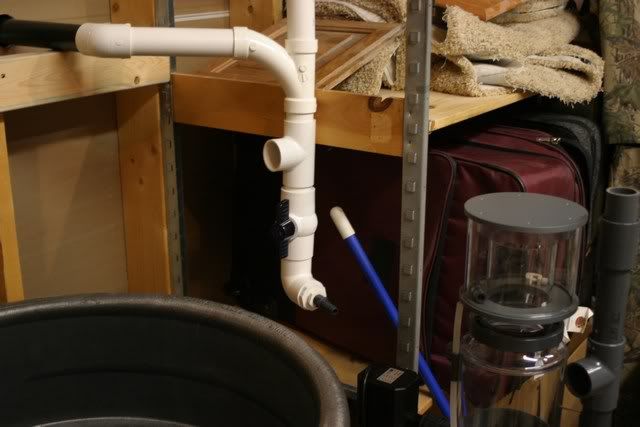  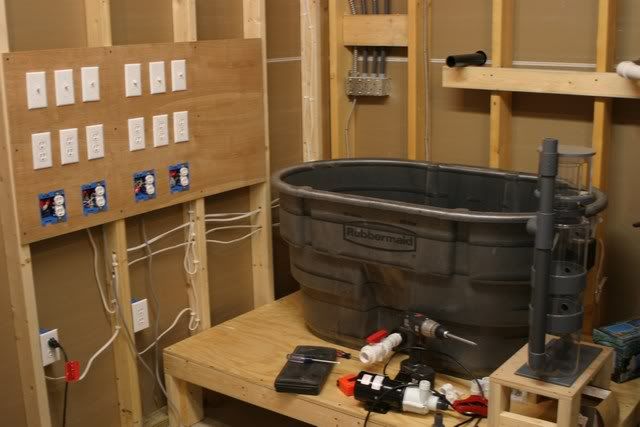 Slow process but I'm getting there. |
|
#11
07/11/2006, 09:33 AM
|
|||
|
|||
|
Looking very good and clean!
__________________
Red House=My 90 build. Matt. |
|
#13
07/11/2006, 10:13 AM
|
|||
|
|||
|
Quote:
|
|
#14
07/11/2006, 10:44 AM
|
|||
|
|||
|
Looking good. Whats going on with the plumbing? Can you explain?
__________________
GPH tank turn over numbers is about as accurate a method as watts per gallon. |
|
#15
07/11/2006, 10:49 AM
|
|||
|
|||
|
Quote:
|
|
#16
07/11/2006, 10:52 AM
|
|||
|
|||
|
So is that like a remote stockman drain pipe?
__________________
GPH tank turn over numbers is about as accurate a method as watts per gallon. |
|
#17
07/11/2006, 11:48 AM
|
|||
|
|||
|
Quote:
|
|
#18
07/12/2006, 09:58 AM
|
|||
|
|||
|
Very nice looking. Nice start there. I really like your wood stand.
|
|
#19
07/12/2006, 10:06 AM
|
|||
|
|||
|
Awesome cabinet/furniture work.
Your skimmer was a great choice. What brand tank still uses the square shaped overflow? I was looking at AGA and they use 2 overflow boxes. I love that yours only has one. |
|
#20
07/12/2006, 11:41 AM
|
|||
|
|||
|
Quote:
|
|
#21
07/12/2006, 02:30 PM
|
|||
|
|||
|
Very nice project. Looking forward to updates.
What are you planning on keeping?
__________________
Steve - DFWMAS Member Click on the red house to view my build thread |
|
#22
07/12/2006, 05:07 PM
|
|||
|
|||
|
Looking forward to seeing more of what your doing.
__________________
Chris ------- Click the little red house to see my 90Gal tank setup "All the clownfish and yellow tangs in the world can't help you now!" - Peter Griffin |
|
#23
07/12/2006, 10:41 PM
|
|||
|
|||
|
This will be a predominantly sps tank. Maybe a few select soft and LPS corals.
I made some progess on the plumbing tonight. I have most of the joints glued. Just a few more steps to go then I should be able to begin the freshwater testing. Hopefully will have some water in it this weekend. |
|
#24
07/14/2006, 04:31 PM
|
|||
|
|||
|
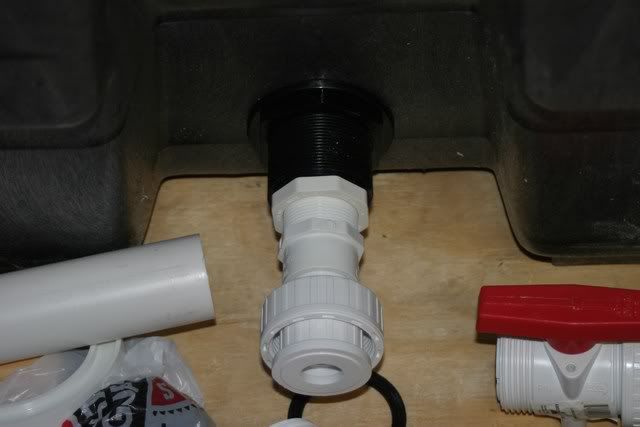
After reading about how they leak, I decided to replace the bulkhead that came with the stock tank. I replaced it with one purchased from savko.com. I had to chisel out some of the ribs in the stock tank so the bulkhead would seat flat against the tub.
  Here is a wide angle shot showing all of the plumbing done so far. Just have to glue a few joints, secure the pipes with some straps and install the spa flex that will go into the tub. I should be able to get some freshwater in for testing this weekend. 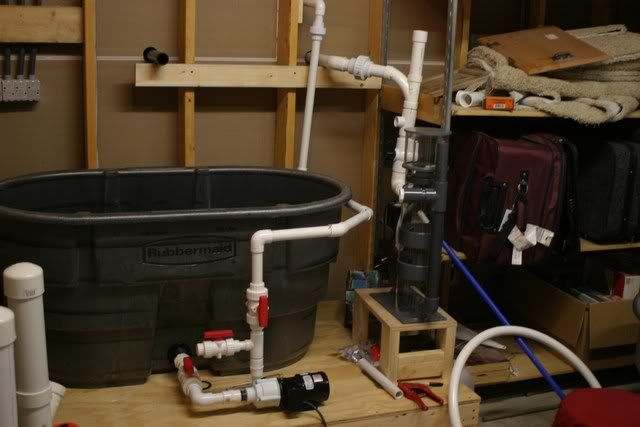 The black pipe coming through the wall on the left is the drain for my closed loop. I haven't really thought about how I'm going to make it yet so I'll probably just cap off this pipe until I can work on it. I'm ready to get some water in! |
|
#25
07/16/2006, 11:20 AM
|
|||
|
|||
|
WE HAVE WATER!
Although it is only freshwater. I finally finished the plumbing and began freshwater testing on Saturday.
Final plumbing setup  Here is my return. I will shorten it and drill a siphon break hole later. In this picture, you get a better shot of my overflow box. It does not go all the way to the bottom of the tank.  Here is a shot of the overflow pipes going through the wall. I will install escutcheon plates to clean up the holes a bit. 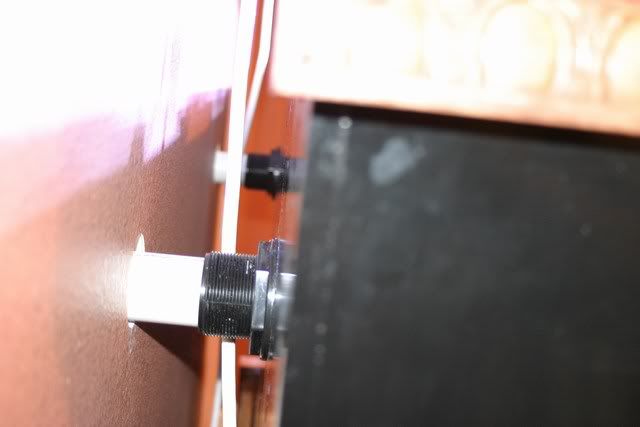 Water going in 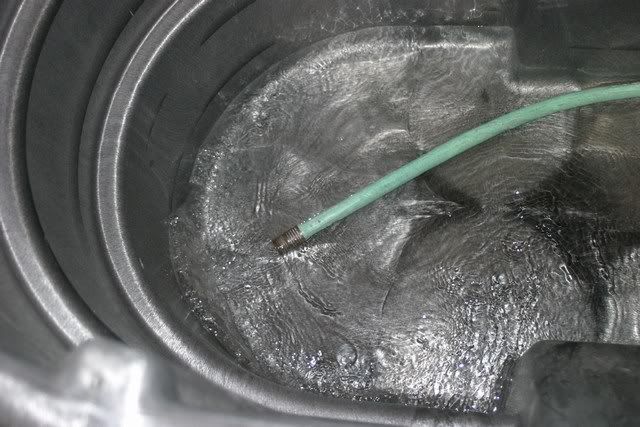 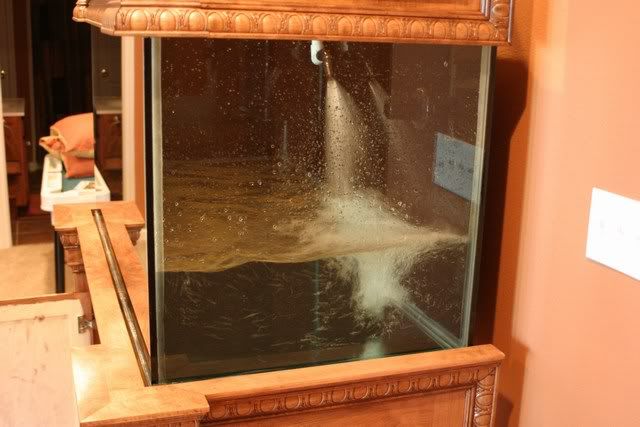 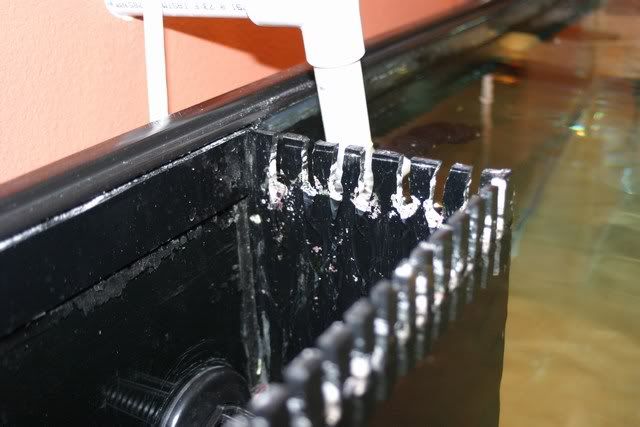 Full tank shots with lights on 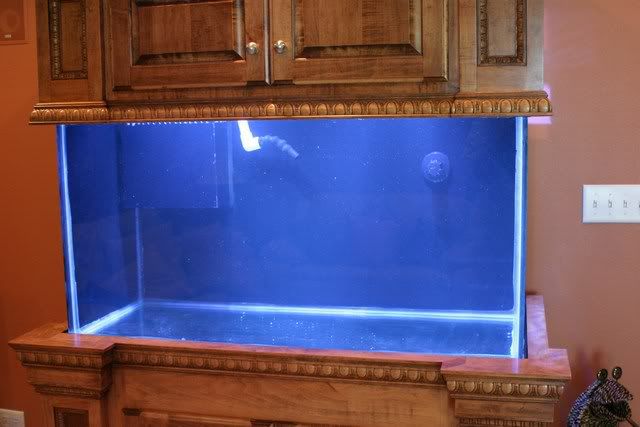 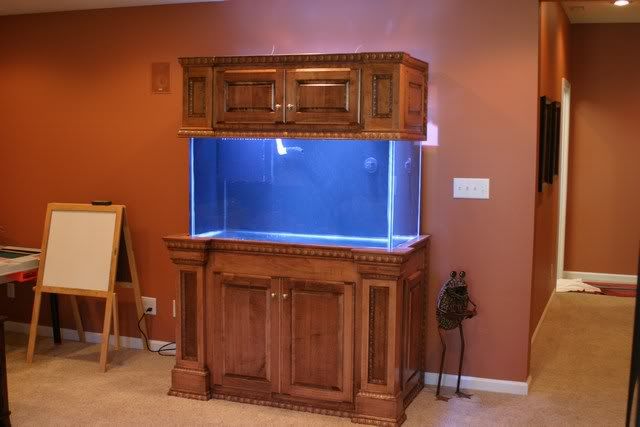 I only tested for about 20 minutes but so far NO LEAKS! I guess I got lucky. Today I will plumb in the skimmer and install the bubble towers in the sump. The Little Giant return pump is louder than I expected. I'll have to work on that and see if I can quiet it down any. I'm getting closer! |
|
|


 Linear Mode

