|
|
|
#402
 05/14/2006, 10:45 PM
|
|||
|
|||
|
can you drill with water still in
I want to get rid of my HOB overflow but I do not want to yake down my tank. Can you drill holes with water still in it if you drop the water down a ways???
|
|
#403
05/14/2006, 11:18 PM
|
|||
|
|||
|
Re: can you drill with water still in
Quote:
 To Reef Central I think I read somewhere back several pages in this thread that someone did that, didn't sound too difficult, but there is some risk involved. I would practice my glass drilling skills first. GOOD LUCK! WOOOOOHOOOO!! I got to give a welcome to a "1" poster
__________________
as scary as it may be, bart and i are very similar in our opinions of this topic ~jpfelix HEY! I lost it first ~CRP There is no "Brain" in "Brian." ~Beerguy |
|
#404
05/15/2006, 06:41 AM
|
|||
|
|||
|
Thanks for the info and the welcome!!
__________________
I can't get no satisfaction!!! |
|
#405
05/15/2006, 12:33 PM
|
|||
|
|||
|
Ok so I going to give this whole SW thing a try. I have an extra closet below my L-shaped stairs that I and going to use to install a tank into the wall in my foyer. It gives me about a 4x4 area with a little more space below the stairs for other storage. (My ice maker rough-in sit in their as well...do i smell a RO/DI hookup coming?) Anyway the tank had to be 36" to fit so I chose a 40 gallon breeder AGA. I could have went w/ a 65 wide but i need some room to move around.
 I have a 20gl long to set below the 40 for a sump/fuge. I plan to just make this a FOWLR for now. I have about a 25in tall skimmer w/ a 650gph pump. I also have a 850gph pump and was thinking about using it for a closed loop. I ordered a SCWD about 4 1" bulkheads, 6 3/4" bulkhead, 4 u-tubes. (i like to get extras). I plan to orger glass for my sump and an overflow. My question is what is the best way to make my overflow and how should I setup the closed loop. Mot much of the engineer type. Any other suggestions would be greatly appreciated as well. (I have not order the bits yet until i get my bulkheads in, but i do plan to drill it myself. i got a little 2.5 gallon to practice on) |
|
#406
05/16/2006, 07:23 PM
|
|||
|
|||
|
Dumb Question?
Is there an attachment for your drill and the hole saw bits? My 60mm bit is too large to fit in both a Dewalt cordless and Black and Decker corded drill. My 45mm bit will fit in both but the Dewalt wont grip it tightly and kind of pushes it out, makes it uneven... could be why Superorb on pg 4&5 thought he had untrue bits. So is there an attachement I can get? I'd really like to use the Dewalt because it has the slower speed, and I'd like to be able to use my larger bit. |
|
#407
05/16/2006, 11:02 PM
|
|||
|
|||
|
All my hole saws came from Lau, in Hong Kong, and even the 85mm fit in my 14 volt DeWalt. Perhaps there is an issue with your chuck or the hole saws you bought have quite a large diameter shaft requiring a 1 inch drill to get a chuck large enough to work.
|
|
#408
05/17/2006, 07:54 AM
|
|||
|
|||
|
Quote:
http://www.toolbarn.com/product/makita/7630977-A/ do you know the shank size of your hole saws?? It might be cheaper to get a new drill
__________________
Bill "I don't want to achieve immortality through my work, I want to achieve immortality by not dying"-- Woody Allen |
|
#409
05/17/2006, 08:15 AM
|
|||
|
|||
|
checked this morning, both drills are 3/8". Lau states both shank sizes to be 10mm, must mean length because the 60 shank is definately thicker than the 45.
|
|
#410
05/17/2006, 09:19 AM
|
|||
|
|||
|
This is a great thread...and very timely for me.
Has anybody found a site/thread which details how many and what size hole you can drill before compromising the integrity of the tank? I am curious how one figures out how many holes and what size and where you can put them for a given size tank. I imagine hole placement would be different for a 29 vs a 55 vs a 210.
__________________
Linda |
|
#411
05/17/2006, 10:58 AM
|
|||
|
|||
|
Quote:
I think most systems can be set up without needing enough holes to make it dangerous--unless its a 500 gallon tank, do you really need ten bulkheads for a closed loop? Dan |
|
#412
05/17/2006, 11:10 AM
|
|||
|
|||
|
Quote:
1) If you're going to do a Durso style, with 90 elbows in your overflow box, I'd recommend a slip bulkhead on the flange side and slip/street 90's. Mine are threaded and I need extra space to seat the 90 before I twist it in. 2) You want #1 because the wider your box sticks out, the more it ptentially affects your lighting. I'm finding this out the hard way. I made mine 4" wide, and now will have difficulty fitting a 6 light T5 retro in the space between the front of the tank and the overflow. If I had to do over again (and I just might ) I'd look at how much clearance I'd need for a slip bulkhead (flange side) and elbow, then make the box just wide enough to accommodate that. 90's are a pain to thread in an overflow box anyway. Right now I could get way with a 3/4" narrower box, maybe even more with slip fittings.All that being said, I have 40" of scum-busting skimming "surface" and when you look at the tank from a few feet away, you hardly notice the overflow. It's a great alternative - to me even preferable - for brick owners. 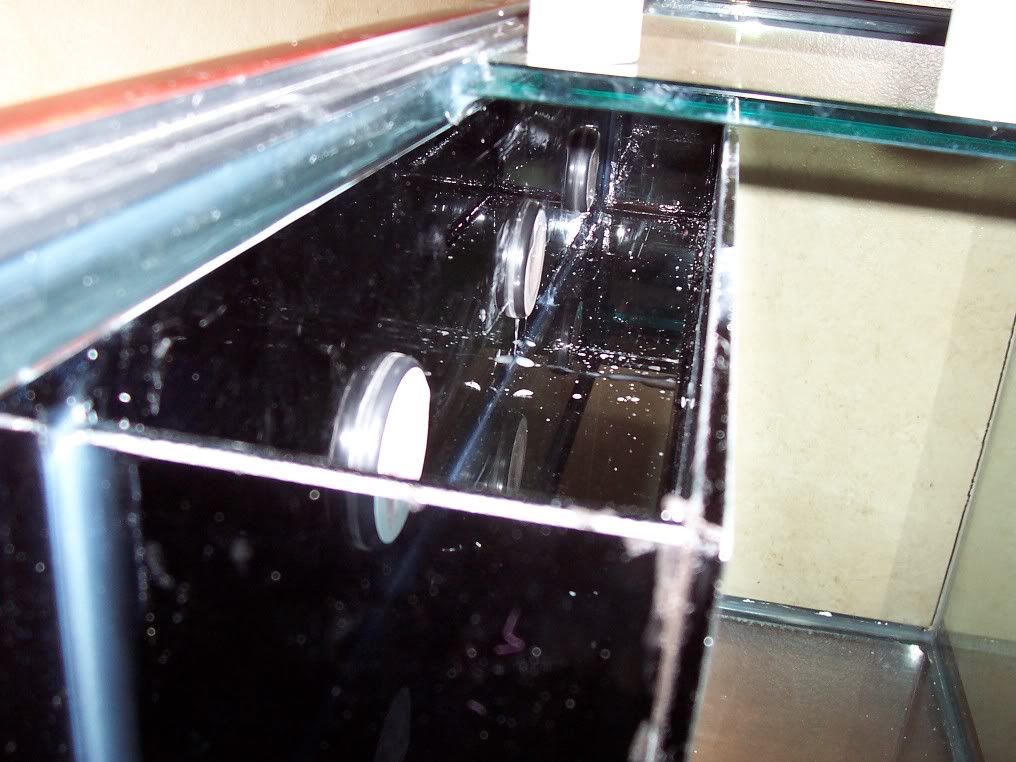 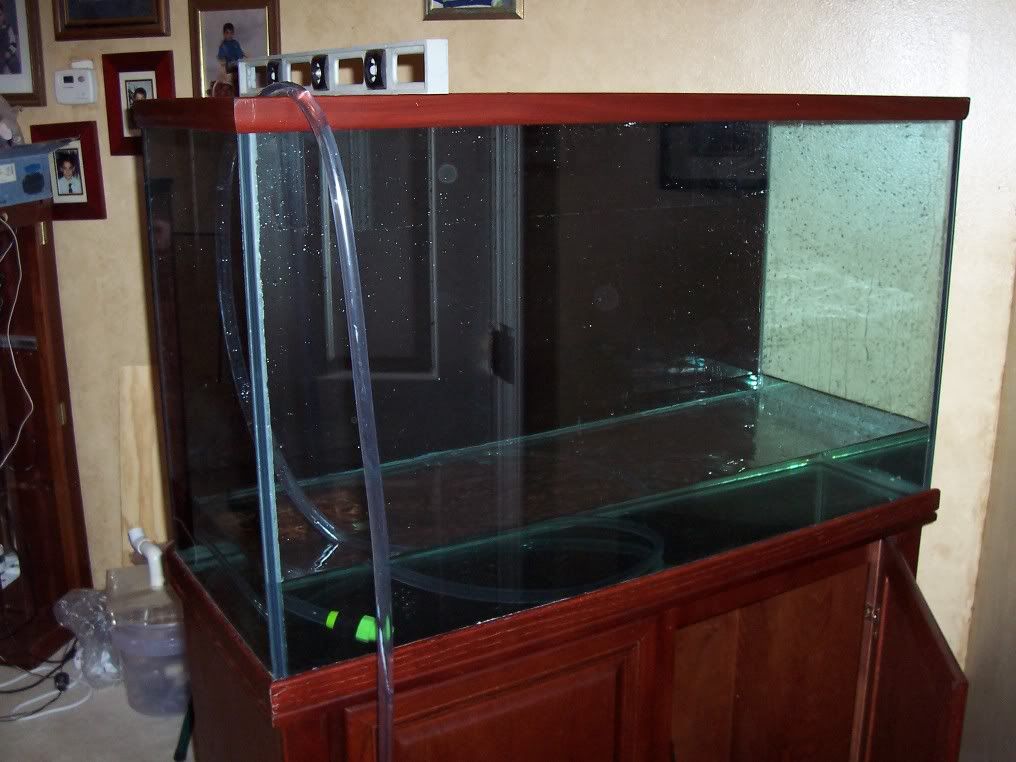   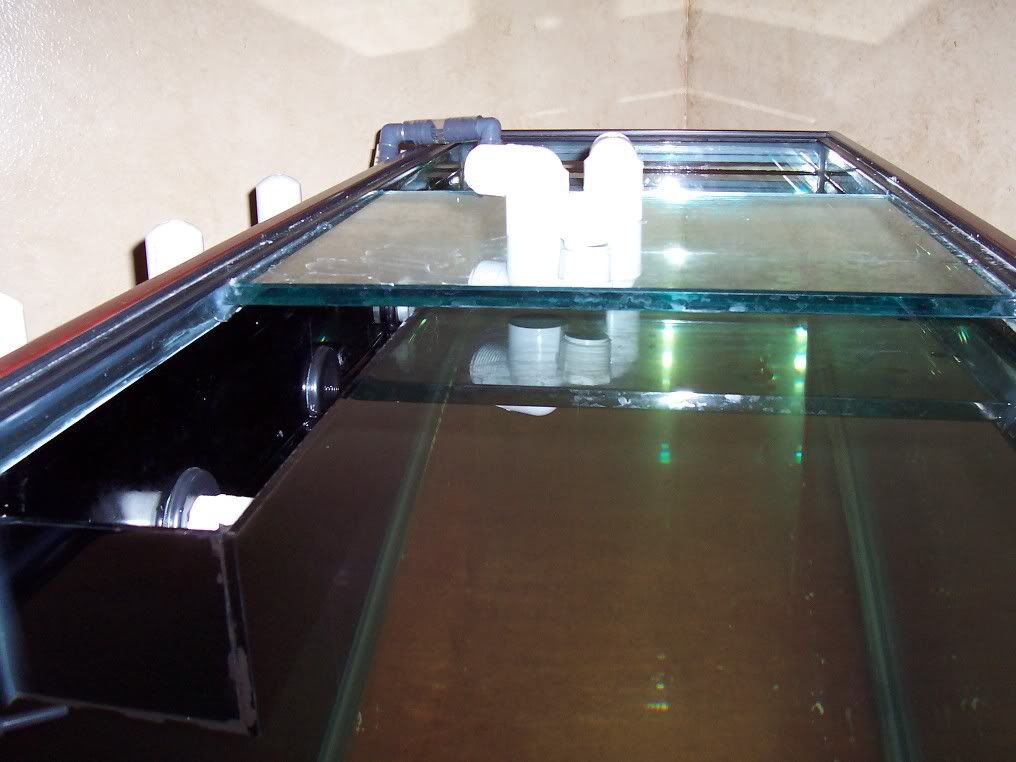
|
|
#413
05/17/2006, 01:19 PM
|
|||
|
|||
|
Quote:
Thanks. |
|
#414
05/17/2006, 01:40 PM
|
|||
|
|||
|
I'm going to put 2 1" bulkheads on my 58 . I've had it with the HOB overflow. I'm going to make two small / narrow overflow boxes and silicone them to the tank where the bulkheads are.
You don't have to make the boxes that wide if you don't plan on putting 90 elbows in the box. The 26 bowfront that i setup like this had a small corner overflow box that was about 1 " & 1/2 and it hangled a good mount of water flow. The inside boxes for the 58 are going to be around 1" wide and 6 inches long. |
|
#415
05/17/2006, 01:47 PM
|
|||
|
|||
|
Just wanted to say "thanks" for this thread! I followed the directions and was successful drilling my 90(3 - 45mm holes for closed loop).
Thanks! Chip |
|
#417
05/17/2006, 06:40 PM
|
|||
|
|||
|
45mm equates to 1 3/4" - usually the size hole you need for a 1" bulkhead. I didn't use a press, just a cordless 18V drill. Don't try to drill head on at first; tilt the bit to get a groove started before you go to vertical.
As to the 90's on my overflow - I don't have what will be my main return pump yet (probably an Eheim 1262 or Mag 9.5) and I haven't finished the plumbing. When I do, then I'll see if I need the elbows. At present, my main noise problem is the PVC in back, which I'm changing to spa-flex. The overflows have been pretty quiet both ways, but I'm not sure what kind of throughput I have right now with the old Rio 2500 I'm using to test the system. General consensus that I've received is that the 90's will be needed to cut down on noise. |
|
#418
05/17/2006, 09:41 PM
|
|||
|
|||
|
jman77 you may want to use a piece of plywood clamped to your tank to guide the diamond bit. that is what I did on all my holes. I'd never think of doing freehand
|
|
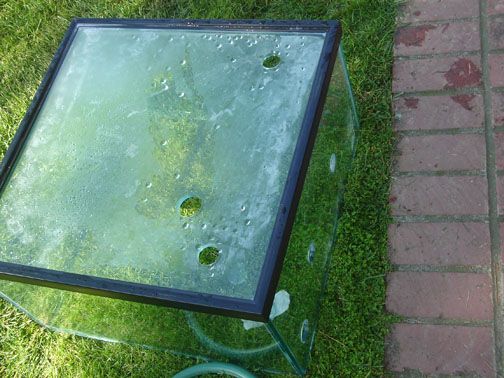
#419
05/17/2006, 09:50 PM
|
|||
|
|||
|
Better yet, here's a picture of how I set it up.
 Finished product (holes anyway) 
|
|
#420
05/18/2006, 08:06 AM
|
|||
|
|||
|
Quote:
|
|
#421
05/18/2006, 04:02 PM
|
|||
|
|||
|
when I did my overflow, i used two or three 2x4's to hold up the overflow. make sure everything's level when you do it.
and you don't need elbows on the bulkheads, but it will certainly reduce noise. |
|
#423
05/20/2006, 06:31 AM
|
|||
|
|||
|
Quote:
like everything else in this hobby, patience required. |
|
#424
05/20/2006, 08:33 AM
|
|||
|
|||
|
Just to give a different method, I siliconed the shelf or horizantal piece in the tank and let it dry. I used 2x6's with the bottom corner notched out to keep it off the silicone on the bottom of the tank. I set a piece of plywood across the tops of the 2x6's and then shimmed to get it perfectly level. Then I cut blocks of wood to act as standoffs and to keep it square for the vertical piece. I siliconed from the inside only but I made sure that got on the edge of the glass making contact with the tank. Whichever way you like will work fine. There's more than one way to skin a cat but like Dan said it takes some patience cause silicone is tough to work with.
|
|
|


 Linear Mode

