Hatching Brine Shrimp 101
Hello, Let me start off by introducing myself. My name is Matt Hauser and I am the proud owner of a 25gallon saltwater aquarium. My main reason for doing this was because I thought it would be a great welcoming gift for my two brand new pair of Onyx Clowns also known as Amphiprion Percula.
My goal is to make this guide as simple as possible, and hopefully create a helpful tool for anyone looking to grow their own brine shrimp.
Materials
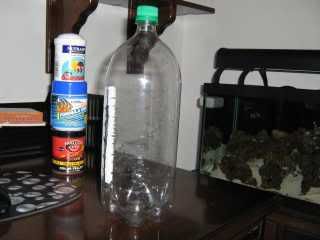
1 Empty 2 Liter Bottle
1 Air Pump (NO Air Stone Needed)
1 Batch of Brine Shrimp Eggs(1 Tsp is Enough)
1 Brine Shrimp Net(Not Required but Helpful)
1 Silicone Sealant or Check Valve(Optional)
About 1' of Airline Tubing
*The Rest of the Materials are Common Household Items*
Step 1
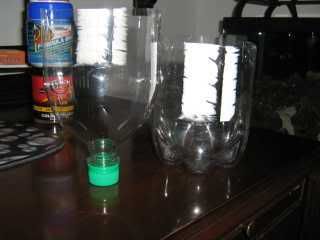
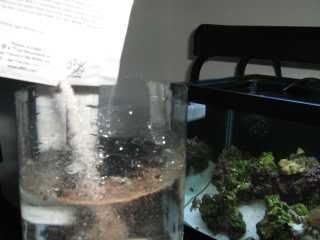
Its time to get to work first things first cut the 2 litter bottle in half. This gives you two individual halves the bottom becomes a stand to rest the top in.
 Step 2
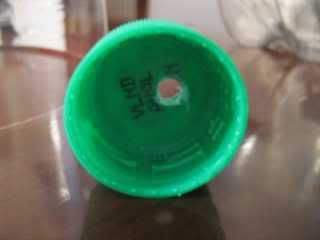
Now to drill, first find a drill bit that will match the size of your air line tubing, then drill a hole through the lid of the two liter and also drill a exit whole in the base of the stand for the airline tubing. Next push the tubing through the hole in the lid about 1/2 inch then using a sealant I used (GE Silicone I Windows and Door) make a water tight seal around the outside of the lid then wait for the glue to dry. If you don't have sealant you can use the check valve method found
here. This finishes the hardware steps of a simple diy hatchery.
 Step 3 The Fun Part
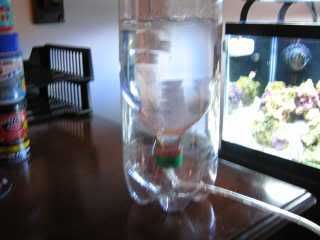
After you have water tested you homemade hatchery and everything is working great get your eggs at hand. Most Brine shrimp packets come complete with instructions for water parameters I found most of my information from these links.
Simple
http://rods-reef.com/general.php?pg=diy&typ=bh
Moderate
http://reefkeeping.com/issues/2005-05/nftt/index.php
Advanced
http://www.advancedaquarist.com/issu...02/breeder.htm
Not surprisingly most of the things like ph and salinity are very close to are own tanks levels so for most of us this only requires transferring water from are tank to the hatchery. After you have found that all parameters are in check go ahead and add the eggs. Having a light source preferably a 60Watt bulb will greatly speed the waiting process.
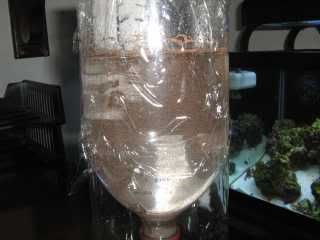
[sub]I put some plastic wrap over the top because my air pump is a little to strong[/sub]
Step 4 The Finale
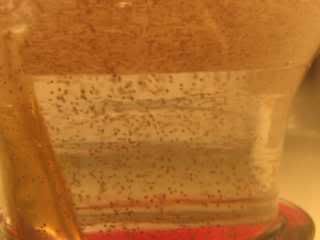
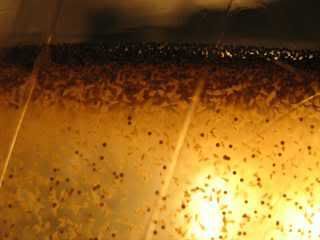
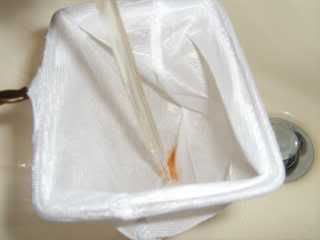
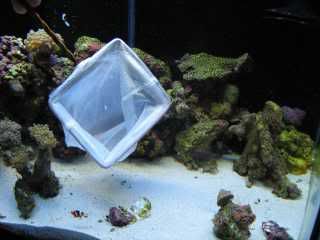
After watching your eggs like they are your own kids your finally realize they hatched probably around 24-36 hours. When you see that they are hatched turn the air pump off and rest the tubing higher than the hatchery to prevent water siphoning out. Then cover the hatchery with a towel and let things settle for about 45 minutes. You will notice that the empty egg casings settle at the top and the shrimp near the bottom. When everything is ready, drain the fluid through your brine shrimp net making sure to stop when you reach the empty egg casings. Finally BEGIN THE FEEDING FRENZY!!
BEFORE
AFTER
I realize that this is info is very subjective. My soul goal was to give help others who might need it.
Matt